POETRY OF PLANTS
POETRY OF PLANTS. OUR CONVERSATION WITH MARTA FROM NEST
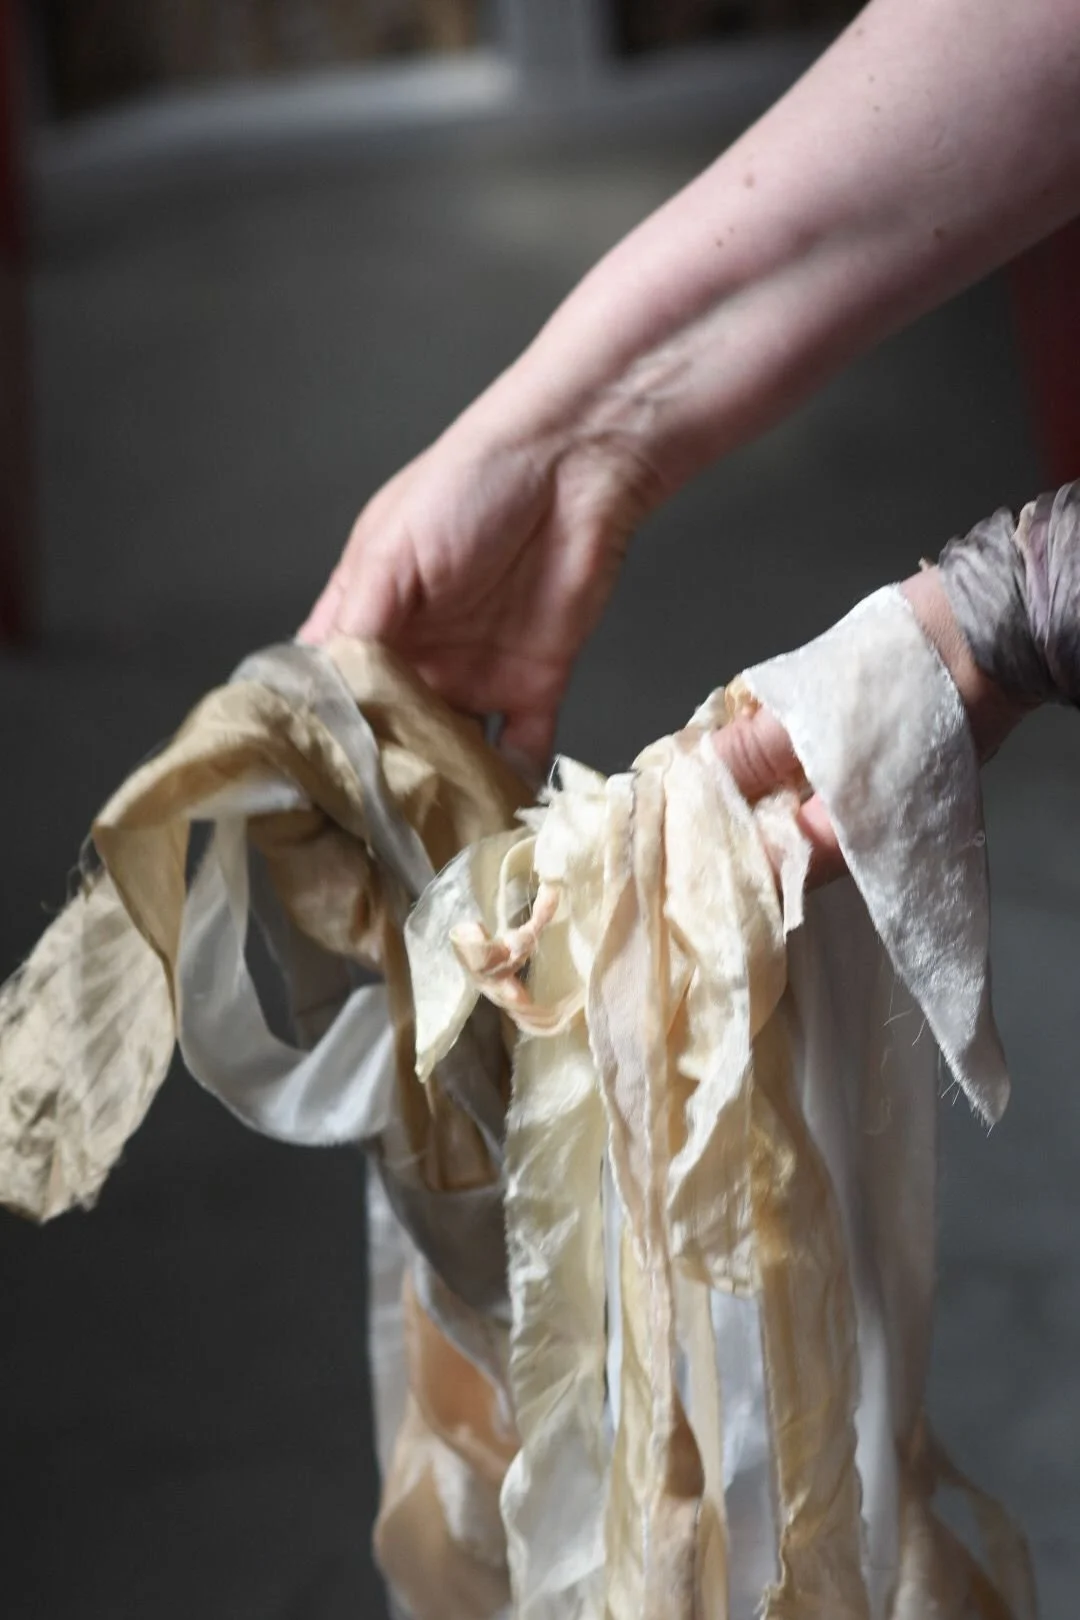
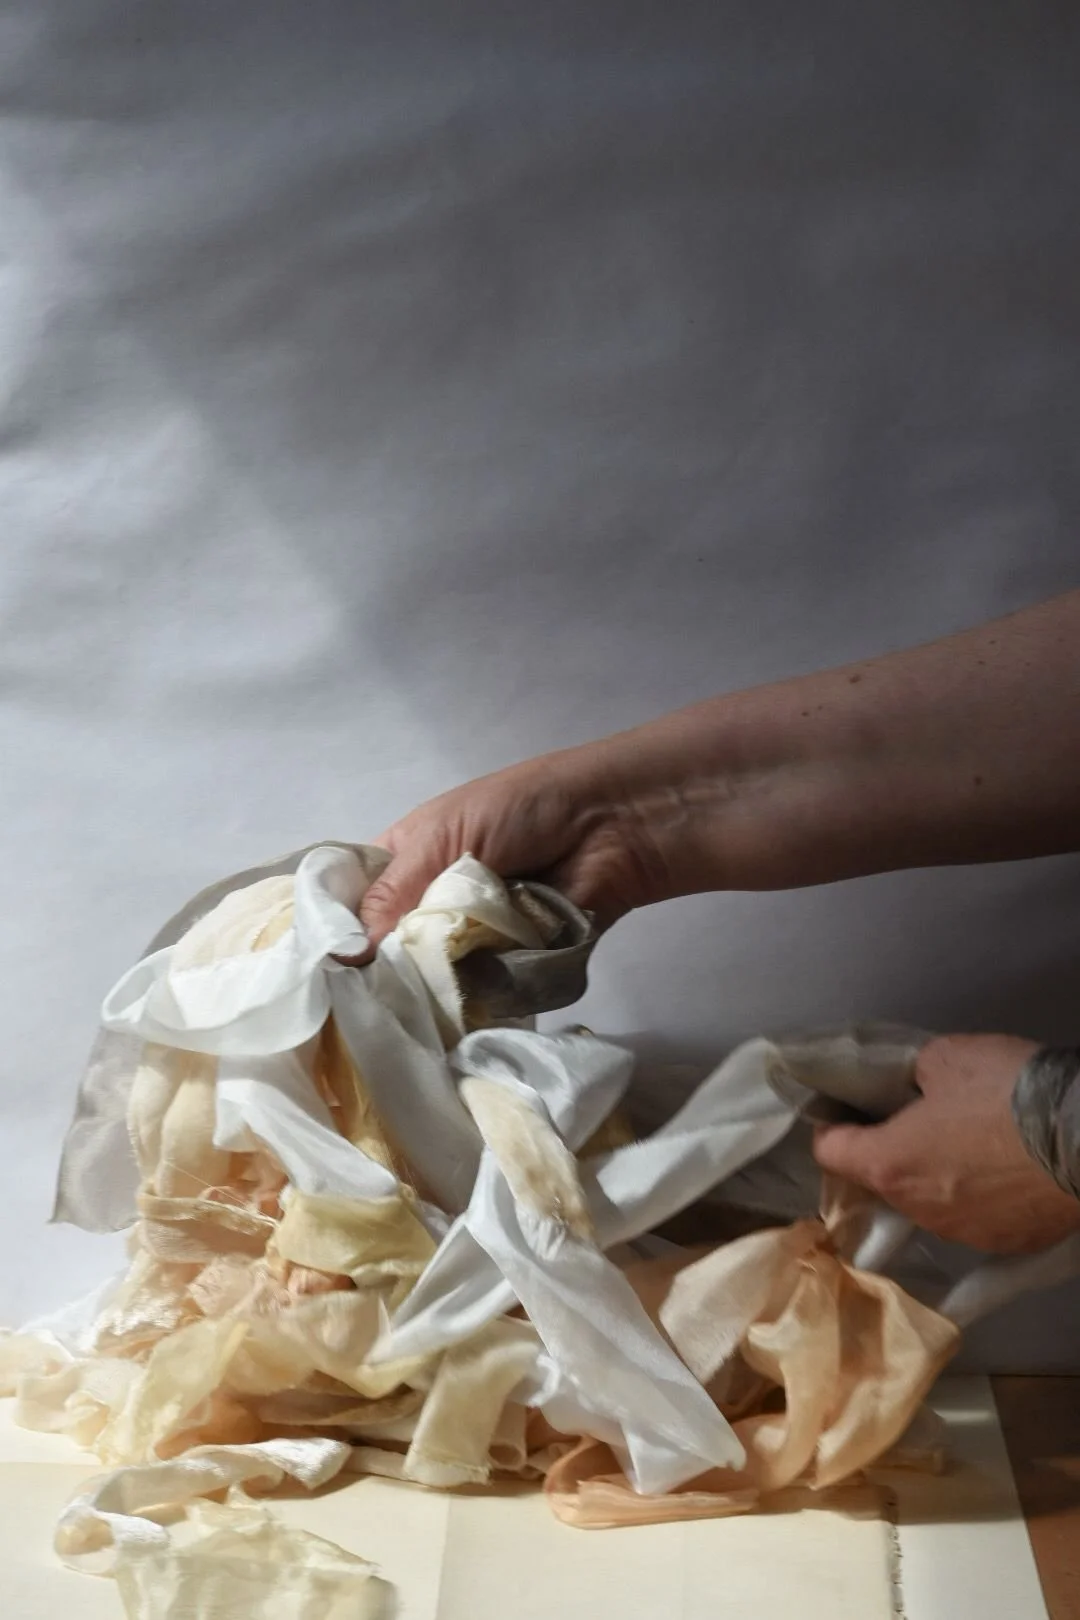
Photo: Soft shades of hand-dyed silk
It's just noticing what nature gives us so freely. And I find a relief and inspiration in this, that I don't have to strive. I don't have to work something out. It's already there.
the petals are falling. The seasons are changing. You know, weather is different every day. So I am not resenting it or fighting it.
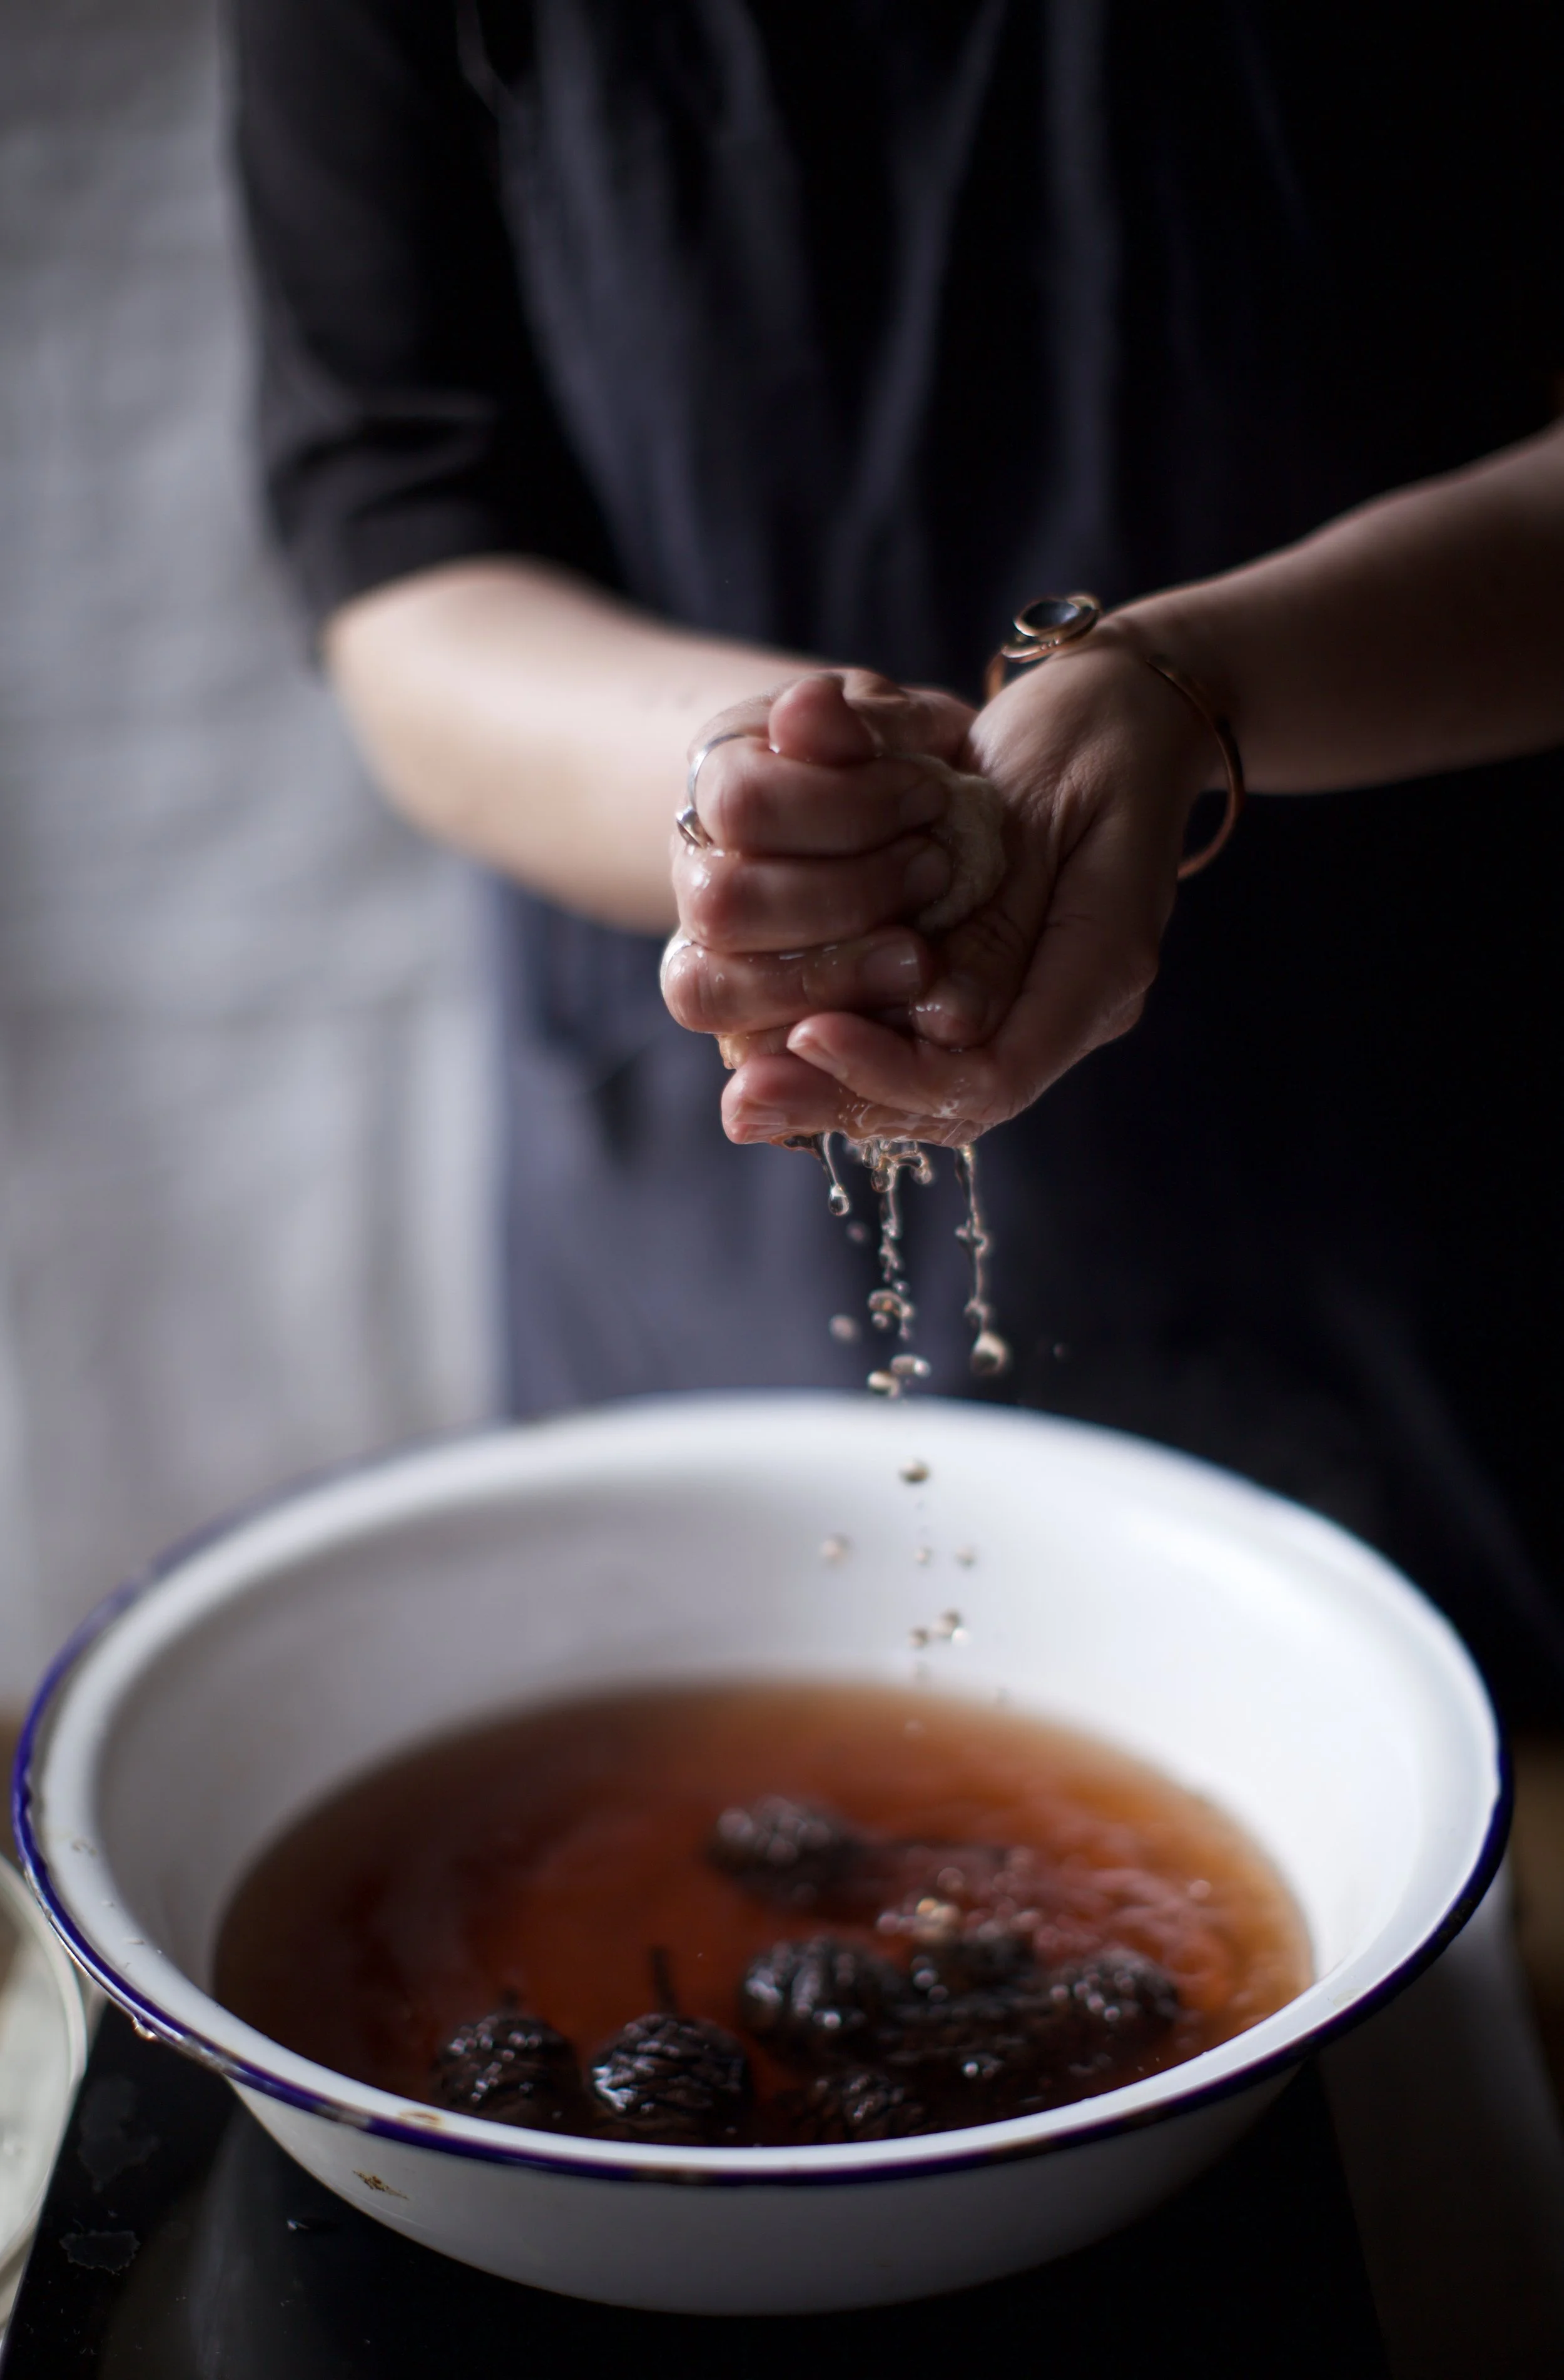
Photo: Natural dye bath created from pine cones gathered on my town walk
EXPLORING SOMETHING NEW
I'm honoured to explore this new format through a dialogue with my dear friend Marta, as part of her beautiful NEST series.
This is a recording of the conversations and quiet practices that shape my creative life—rooted in slowness, in plants, in paying attention.
Here, you’ll find reflections on hand-dyeing, seasonal living, gathered materials, and the evolving relationship between creativity and land. I hope it feels like a gentle pause, an invitation to return to what matters. Let me know what your thoughts are...
To listen to our full conversation, join me on YouTube. Can you share your thoughts on what daily creativity means to you? What helps you walk this path? and what treasures you find there?
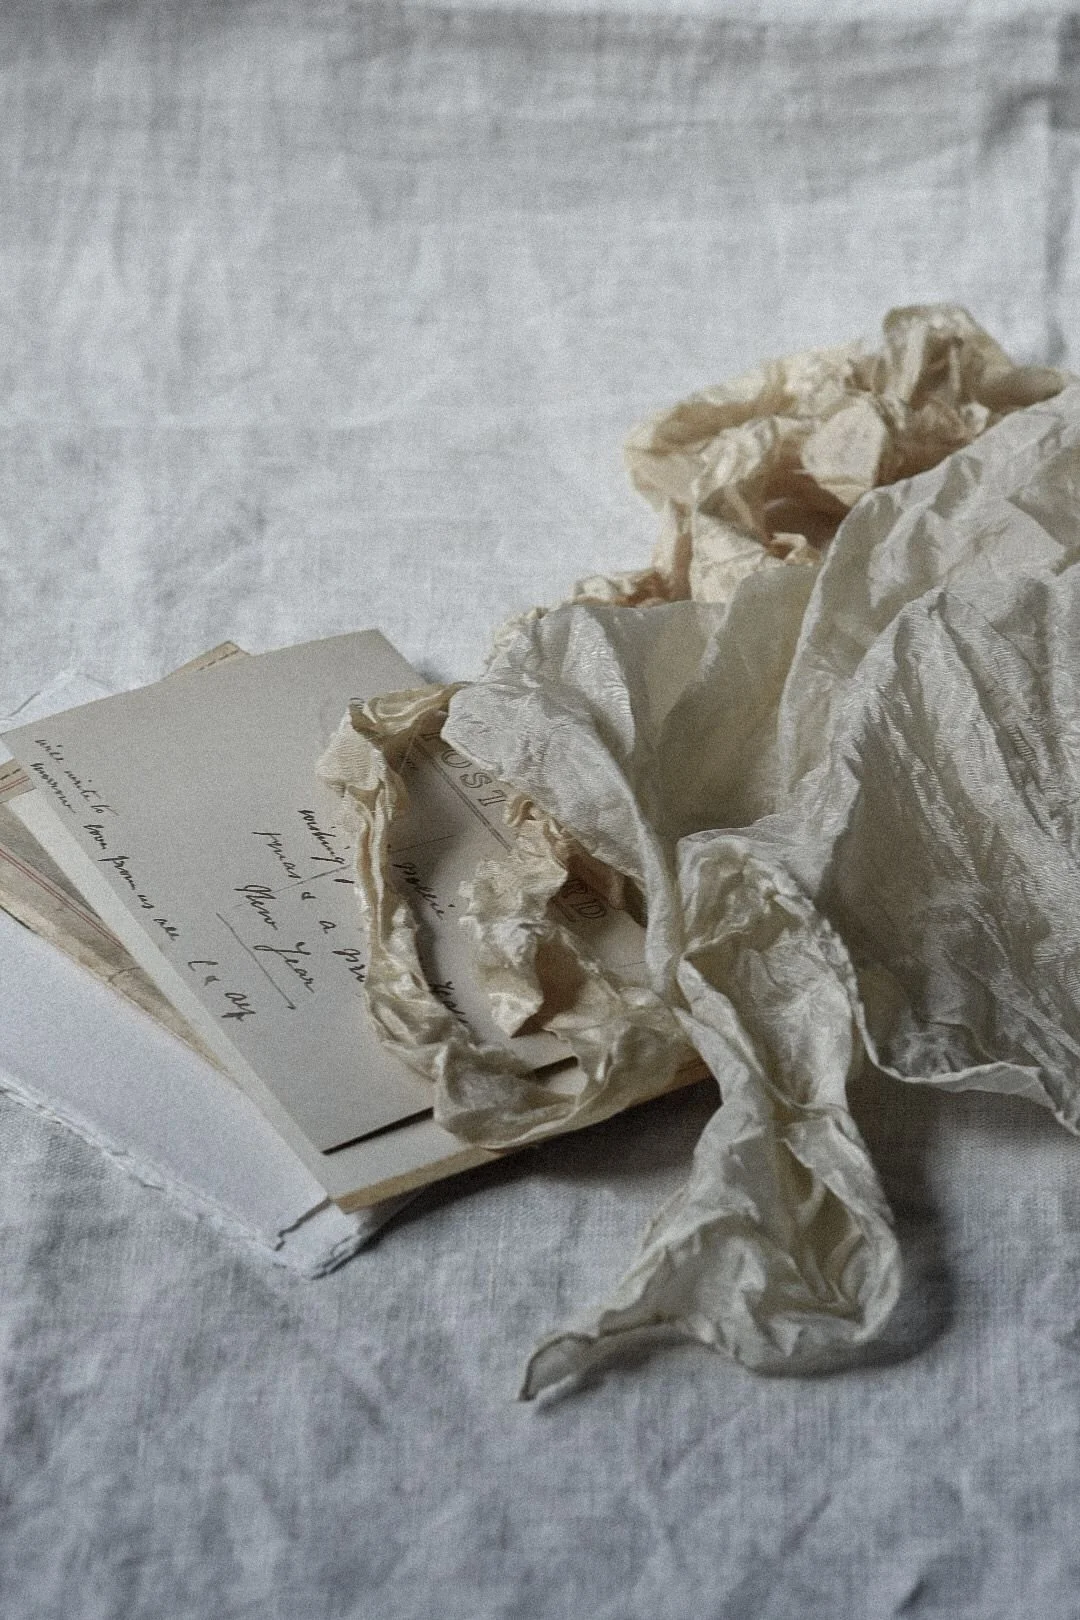
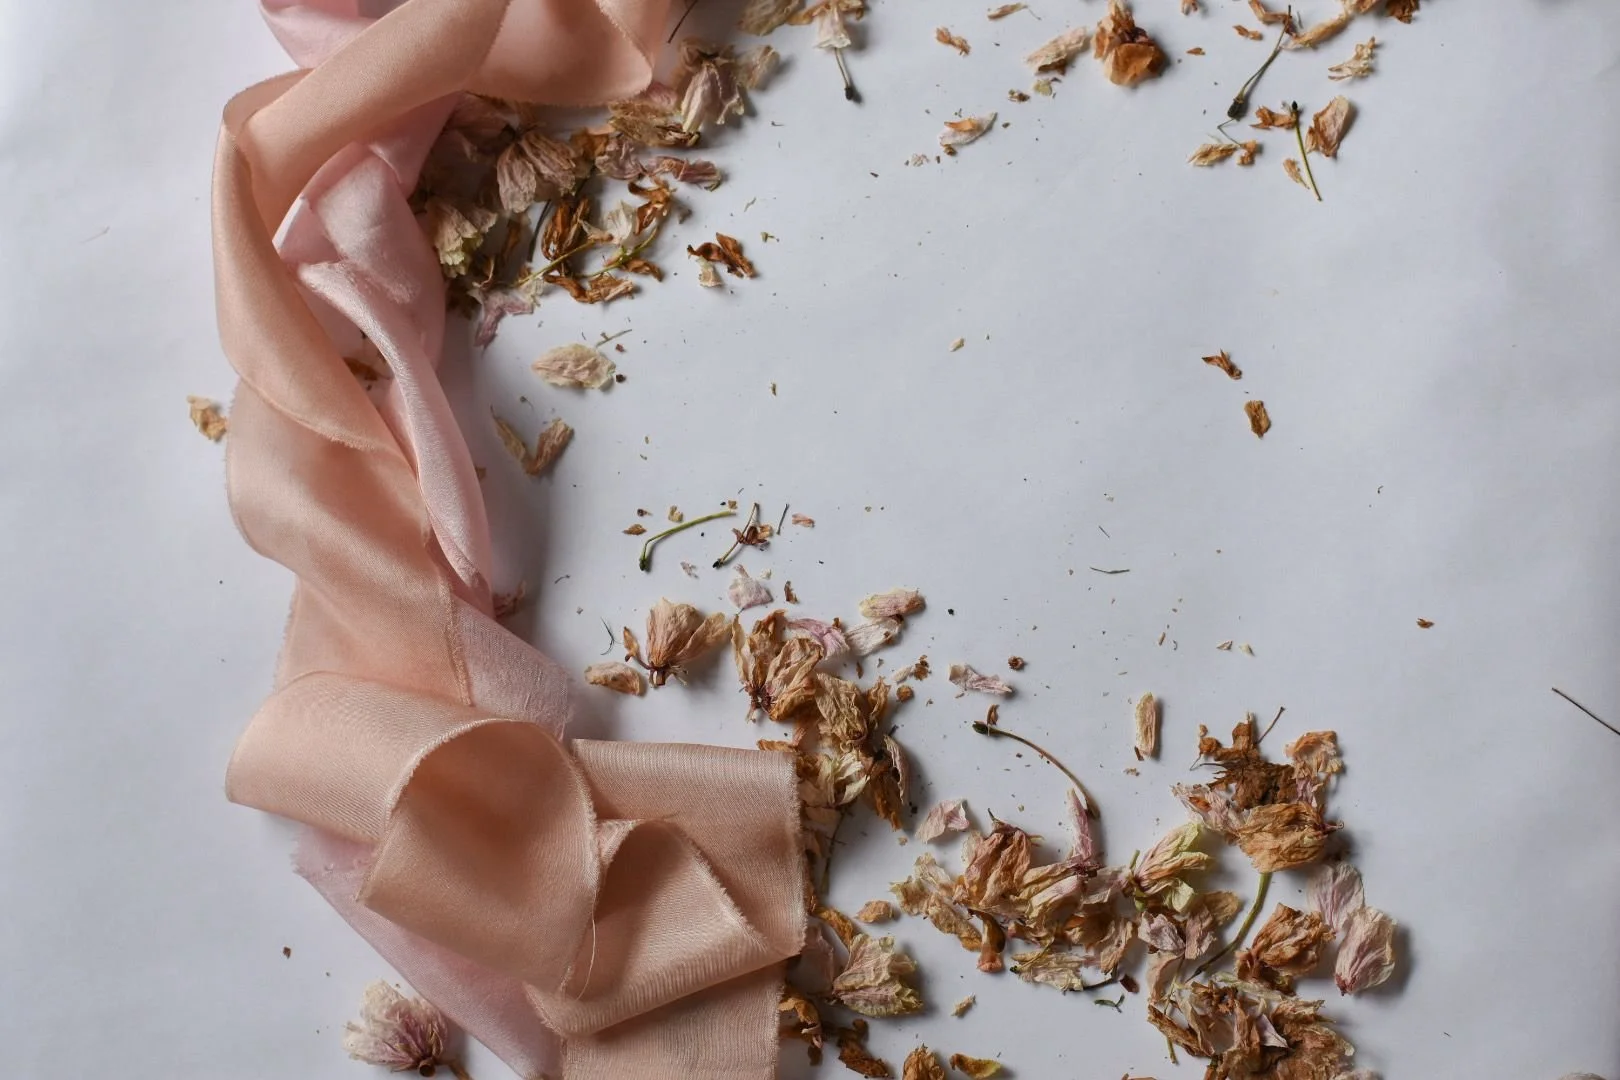
Photo: Peach and Pink shades achieved from natural dyes( madder and cutch)
PIN FOR LATER:
MINT IN WET FELTING
HOW I USE MINT FIBRES IN WET FELTING
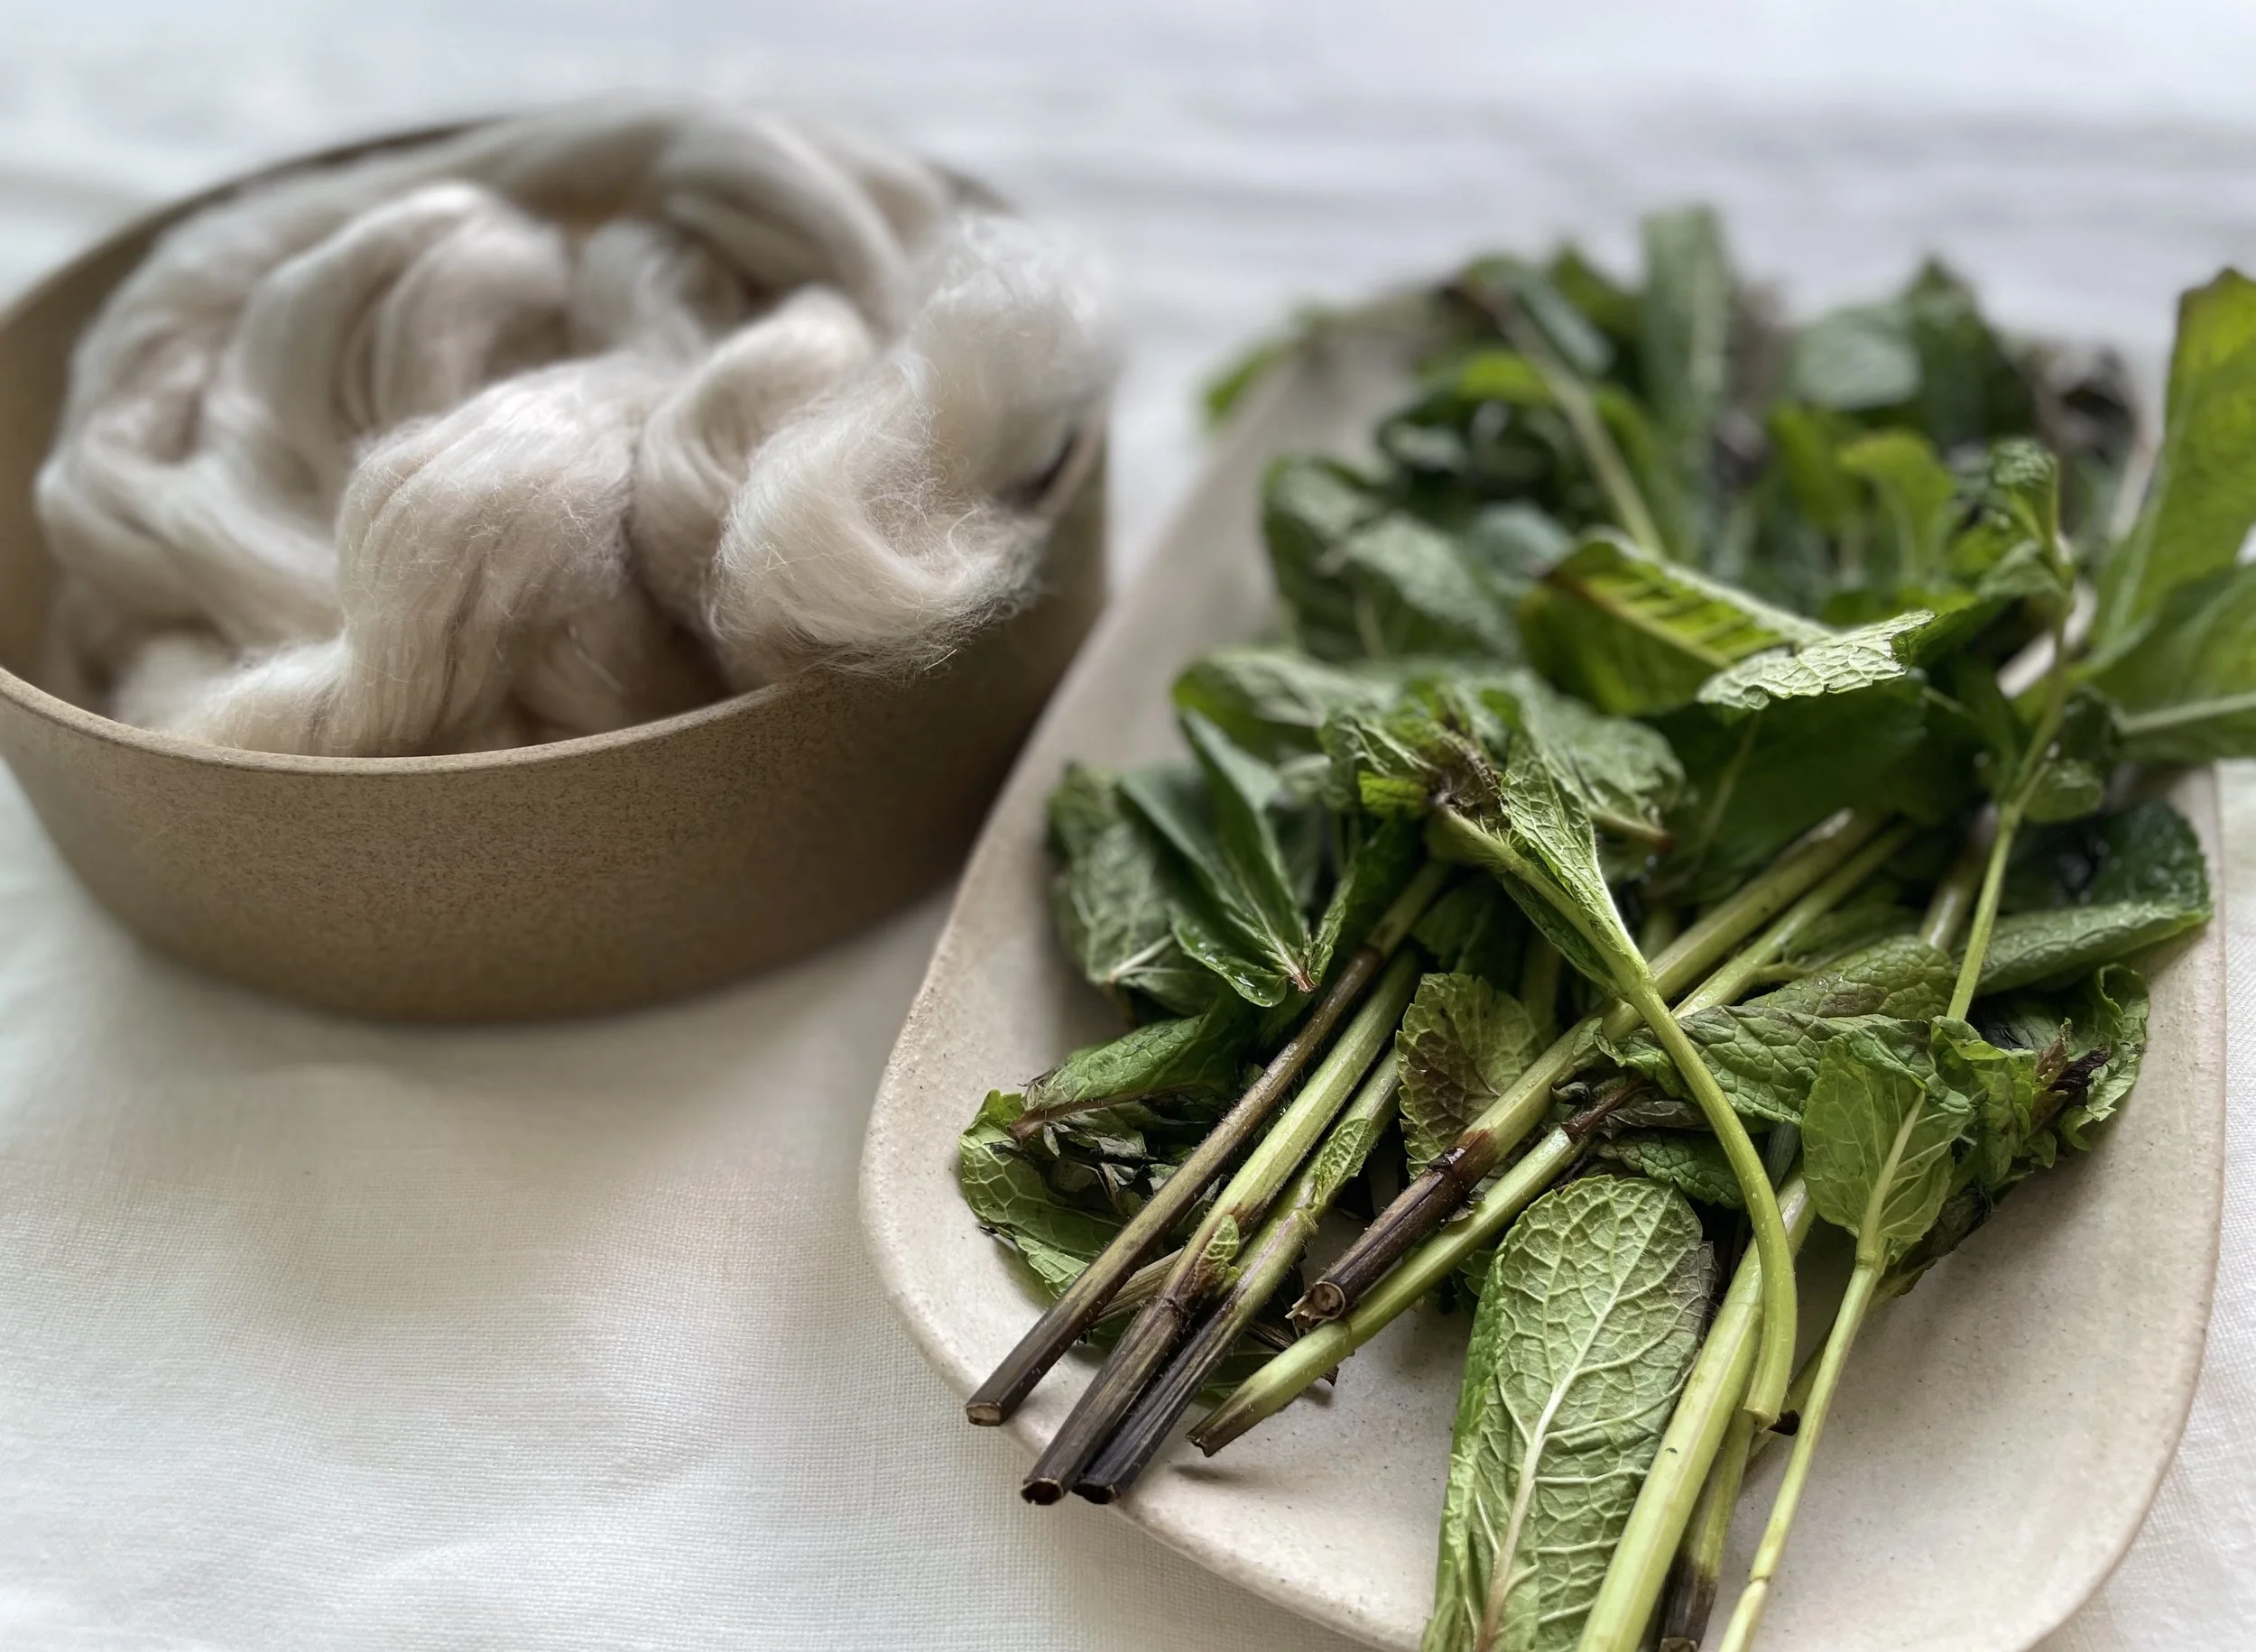
WHERE THE STORY BEGINS
My childhood summer days in my home country of Ukraine were filled with lazy daydreaming at our summer cottage on the river. I observed my family throwing a big bunch of freshly rinsed mint leaves into our tea pot and savouring the refreshing taste and lovely aroma. Mint grew wildly in the shade among the flower beds there and was not demanding or needing any special attention from any of us.
As an adult living now in the UK, I’ve come to equally enjoy the taste of mint in a chilled mojito, or as an accompaniment to all sorts of savoury and sweet dishes.
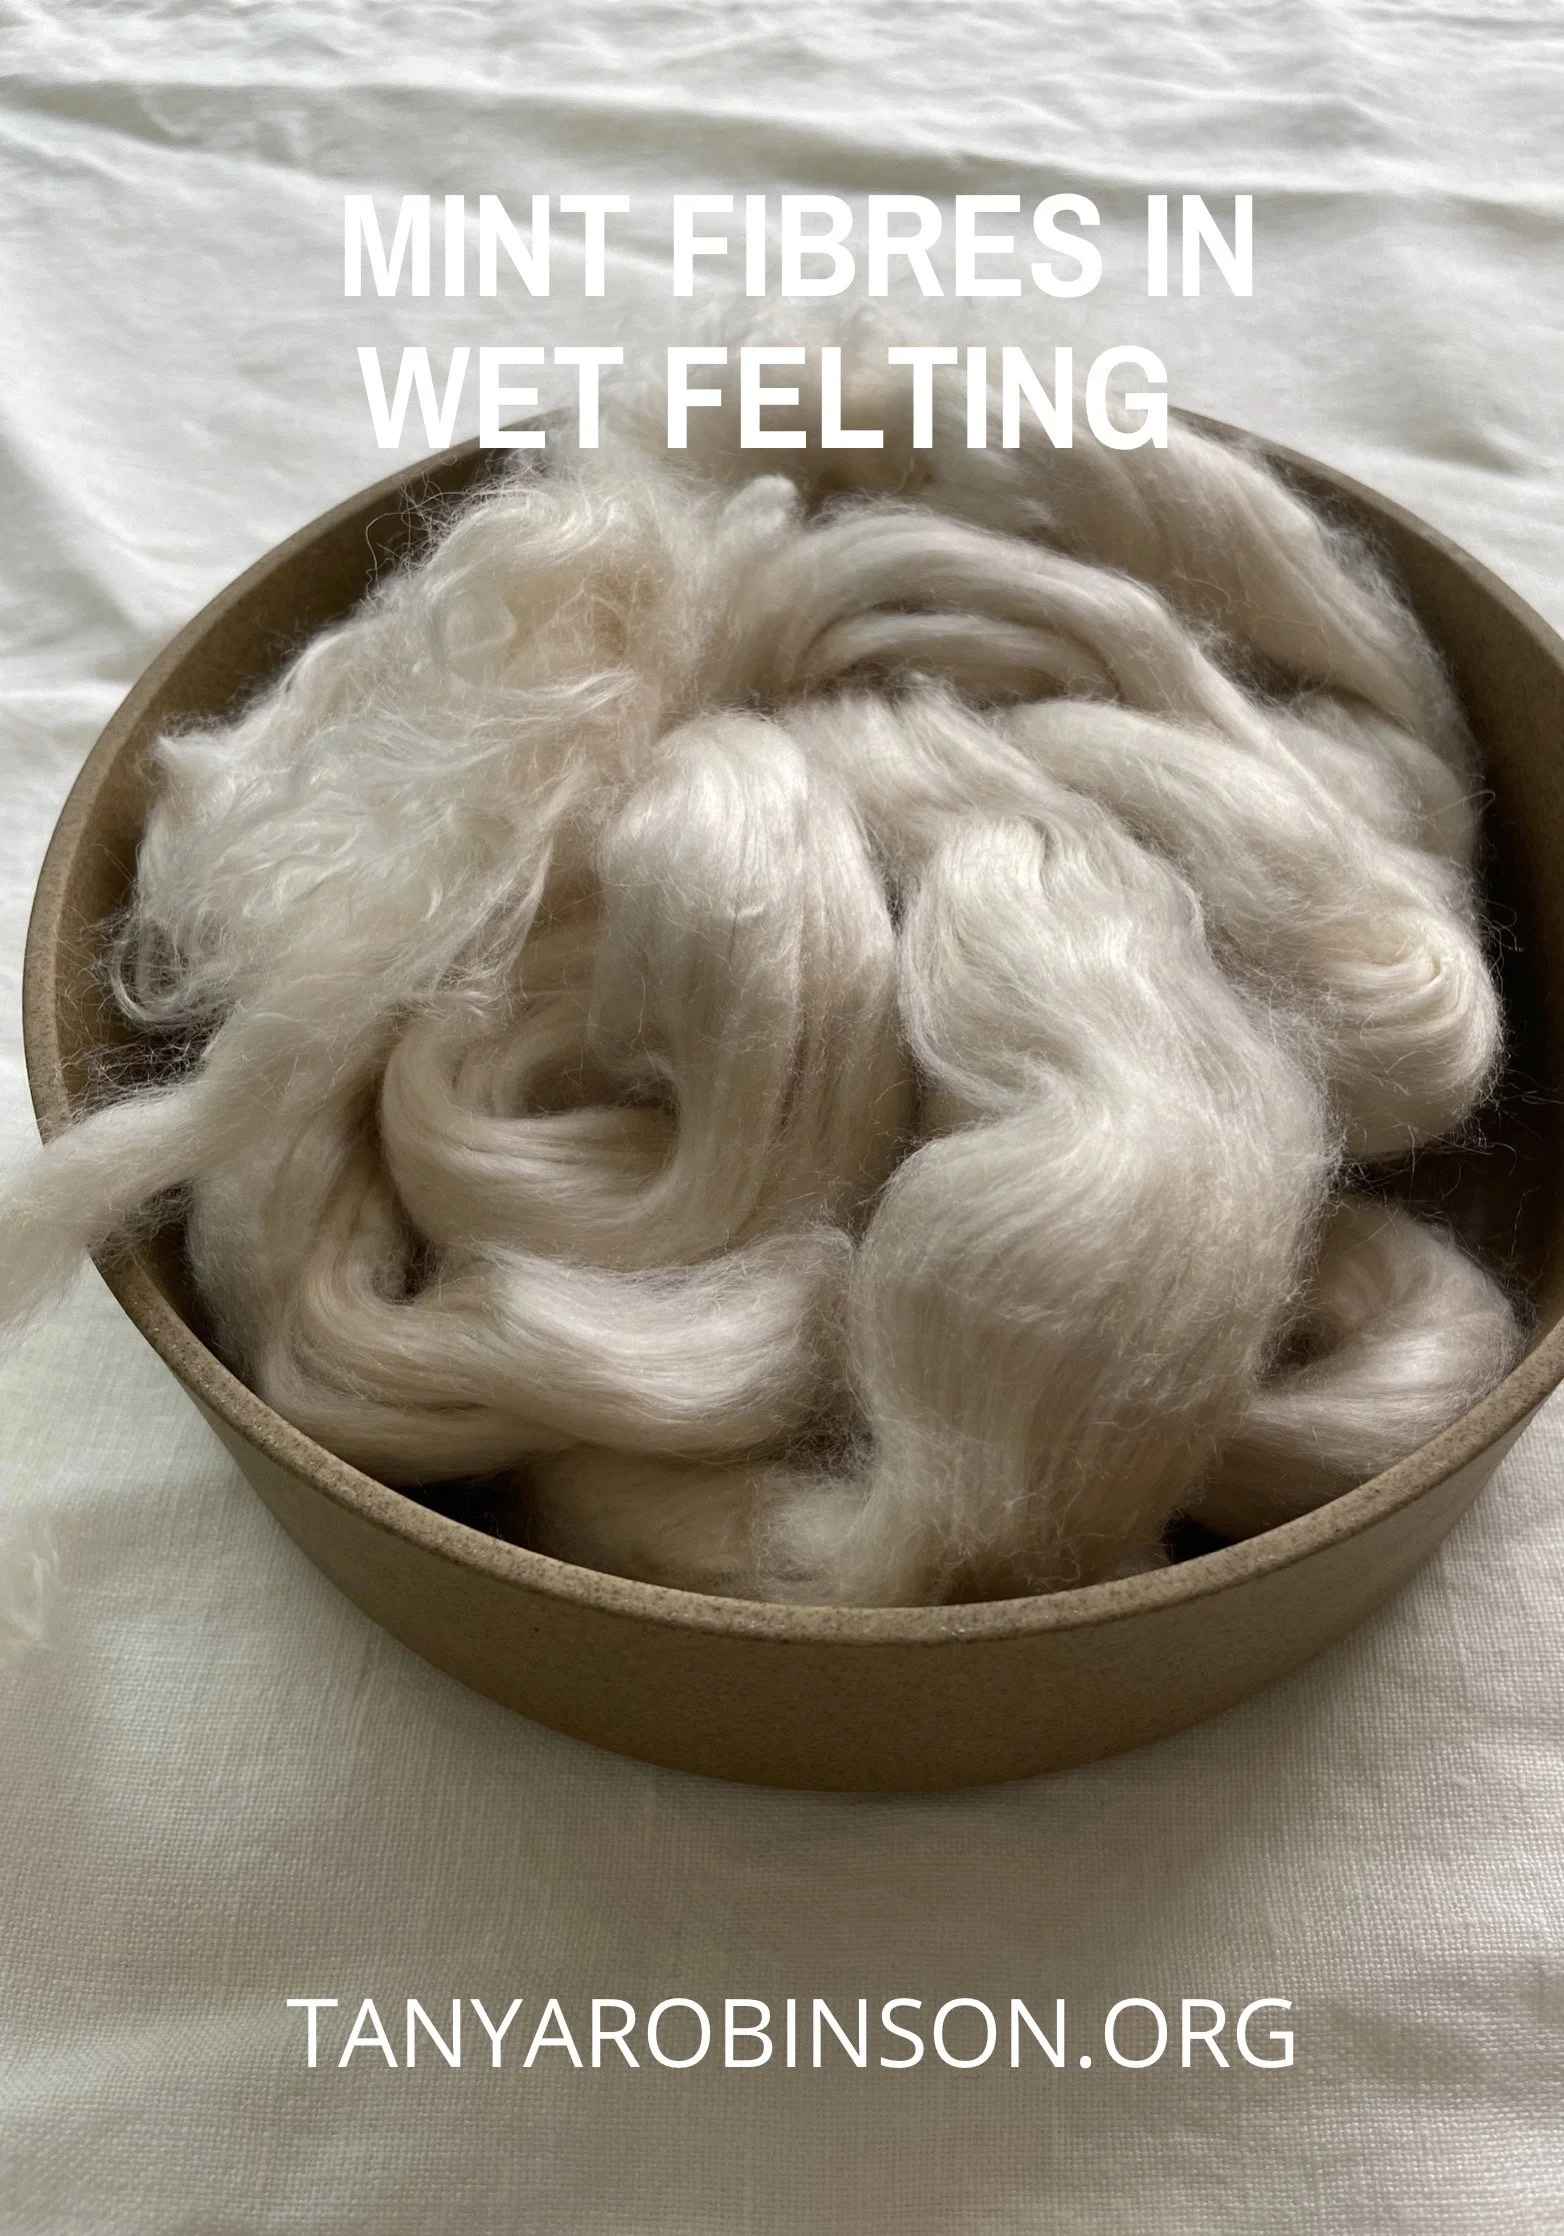
My utter surprise, far from the kitchen, was when I found mint fibres extracted from peppermint leaves in the wet felting materials and supplies. The fibres looked like nothing I expected - very natural, sheen, soft to touch and almost light golden in the sun.
MINT AS WE ALL KNOW IT
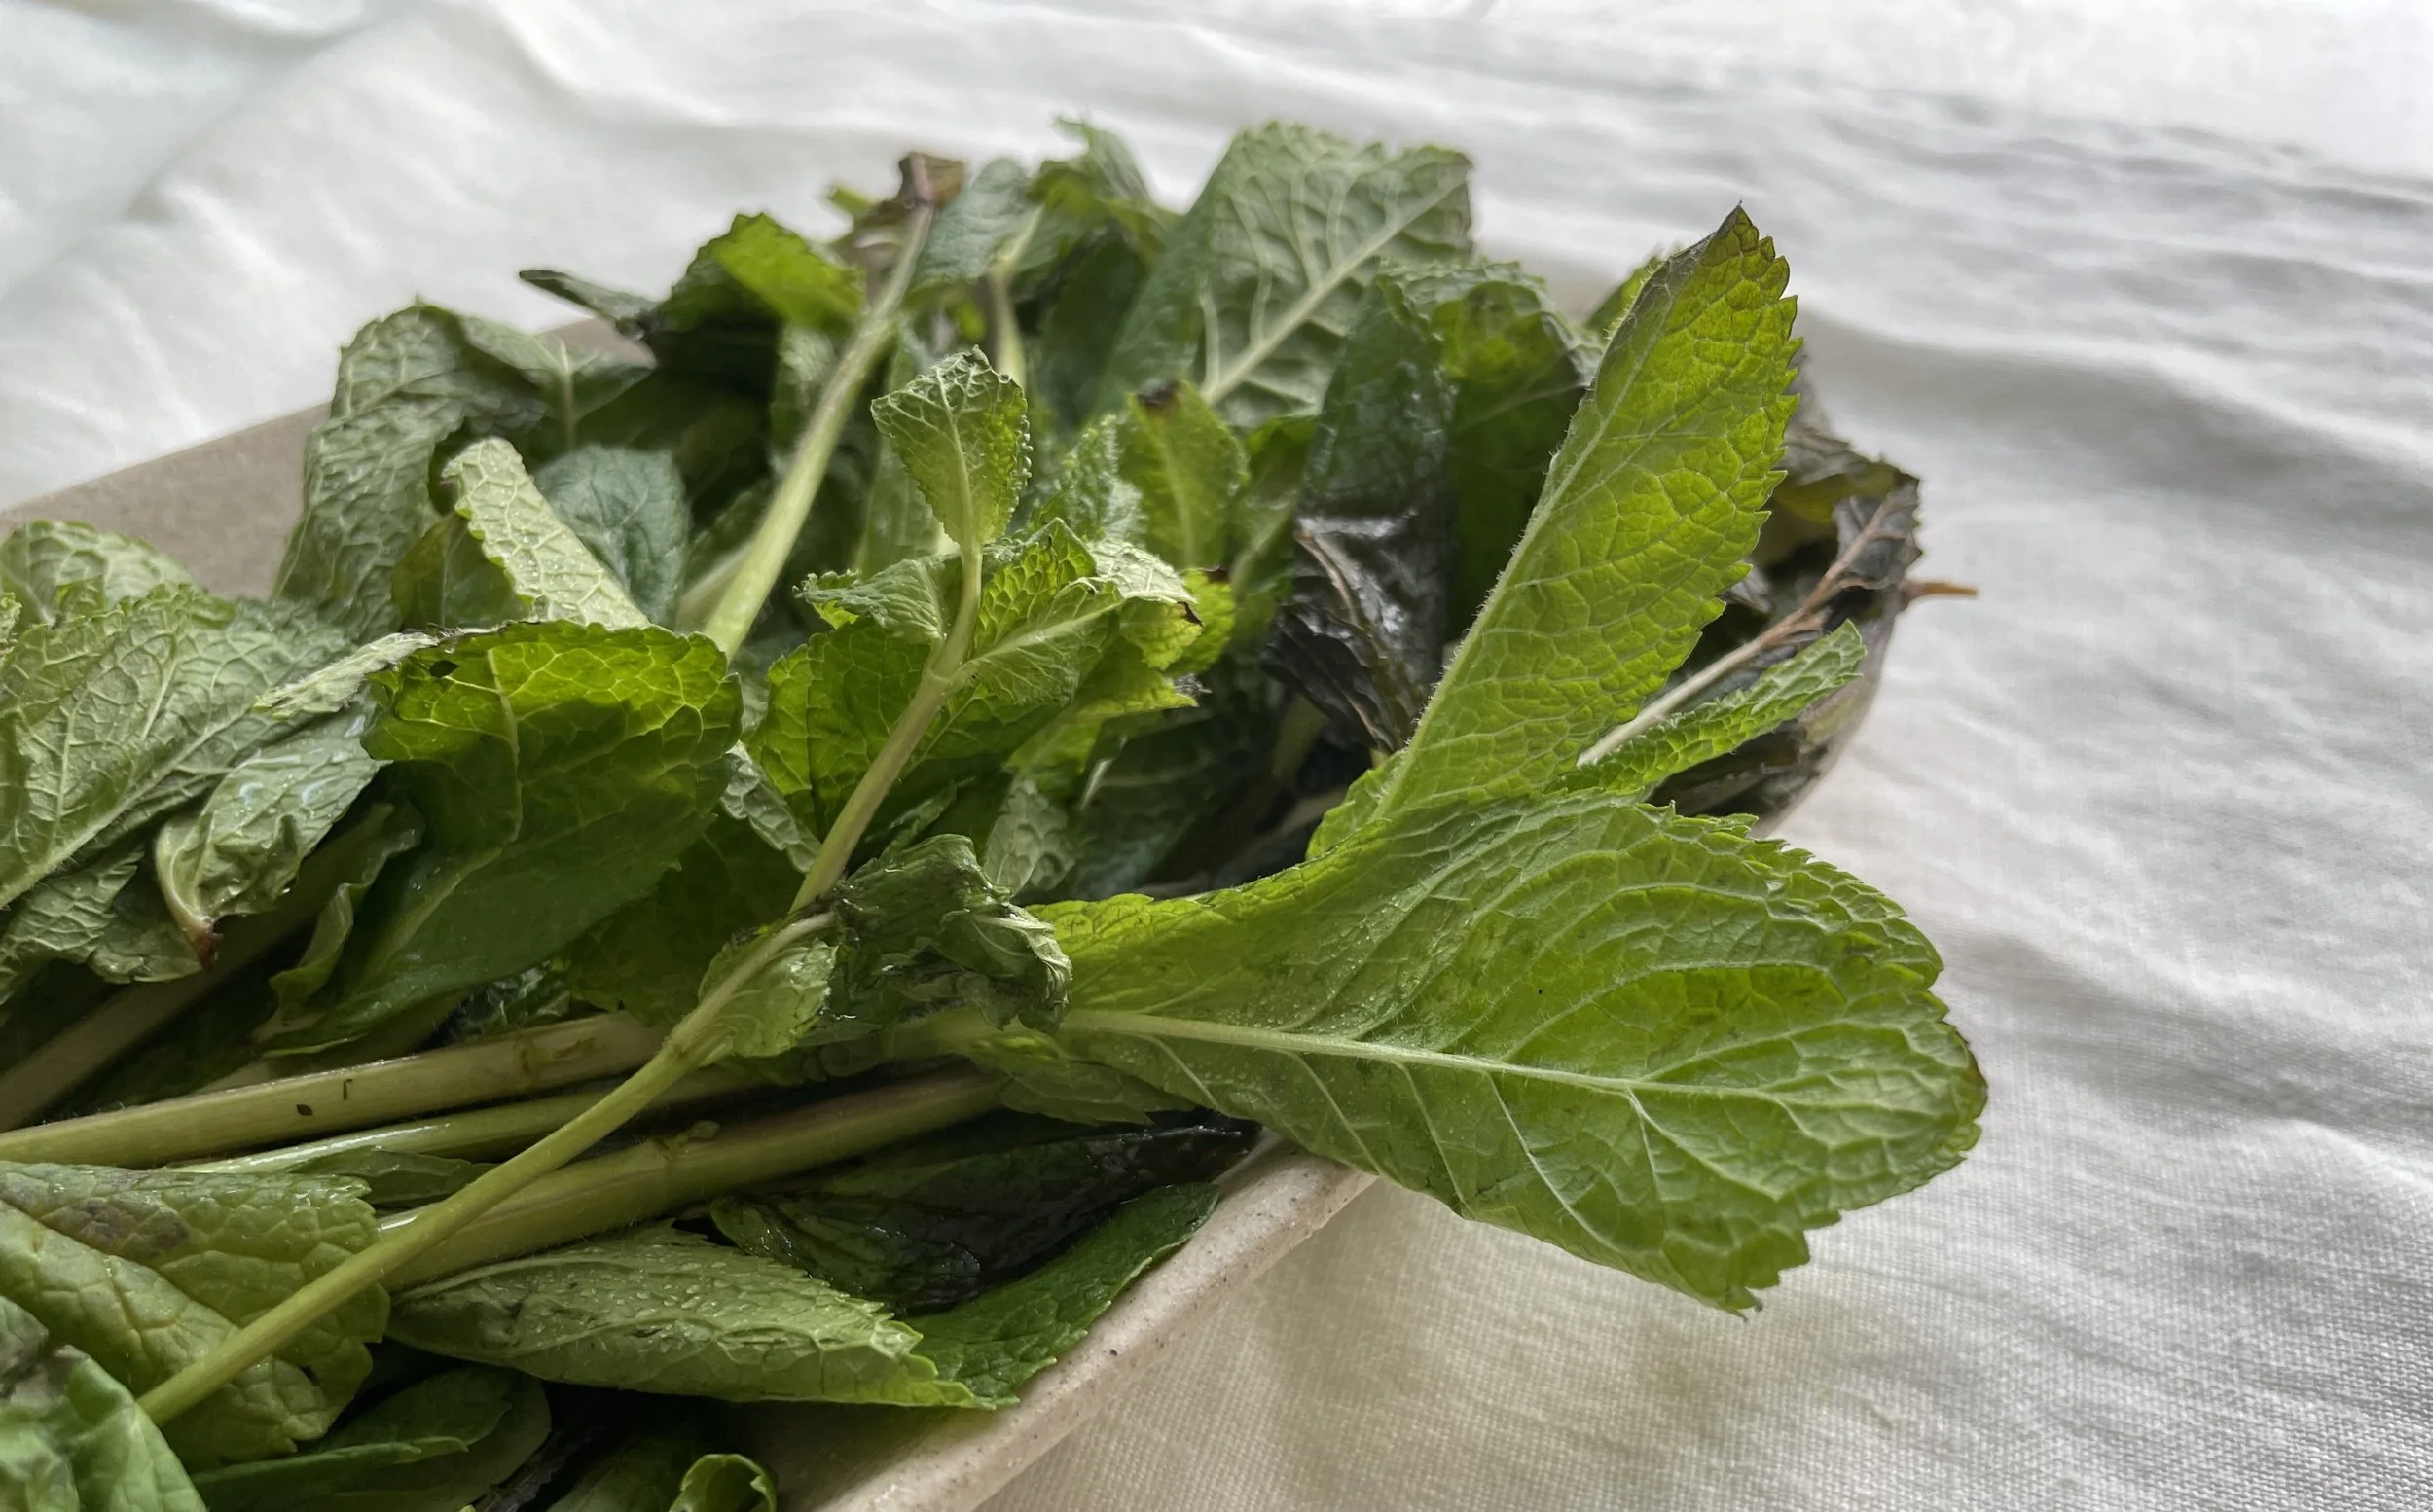
Mint herb is a plant that has been widely used for centuries for its medicinal, culinary, and aromatic properties.
Mint has a distinctive physical appearance, with bright green leaves that are slightly fuzzy to the touch. The leaves are oval-shaped with uneven edges, and they often grow in pairs opposite each other on the stem. Mint plants can grow quite tall, with some varieties reaching up to three feet in height.
Yet it’s the scent which is the most amazing, memorable feature. Mint herb has a refreshing and invigorating aroma that is instantly recognisable. The scent is cool and crisp, with a slight sweetness and a hint of spice. Simply crushing a few mint leaves in your hand can release a burst of fragrance that can instantly uplift your mood and refresh your senses.
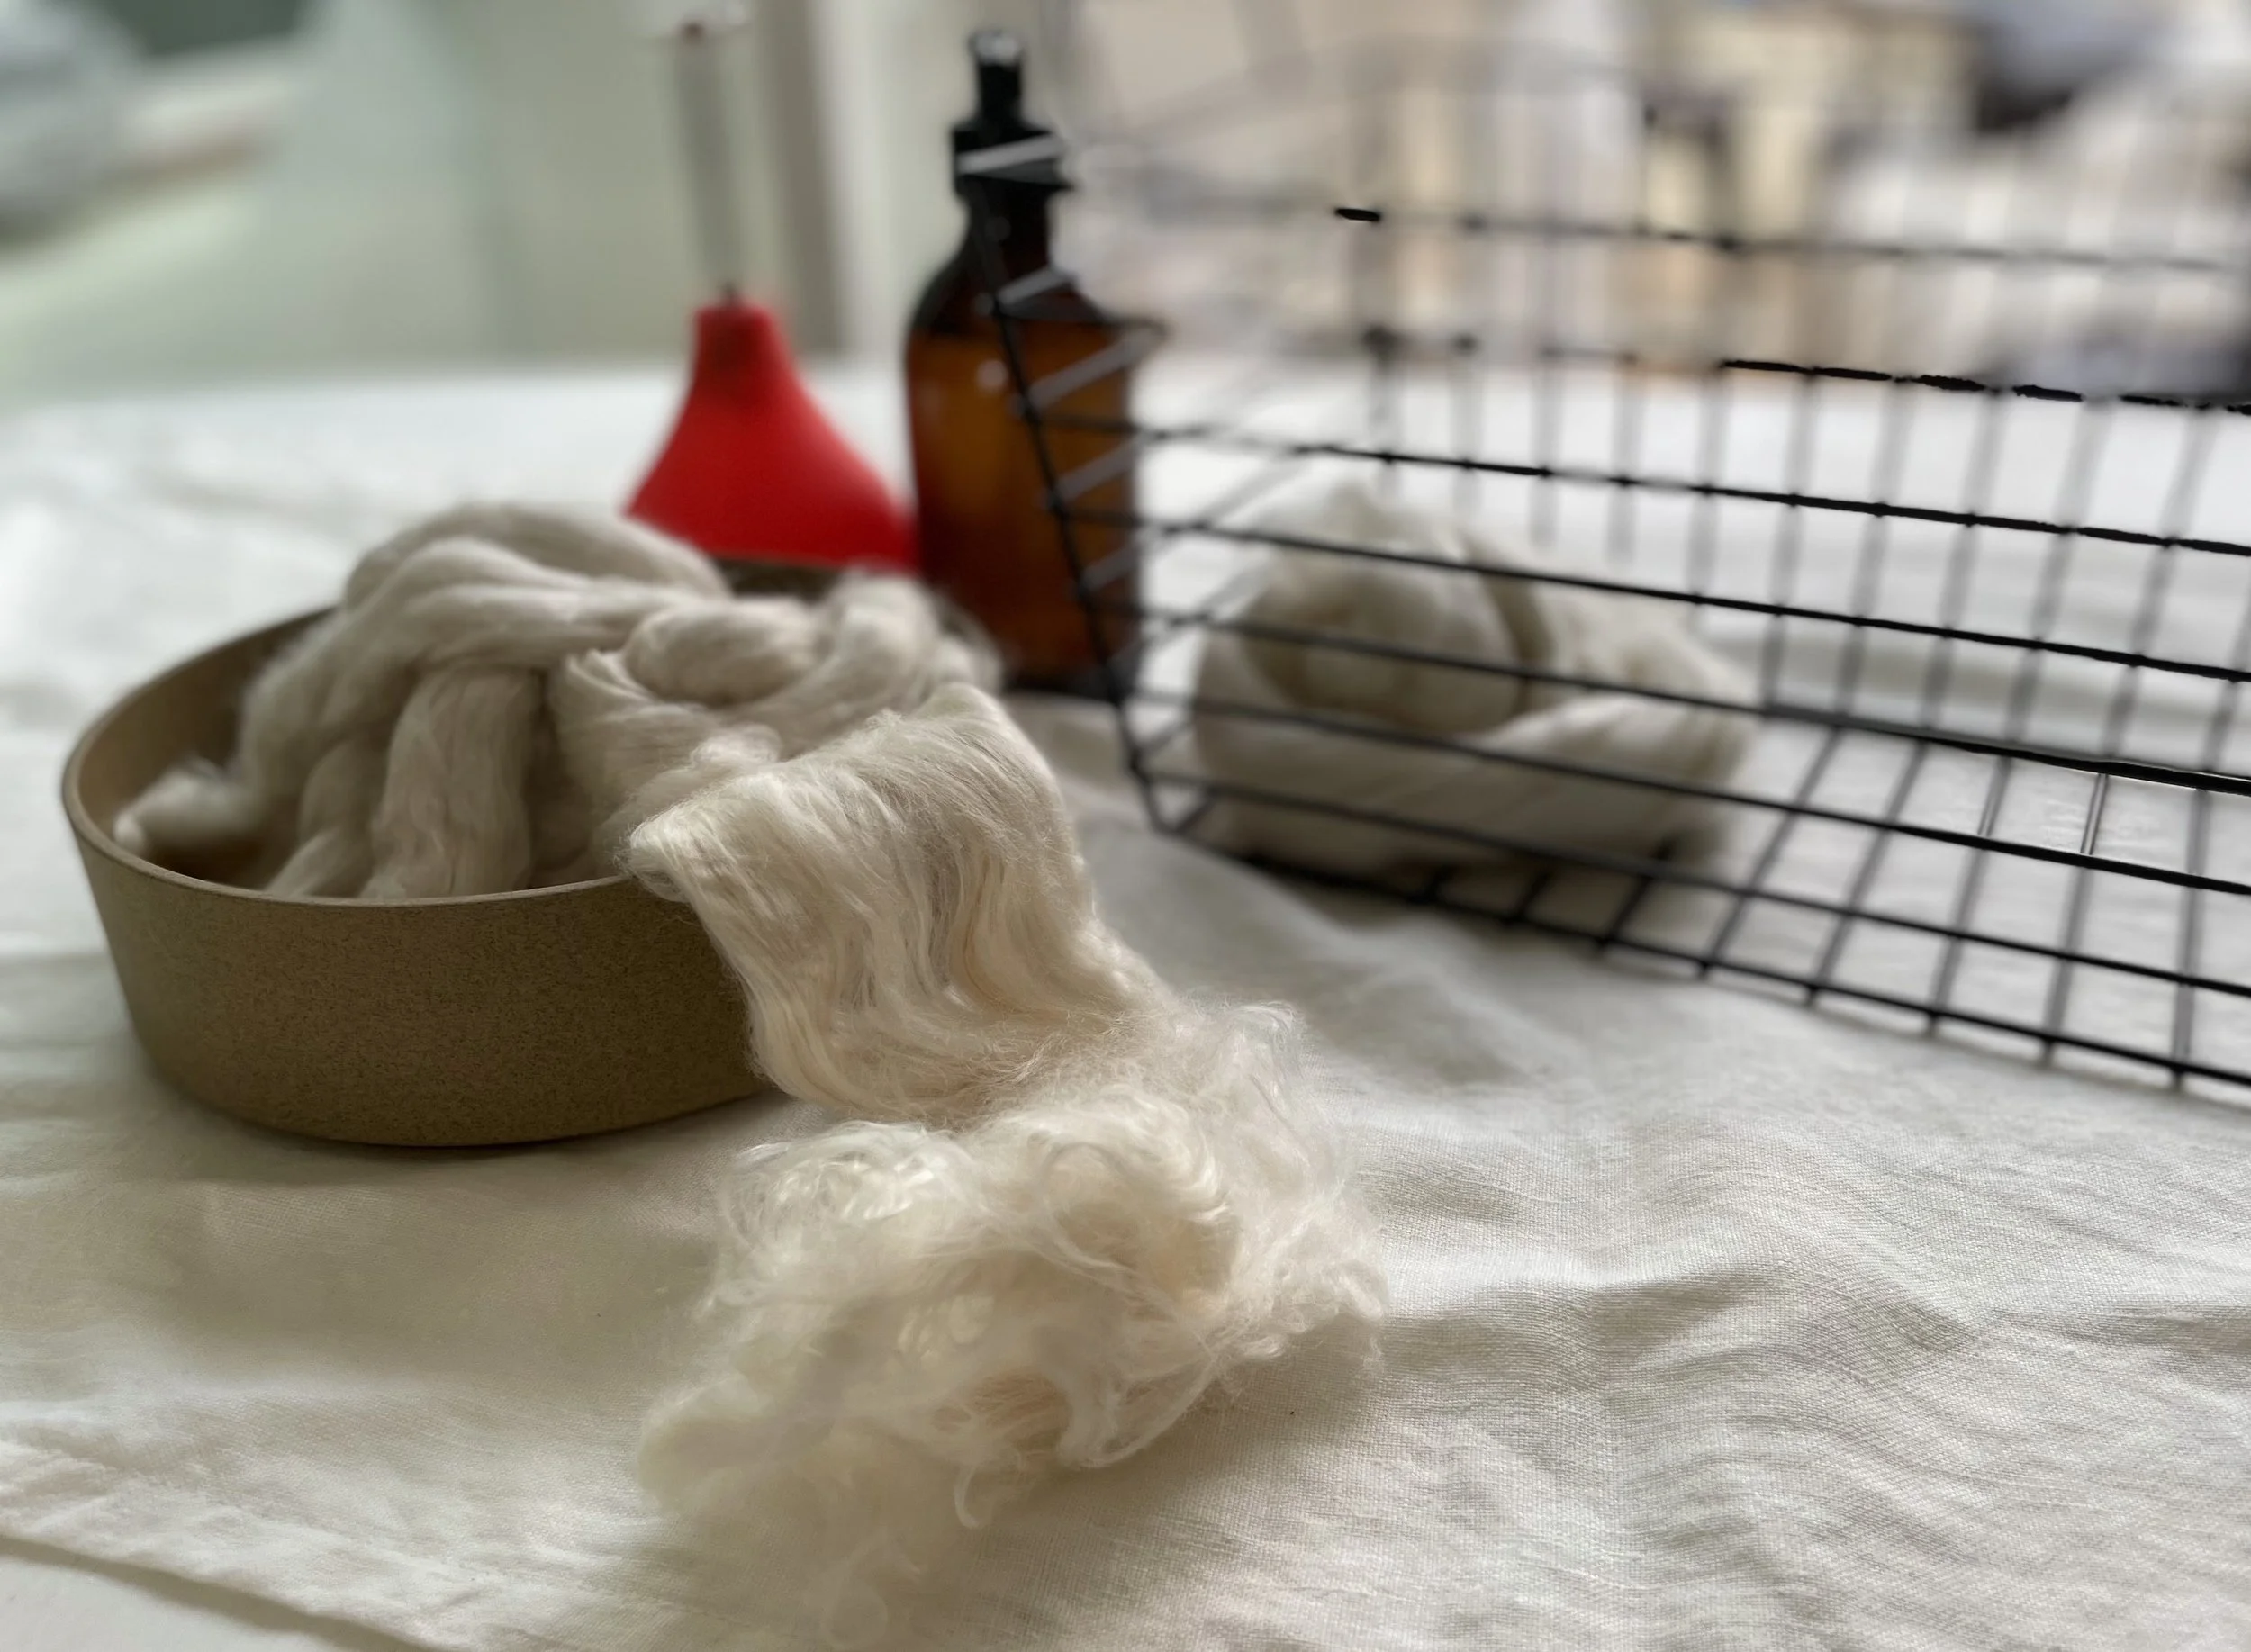
AMAZING WET FELTING RESULTS
When adding mint fibres to your wet felting project, it's important to keep in mind that natural fibres do not bond well with the other fibres in the felted material. They can be blended and even mixed up with small amounts of other fibres if you prefer beforehand.
However, wool always acts like a glue and your layout should have the wool of your choice as a base layer. The choice how it is laid is yours- in finer strands or in a thicker layout depending on the goal in mind but fibres always bond to wool due to its amazing unique properties of wool itself.
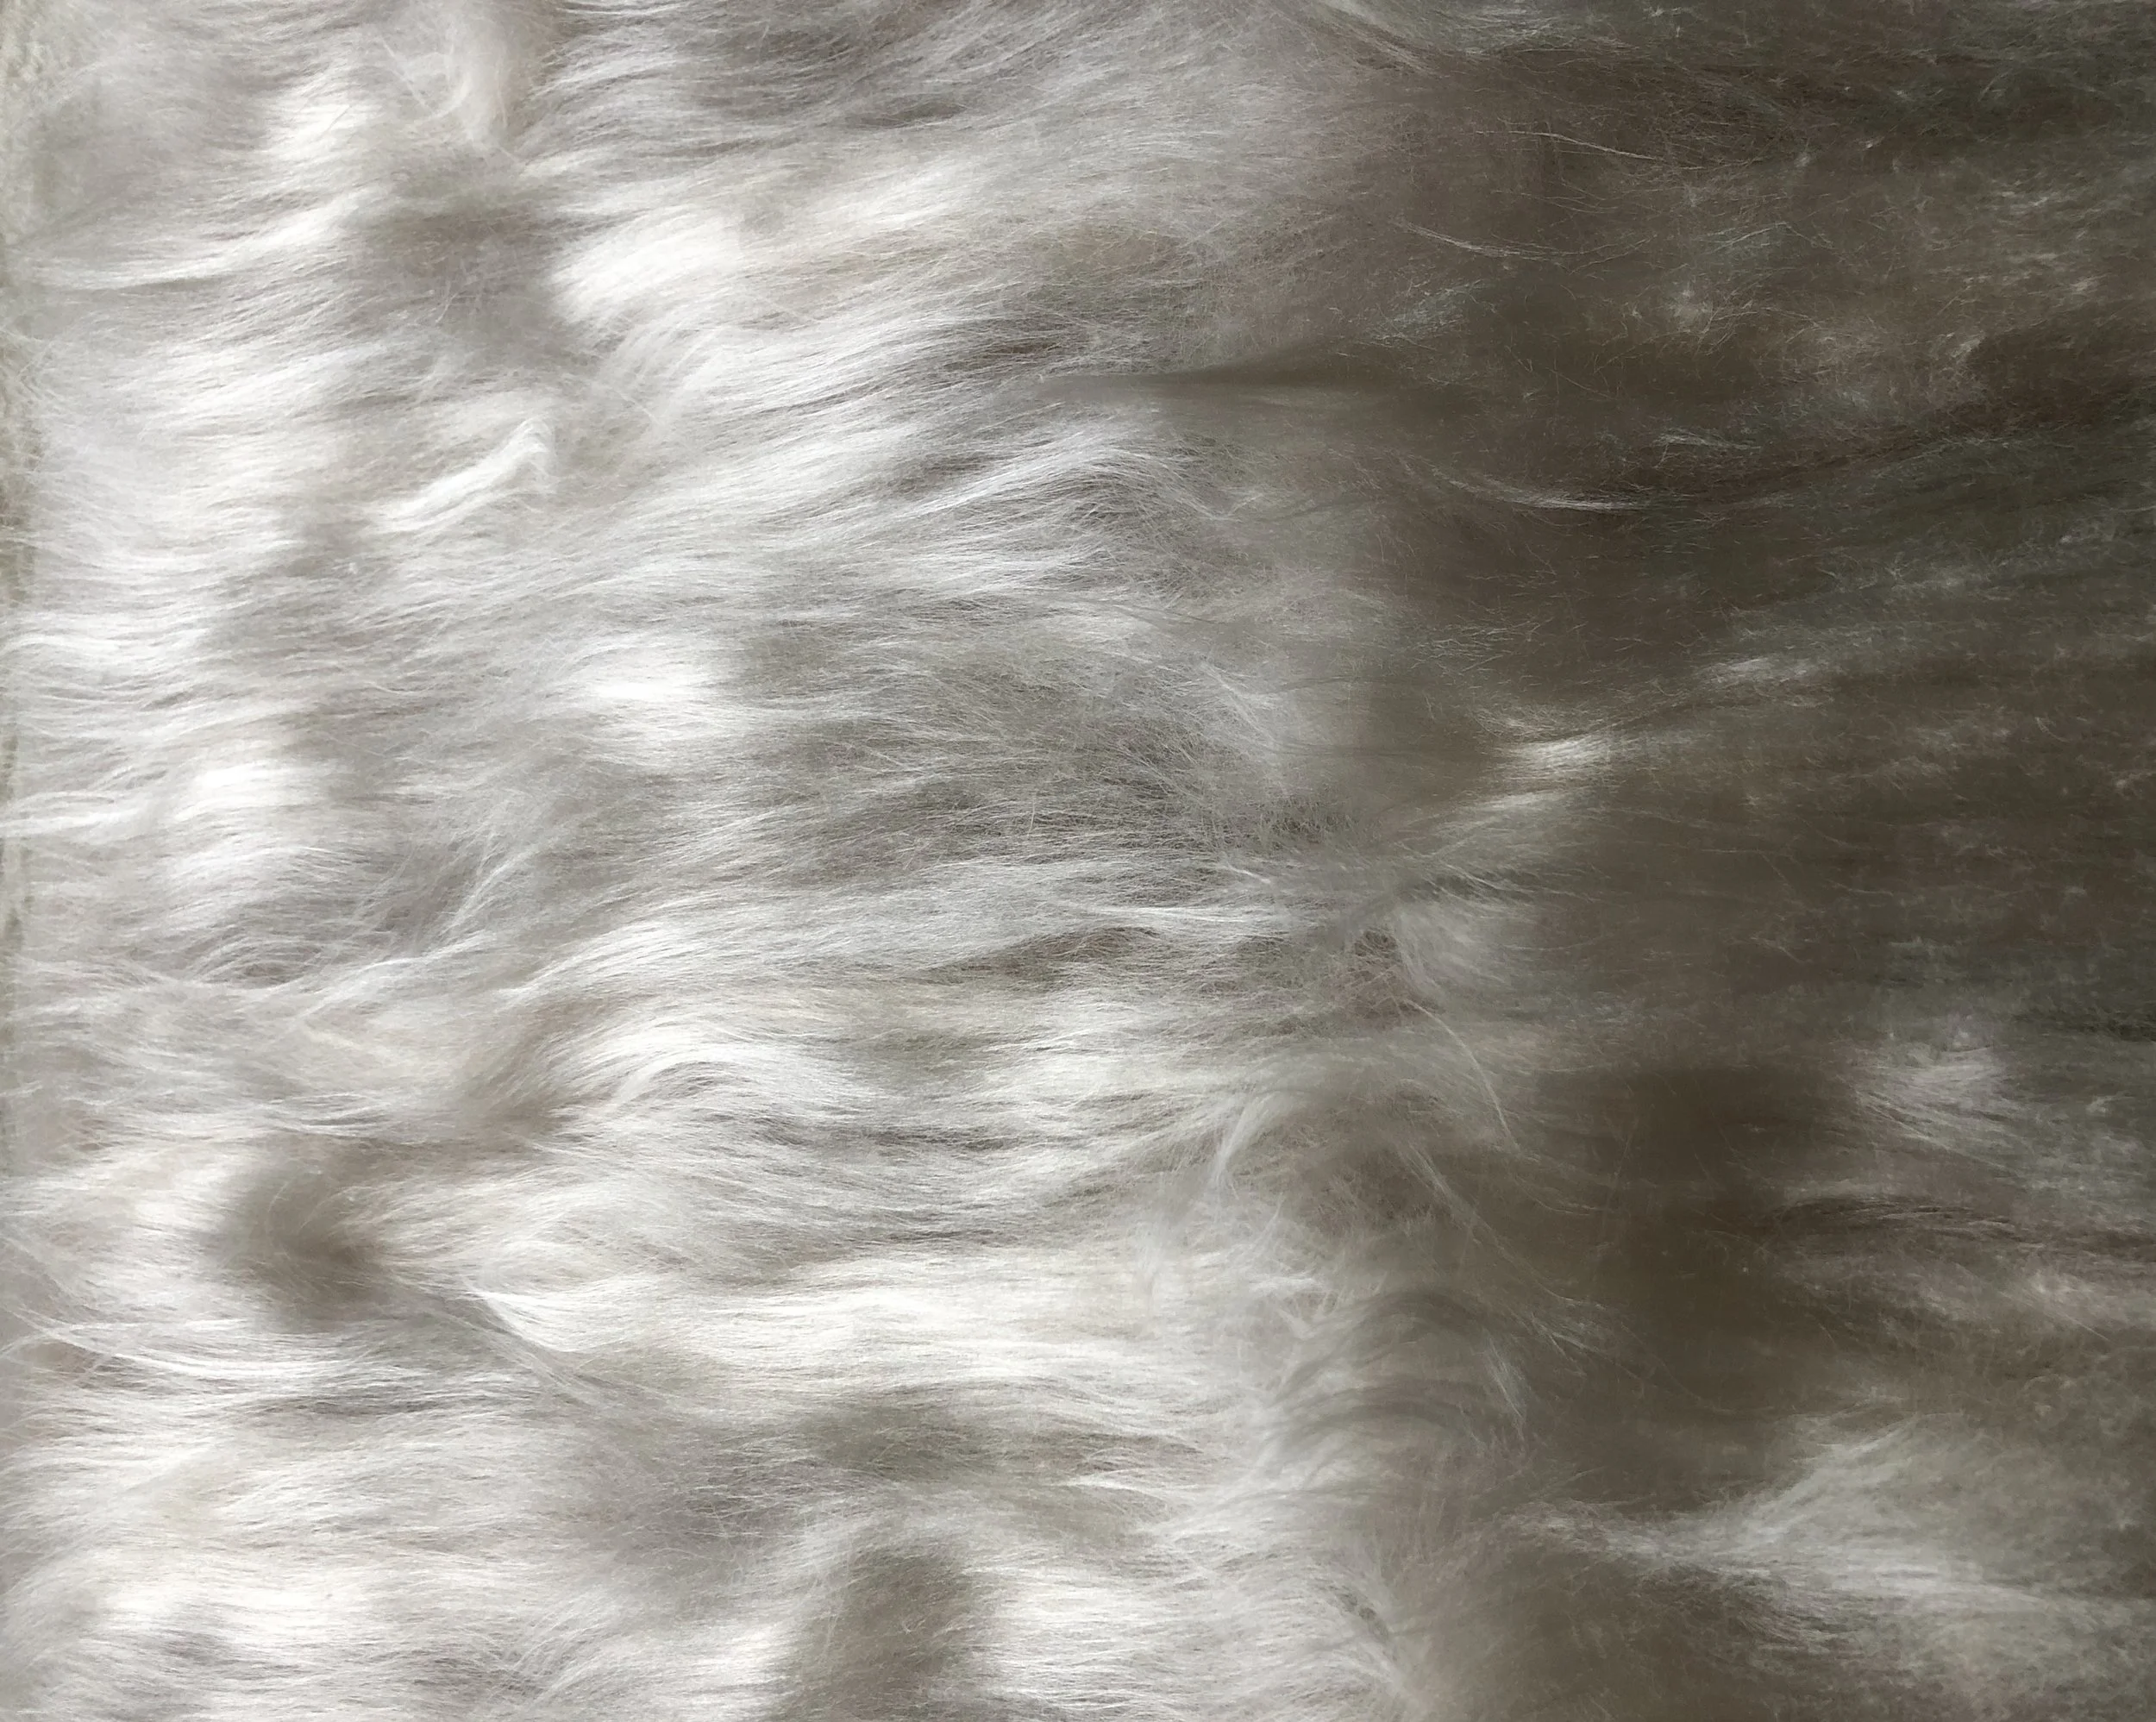
The following photo shows strands of tactile mint fibres spread on the fine merino wool layer covering it completely.
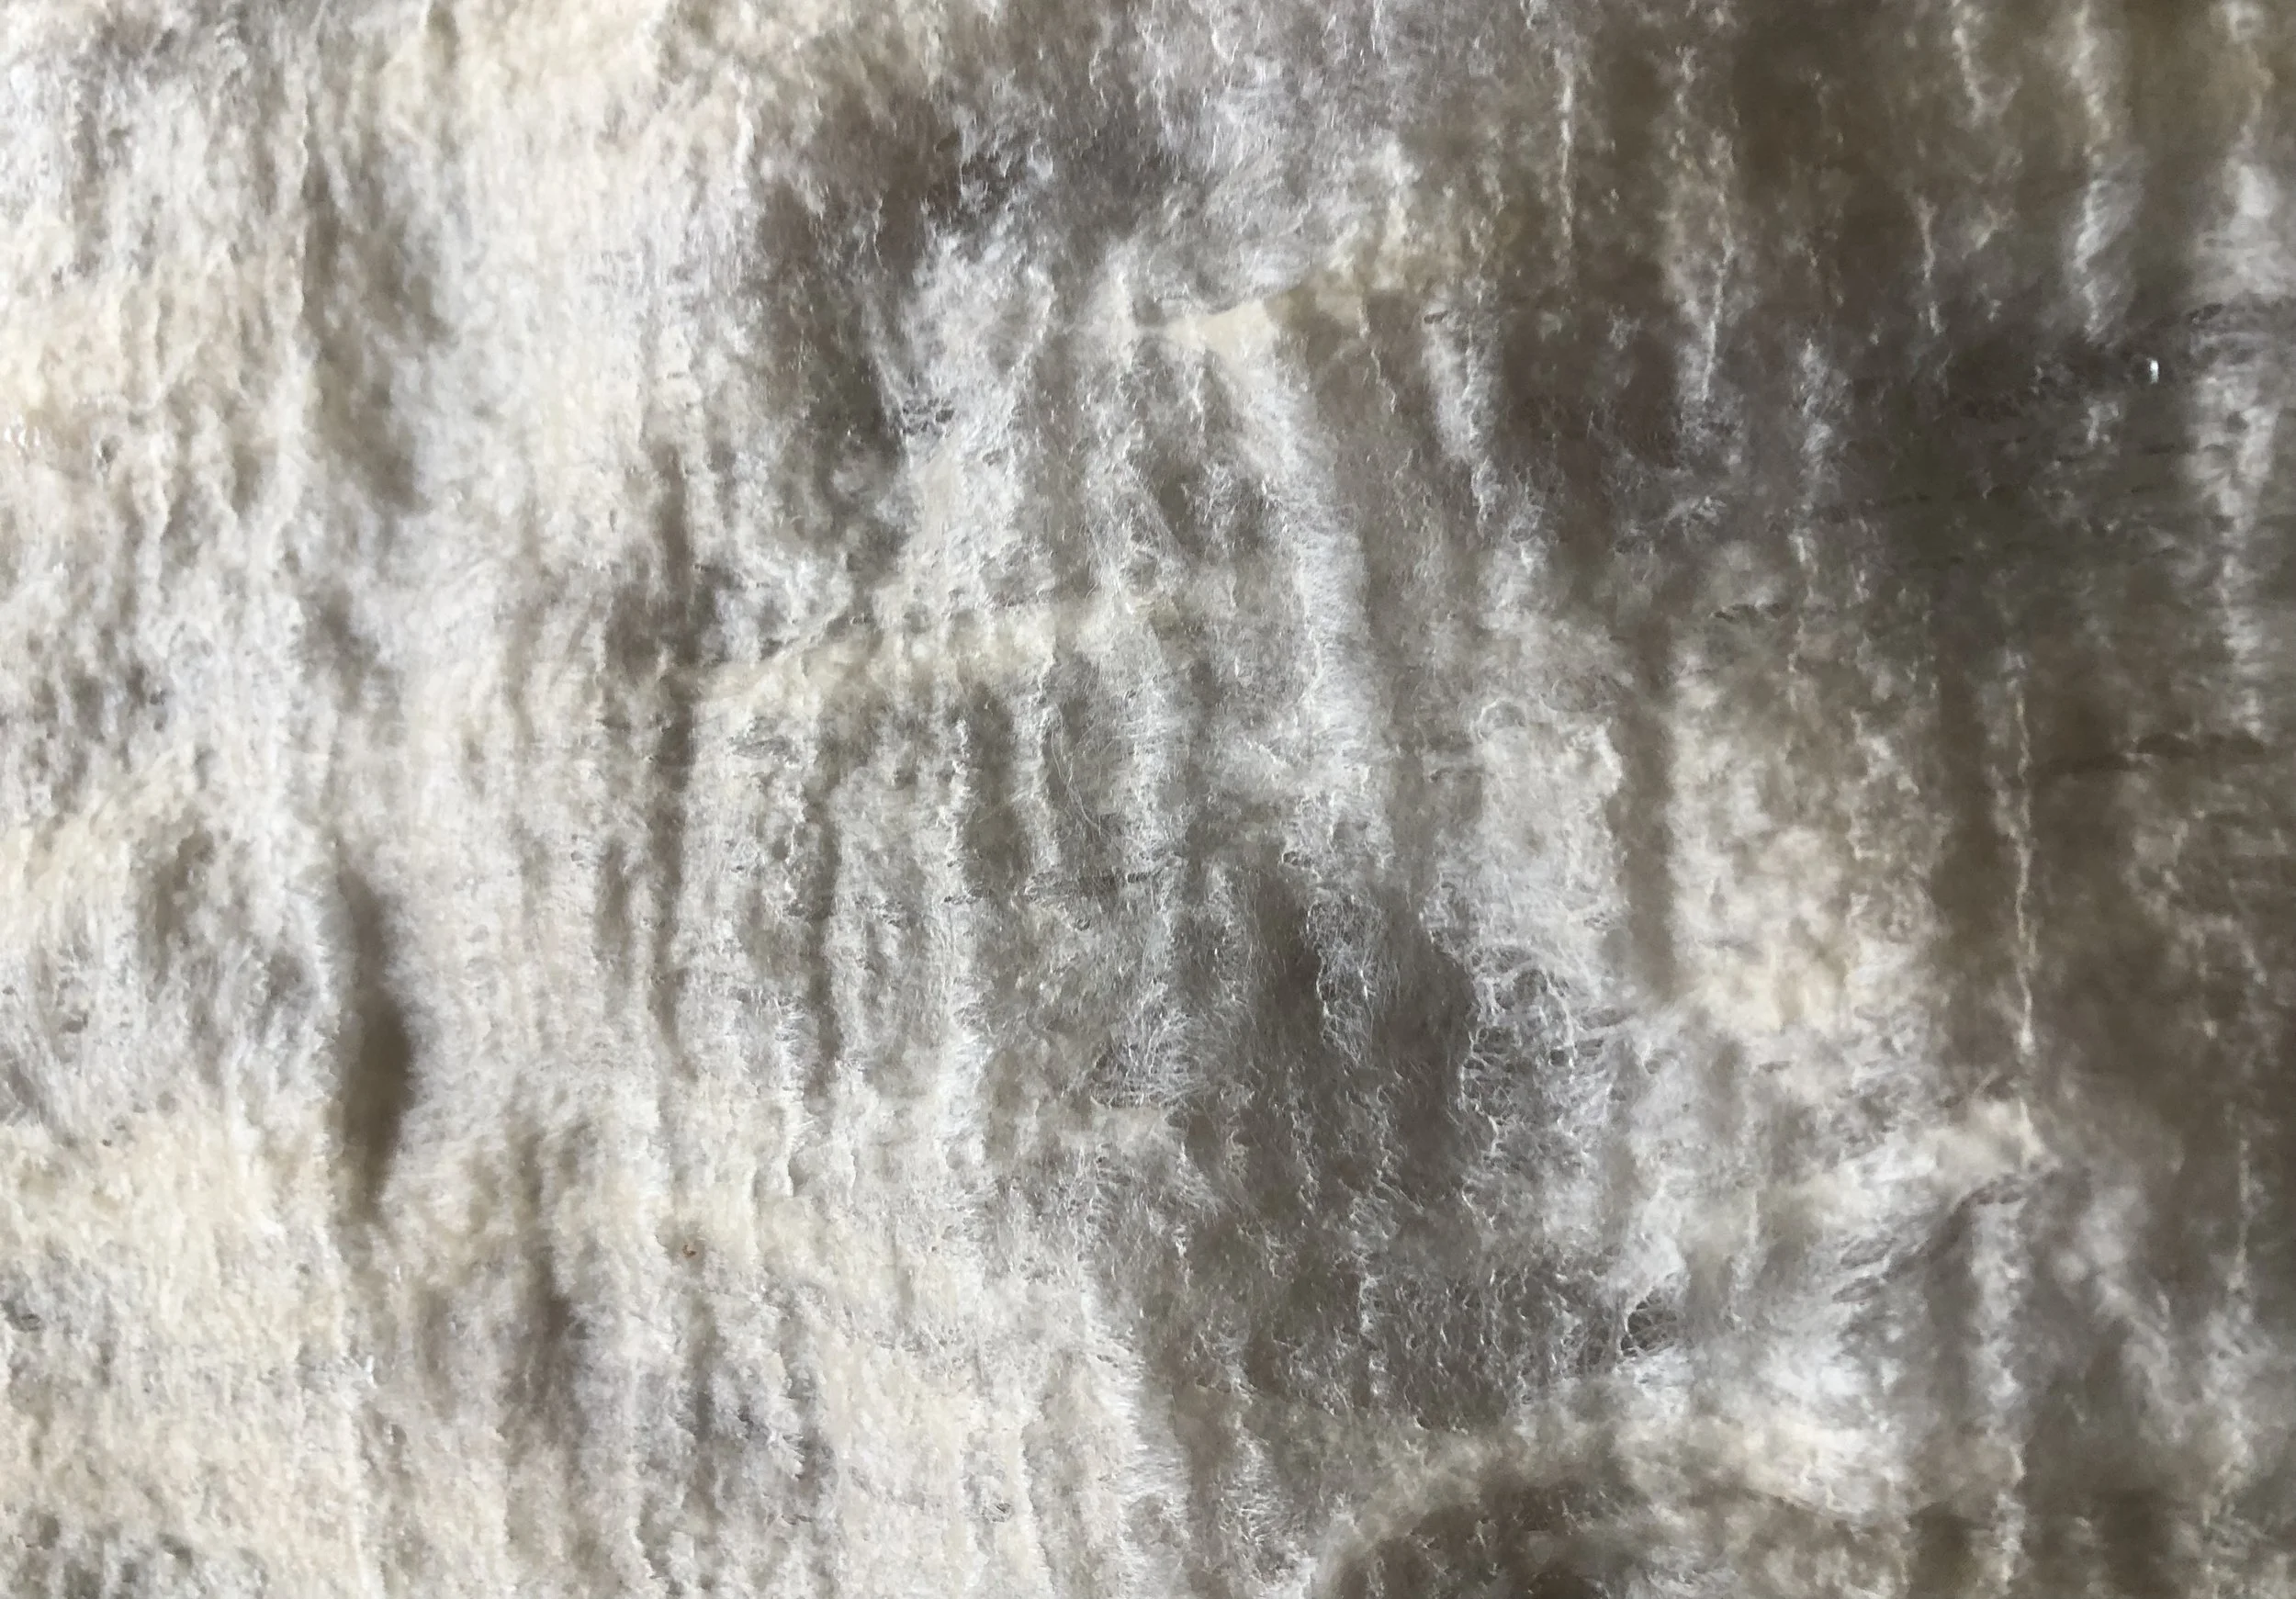
Here in the next photo you can see the wool and fibres are sprayed with look warm water and soap, the basic elements of wet felting. The wet felting process begins.
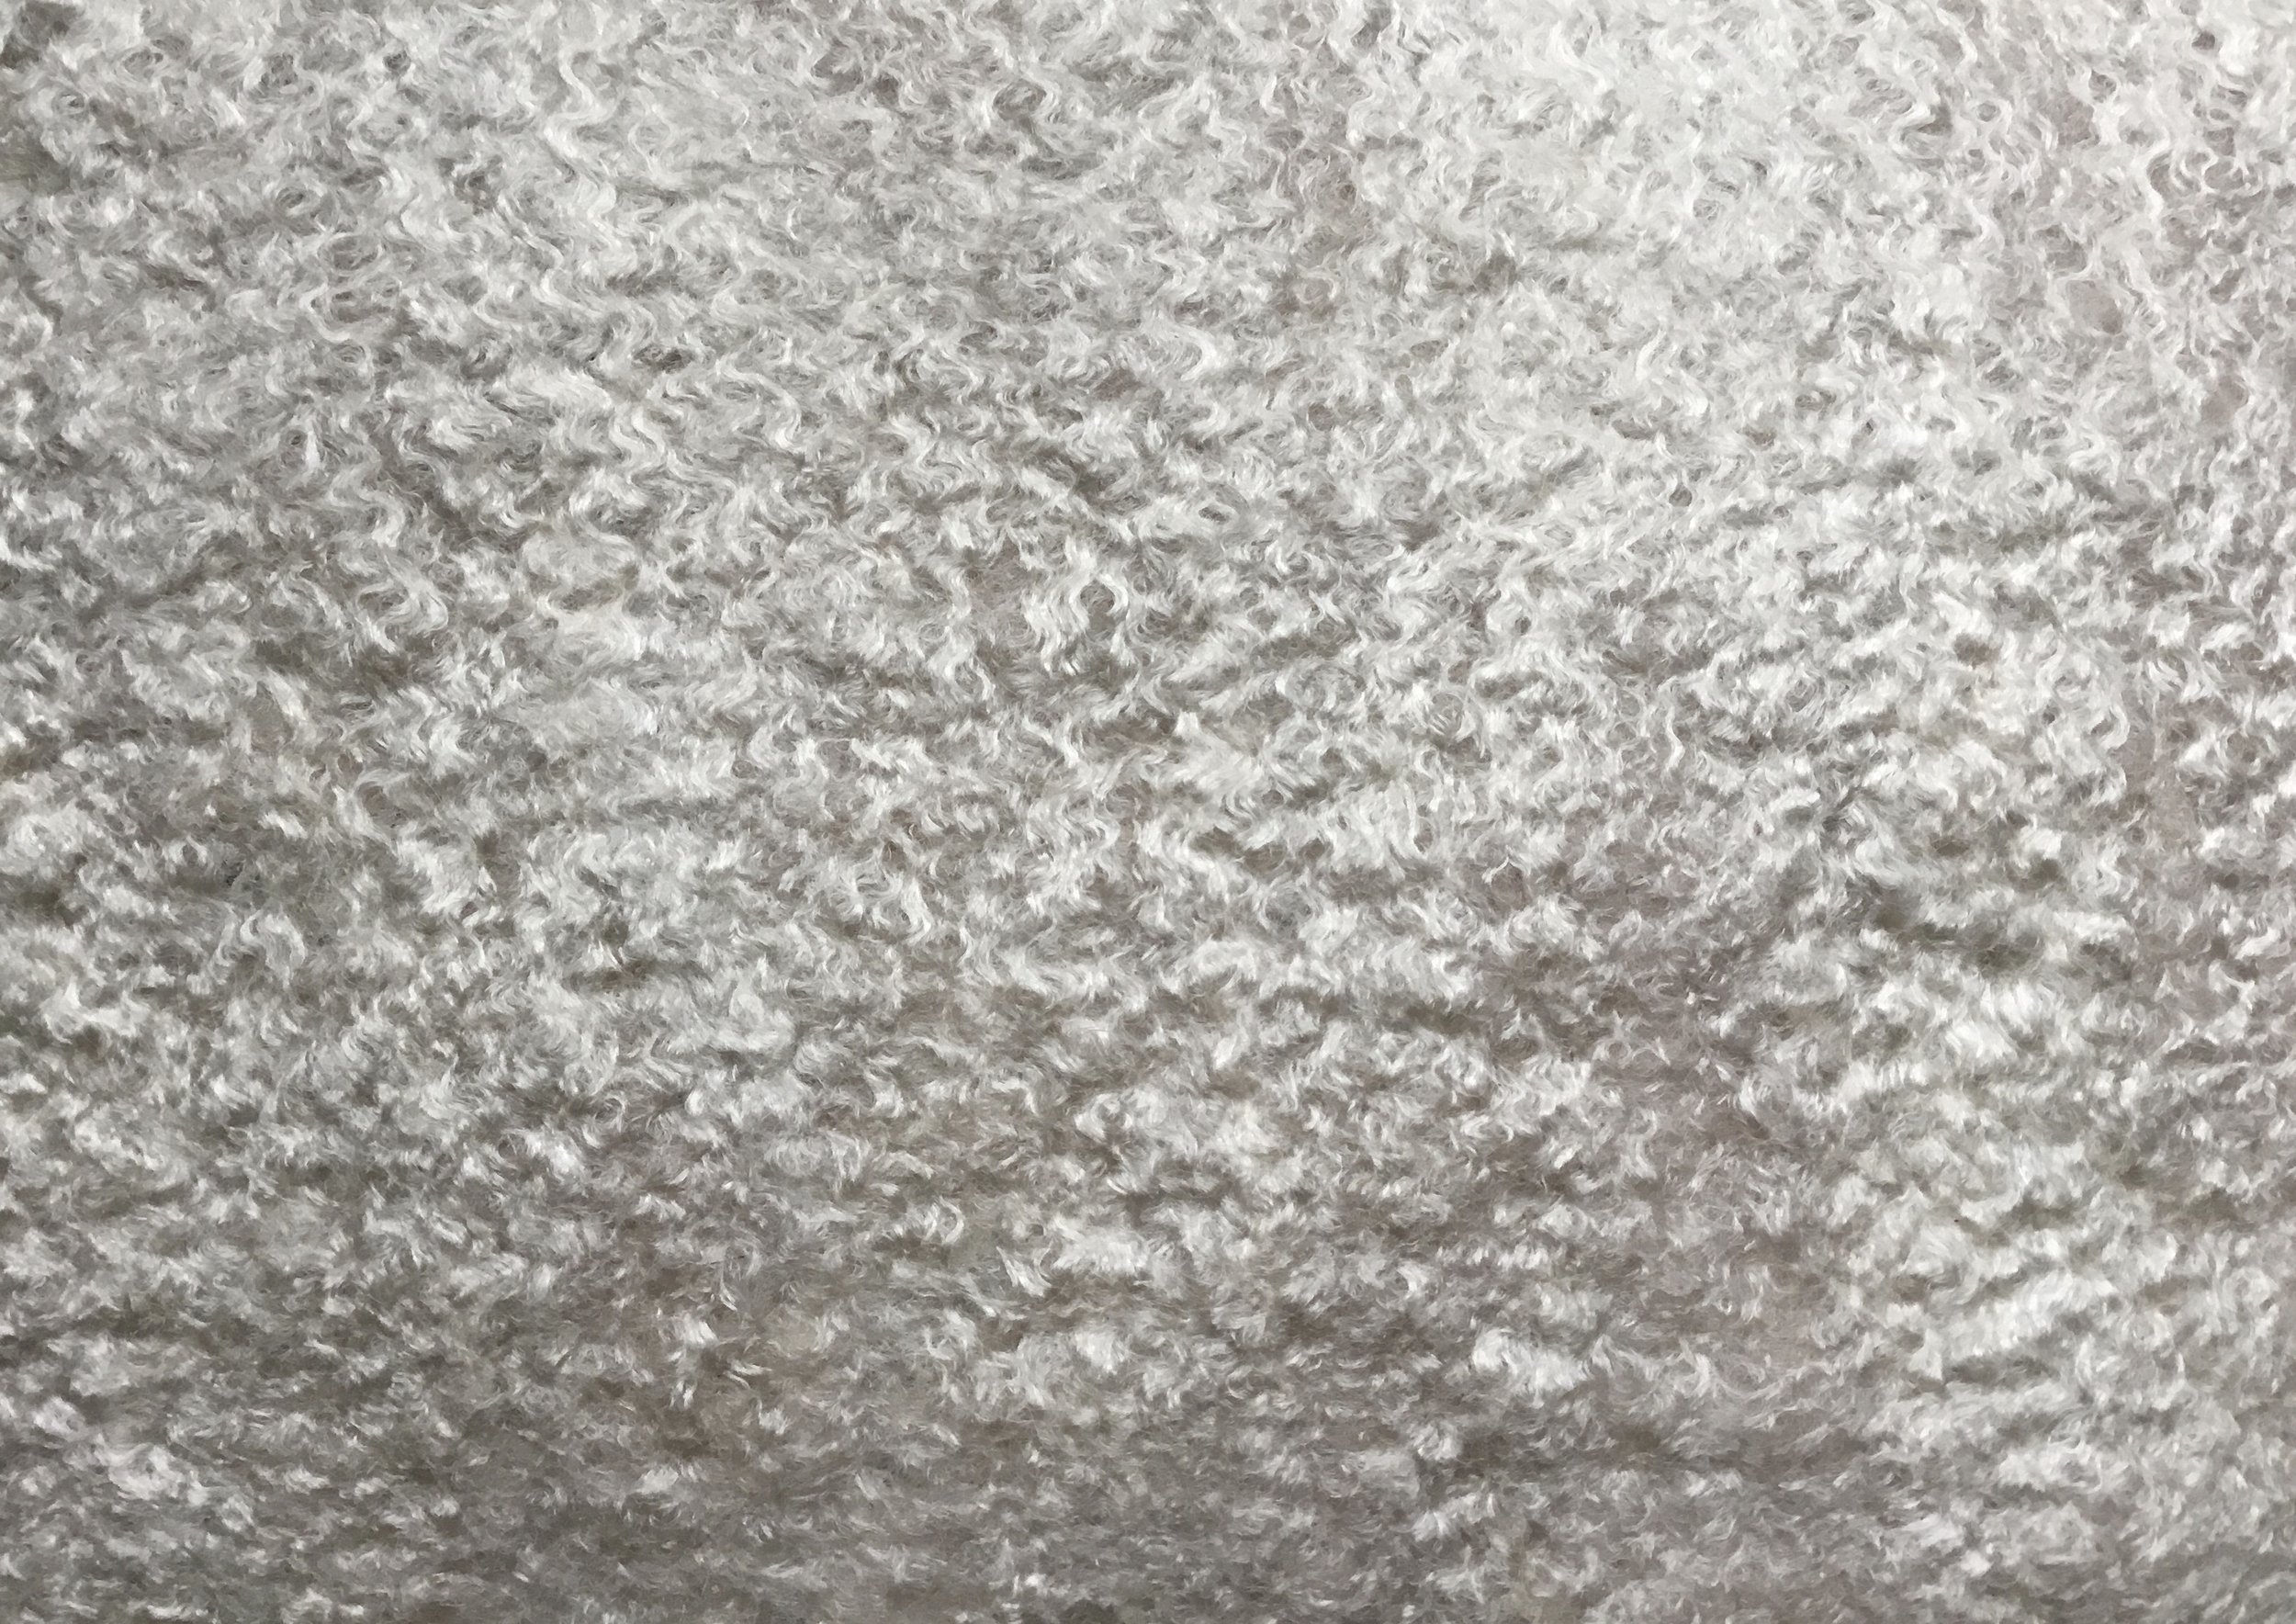
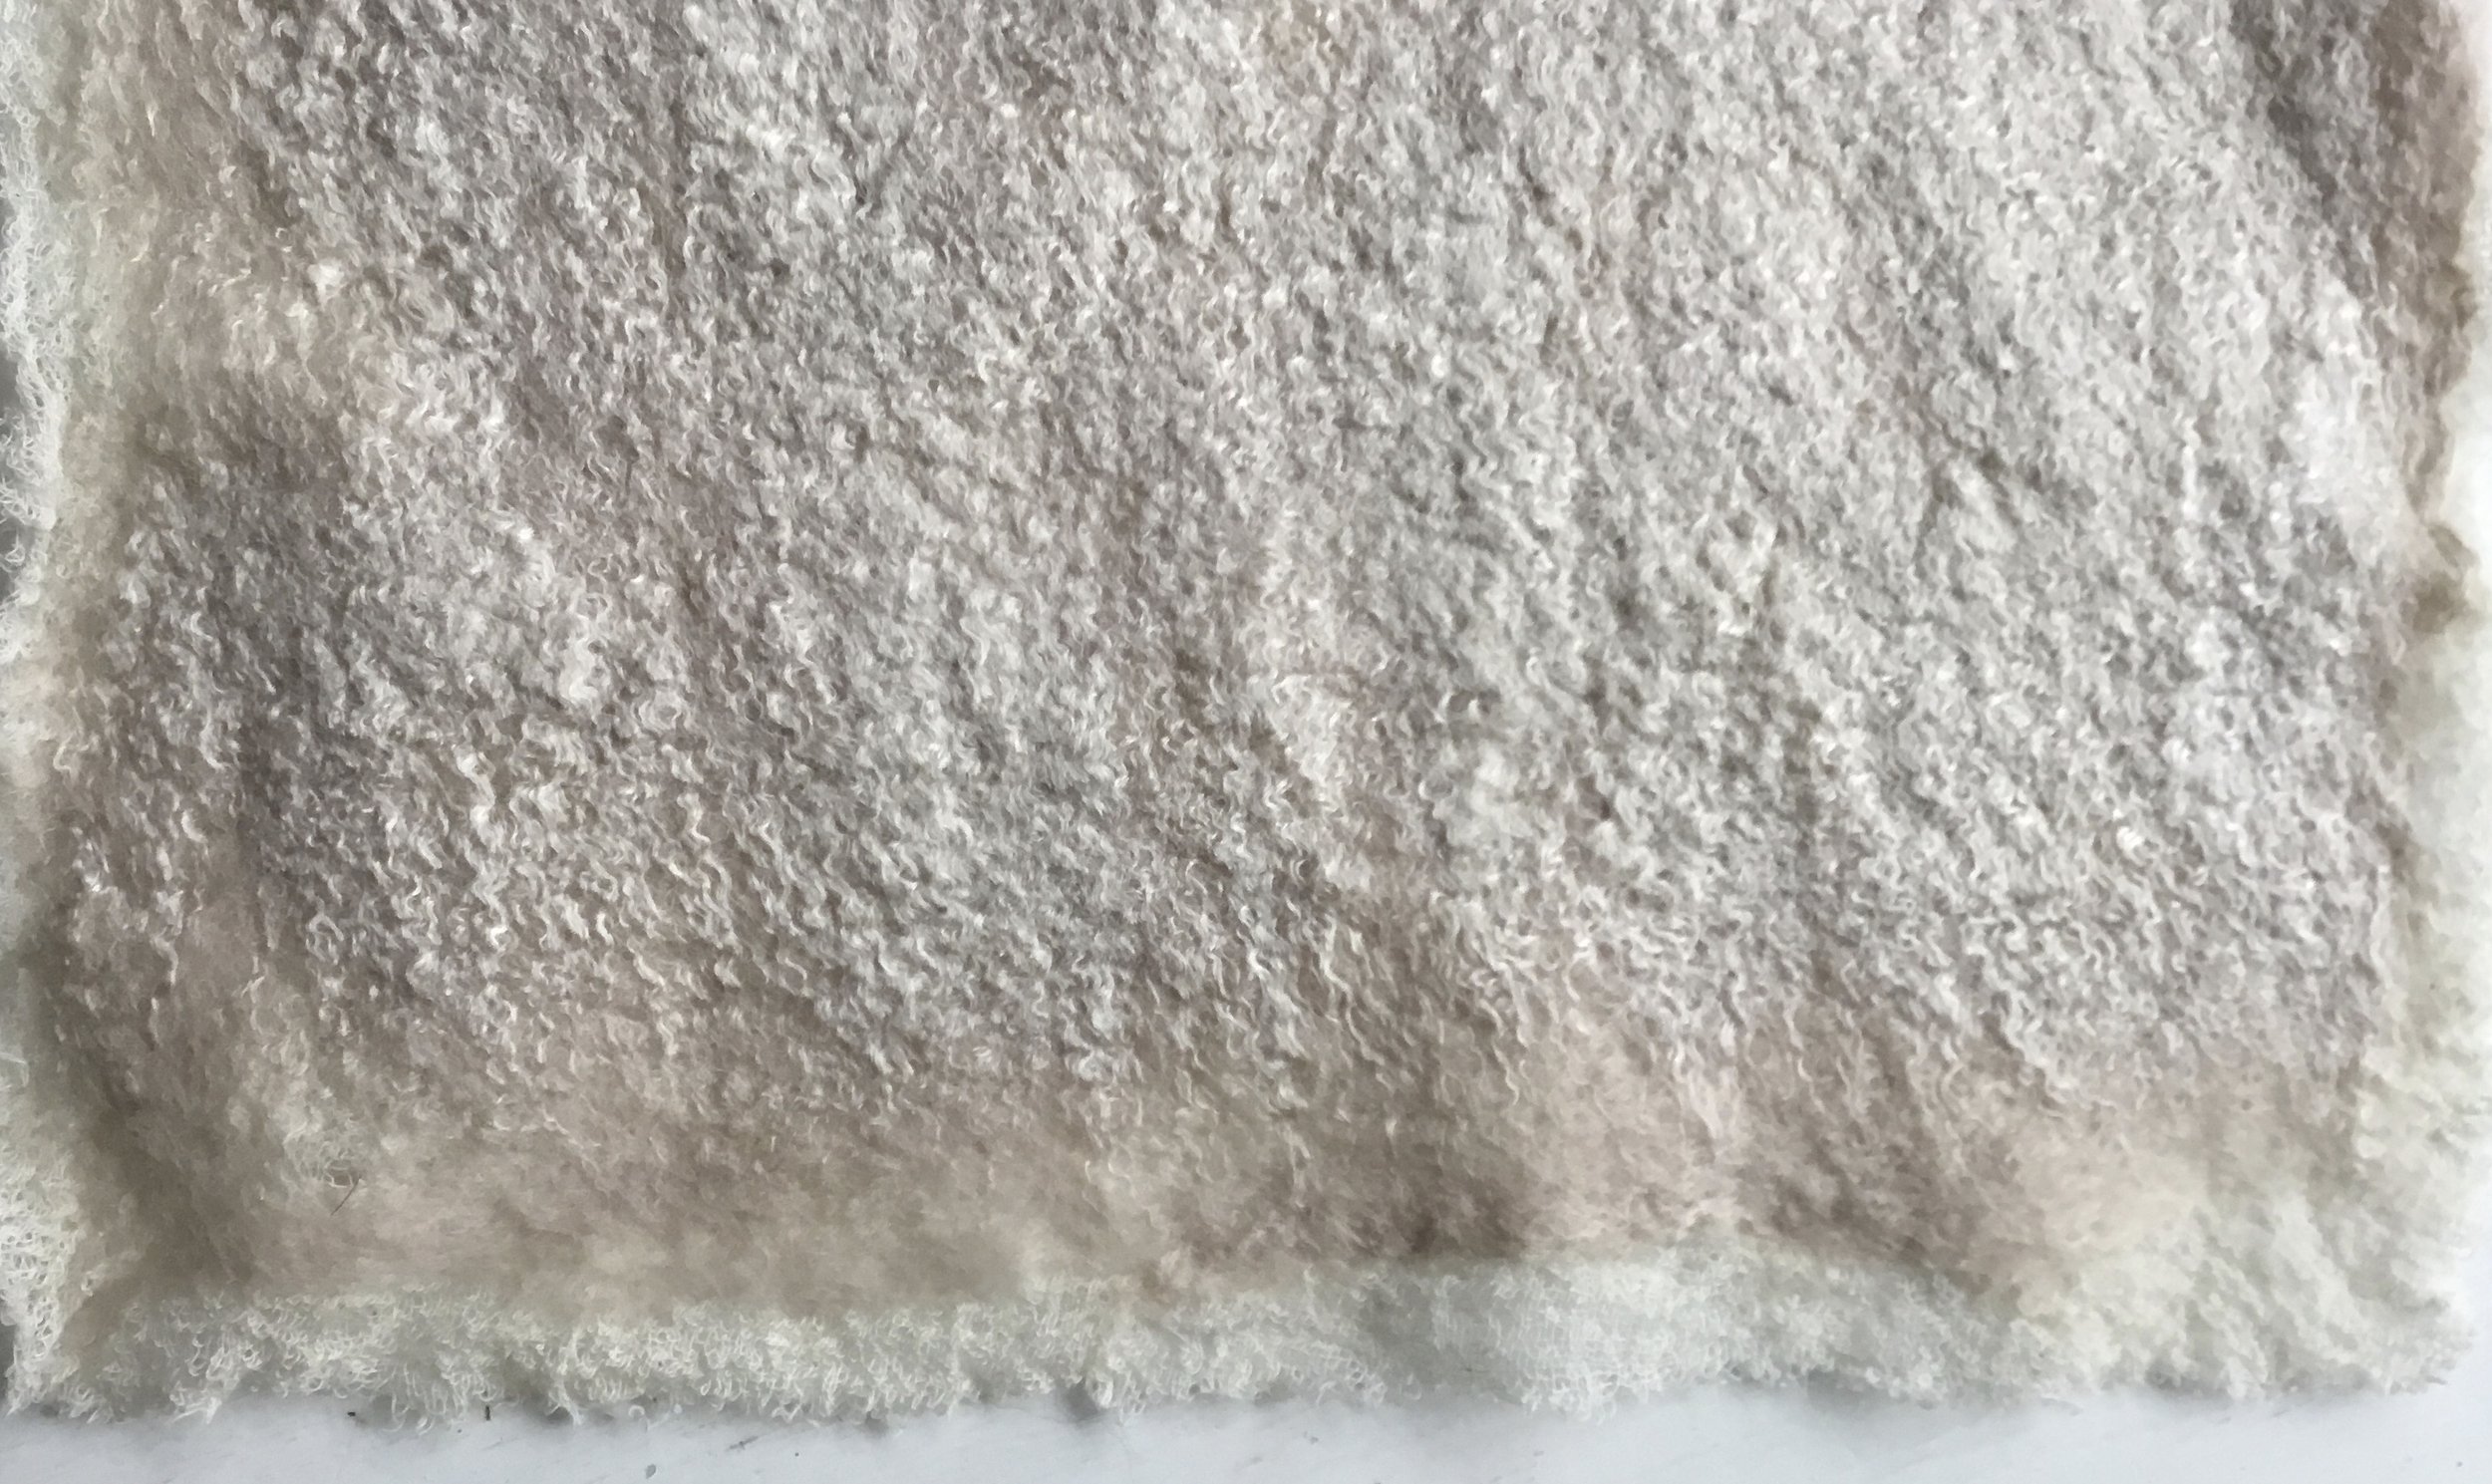
To continue mint fibres and wool are rubbed gently and starting to shrink a bit leaving very beautiful streams on the surface of my project.
UNEXPECTED OUTCOME
The project is fulling further and we see the result of mint fibres incorporated into merino wool and the base layer of fabric I used. It is my sample for the future clothes item coming up soon. I want to hold it in my hands before I proceed any further planning it all out which is a great idea for knowing your shrinkage as well.
I love its delicate texture, very versatile feel and flexibility in my materials used.
Thank you for staying with me and reading this till the end. I hope you find it useful for the projects you do.
Stay tuned to see how it turns out and what part of my wardrobe this item becomes. Please, sign up to my updates not to miss out anything that is coming up. :)
PIN FOR LATER:
If you want to explore luxurious natural fibres through the tactile art of wet felting, feel free to get in touch and contact me via email for your online experience session. I am more than happy to help.
As always, stay safe and enjoy, Tanya x
SUMMER ROSEMARY DYE
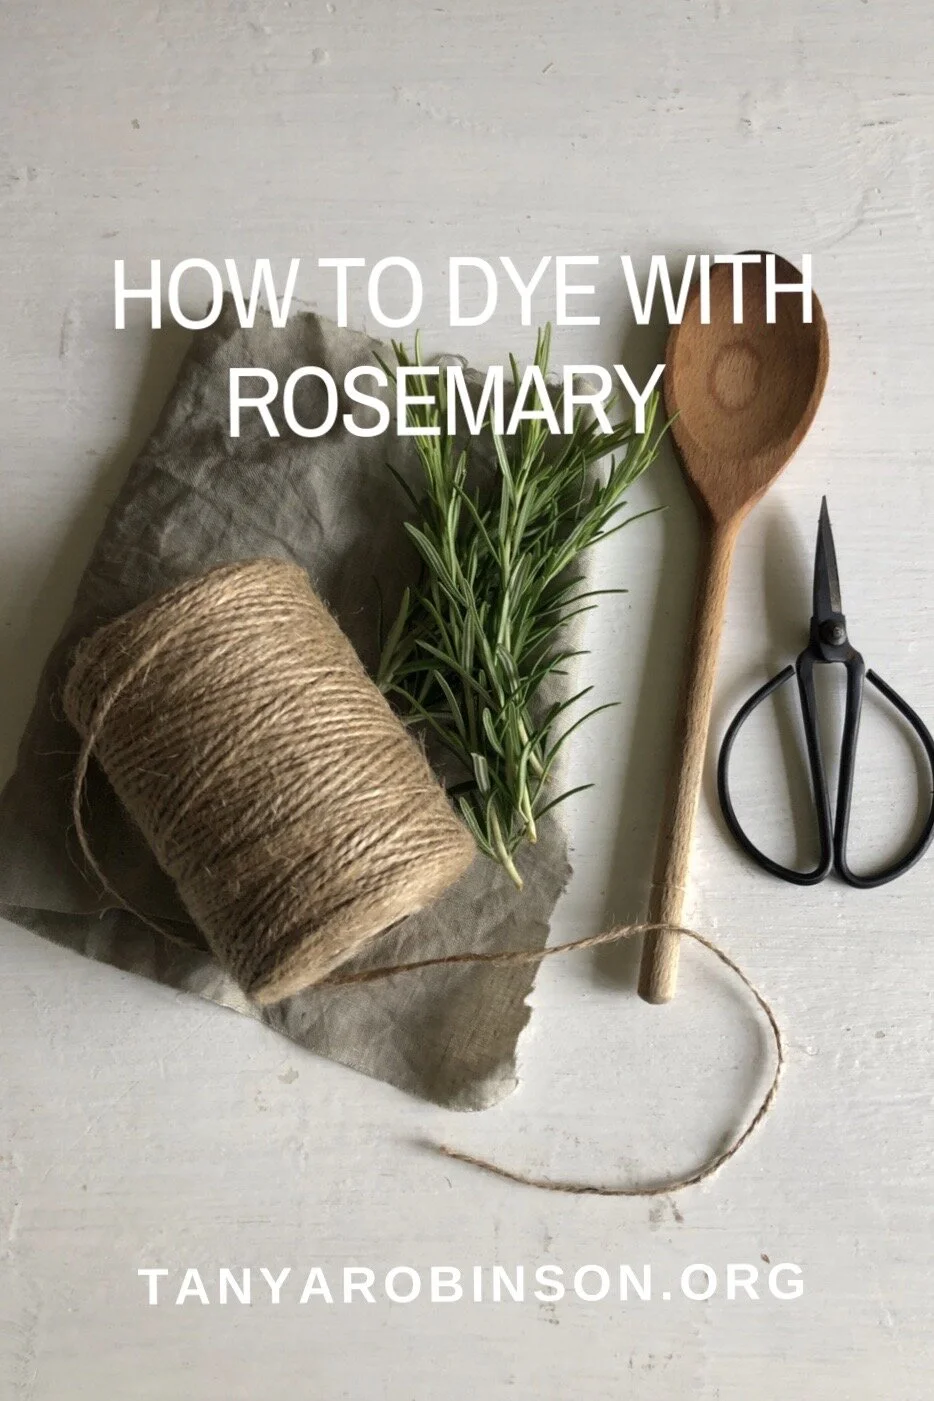
In my recent conversations with some of my followers I have come across the question “ what do you dye with?” a few times. Today I am going to share with you my recent experiments with summer rosemary.
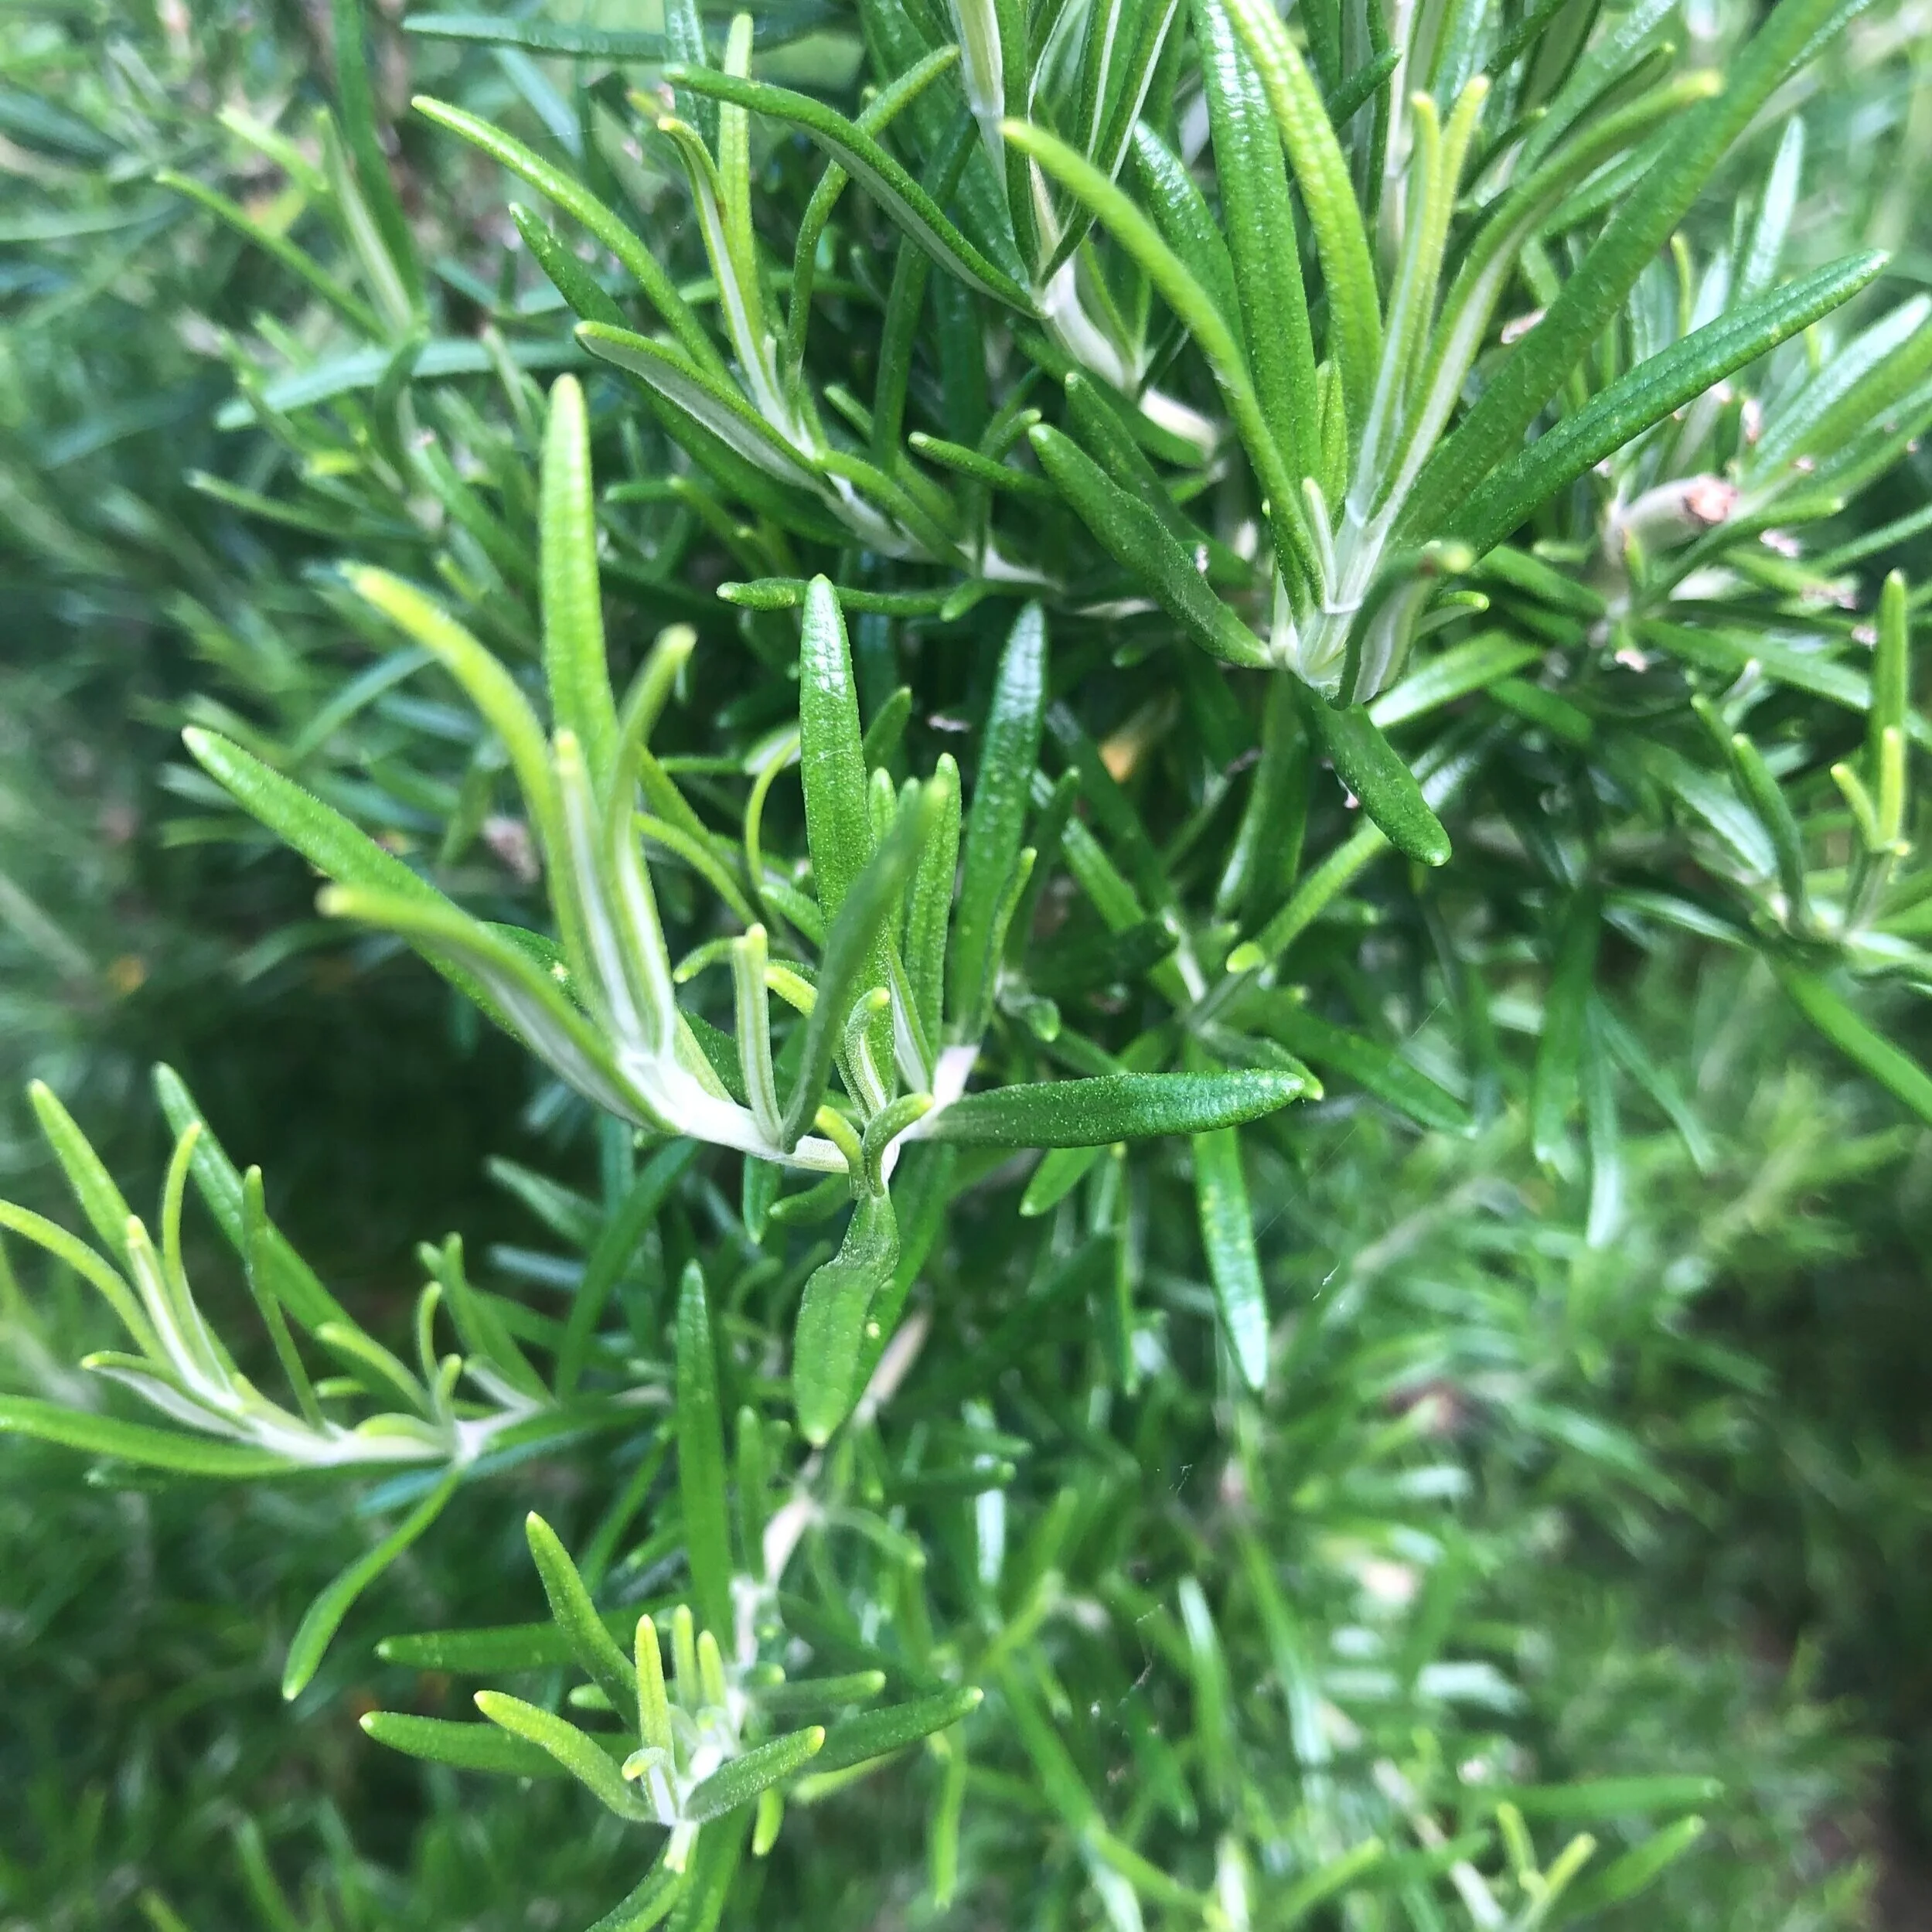
I have tried to use rosemary for dyeing more in winter holiday season. It seems to be the only evergreen herb that looks vibrant in my garden when it’s bleak outside. The fragrance from the dye pot is gorgeous whatever the season. Member of a mint family, it also is known for its potential health benefits.
So here is my dyeing process and the recent experiments this summer.
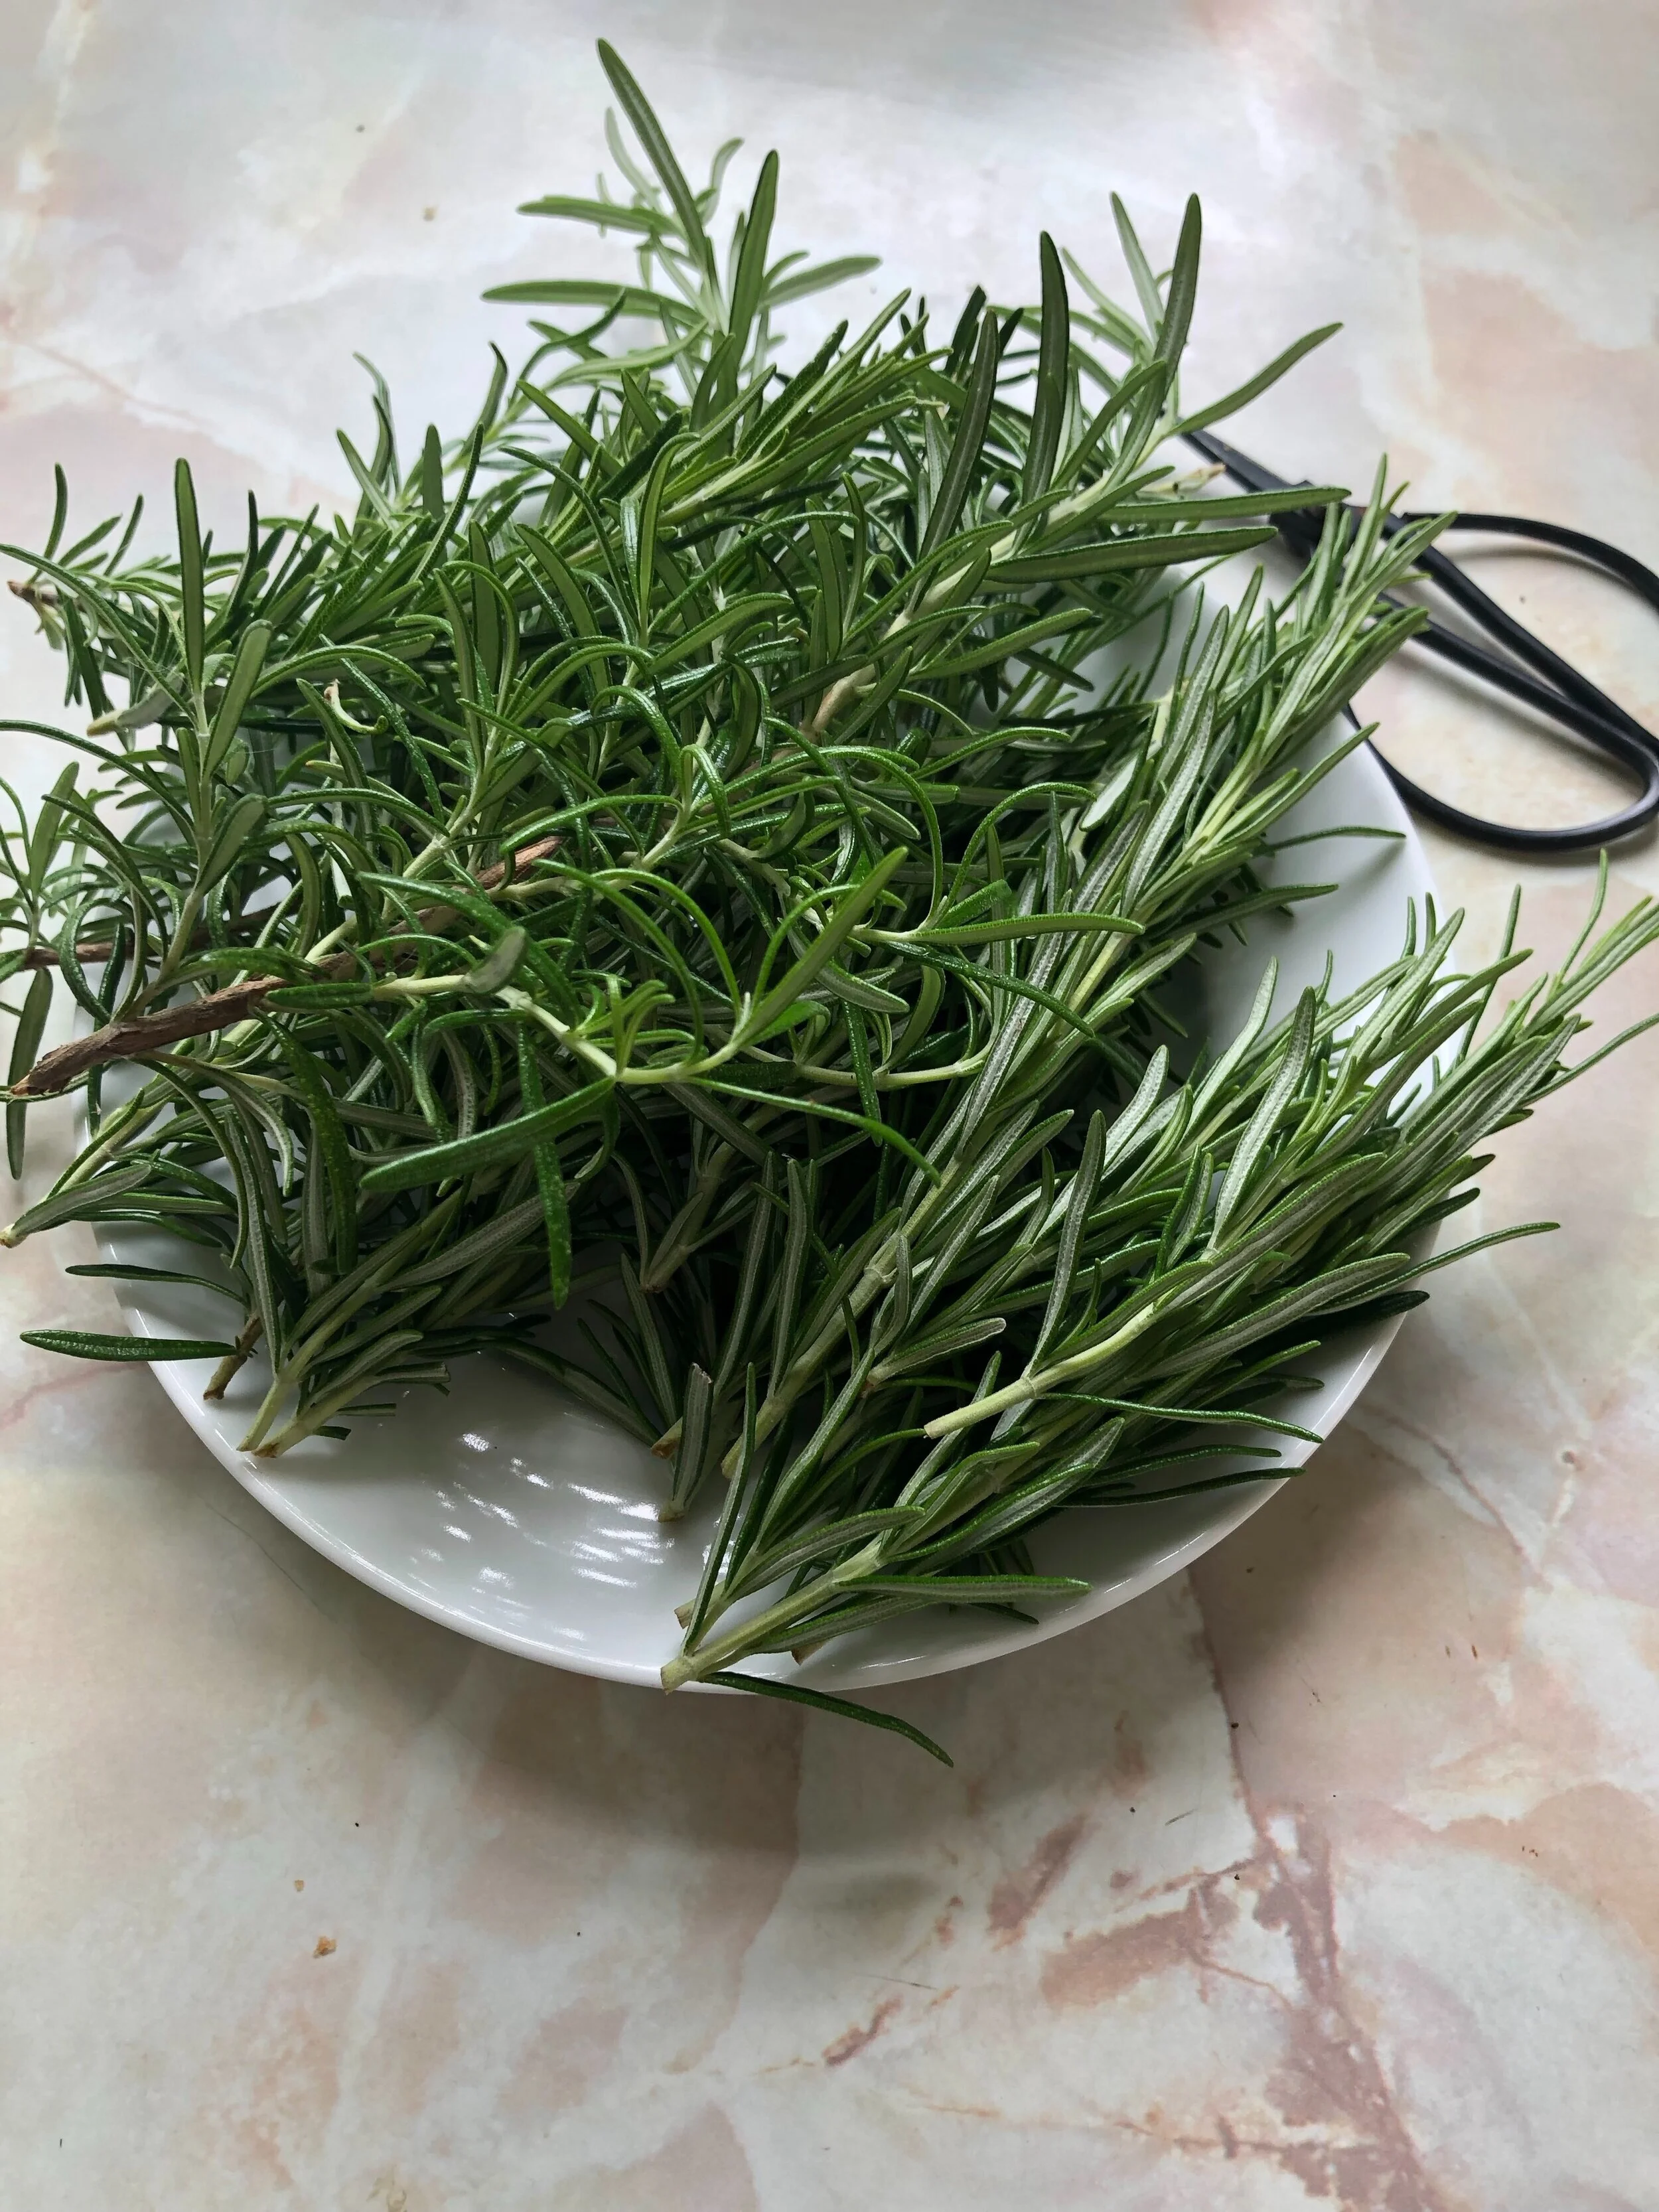
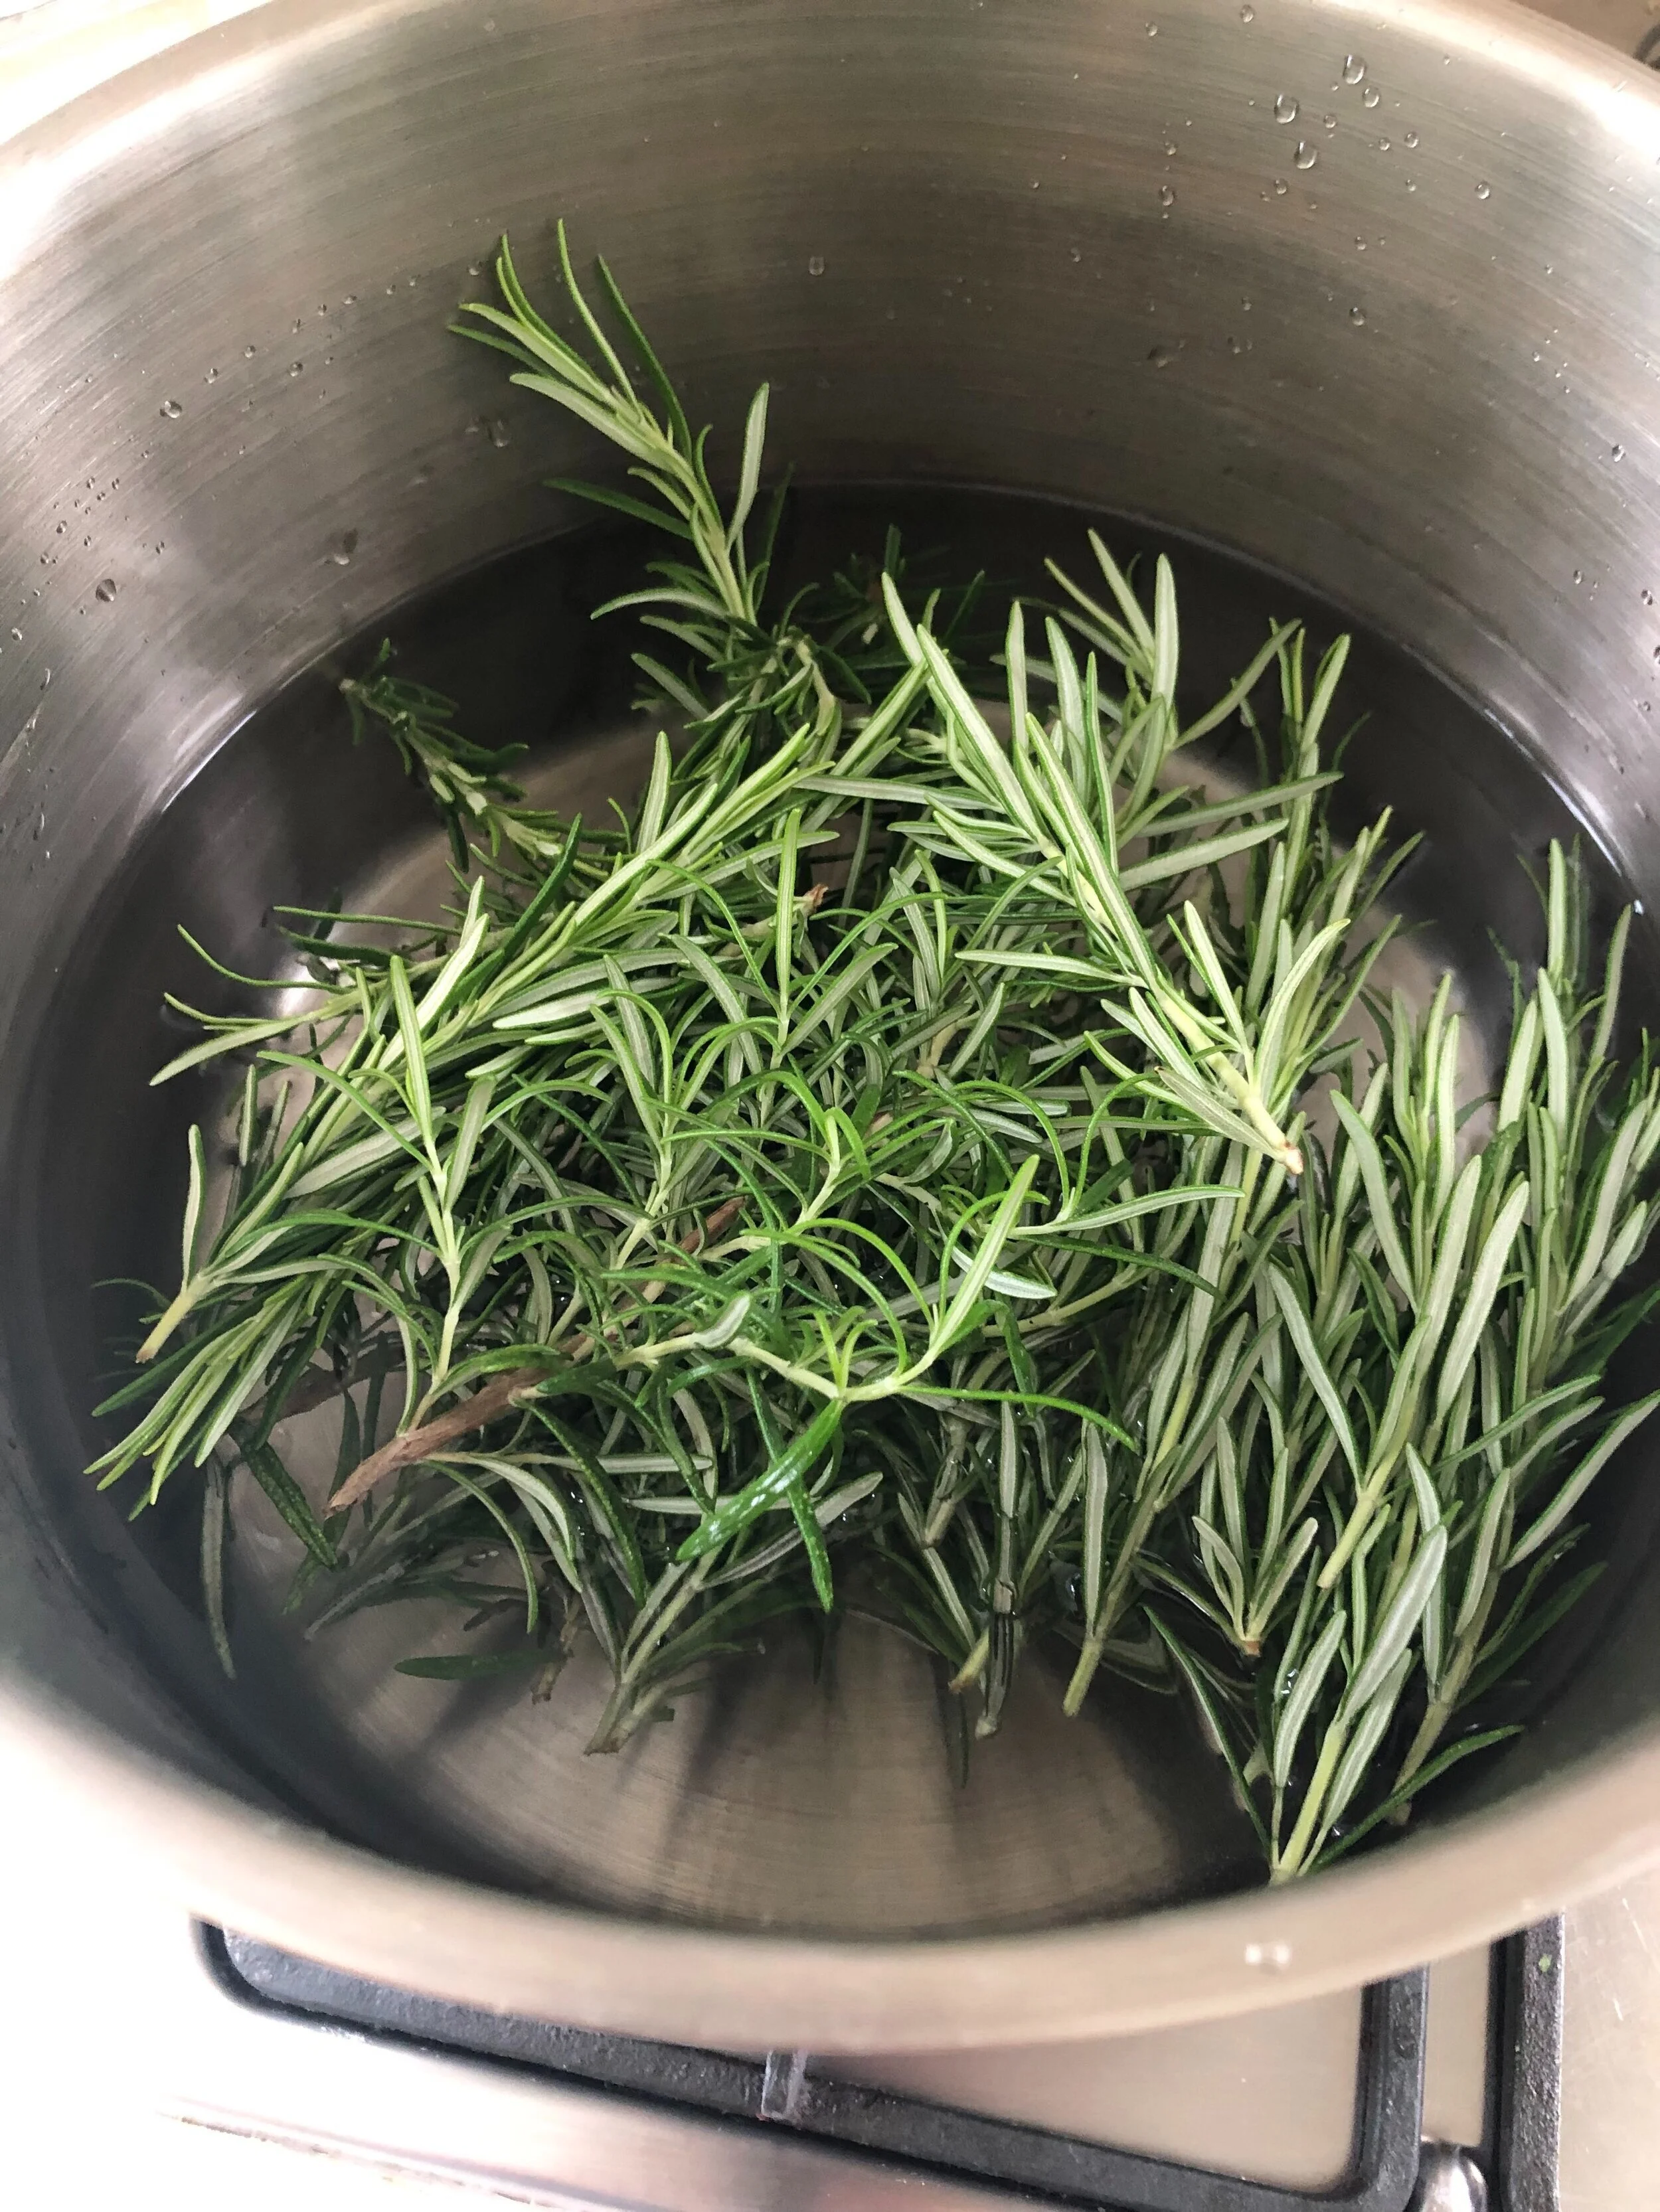
I start simmering my dye pot with a bunch of rosemary for about 30 minutes or so until the water is quite saturated light coral colour. My plan was to dye medium weight linen. Linen as a cellulose fibre needs pre-treating with mordant before that. I describe more about homemade mordant and pre-treating linen with iron water in my Natural dyes guide here. I always pre-treat linen before I put my fabric in a dye bath.
One of my tips for no-streak dyeing is to lay and not to hang my items to dry. It can be on old towels or other soft surfaces. That way the mordant and the natural dye later don’t leave obvious marks, etc. Another thing that helps I believe is stirring the fabric well when it just goes in ( a few times is even better)
After dyeing is done and it dries, the linen fabric looks like this…
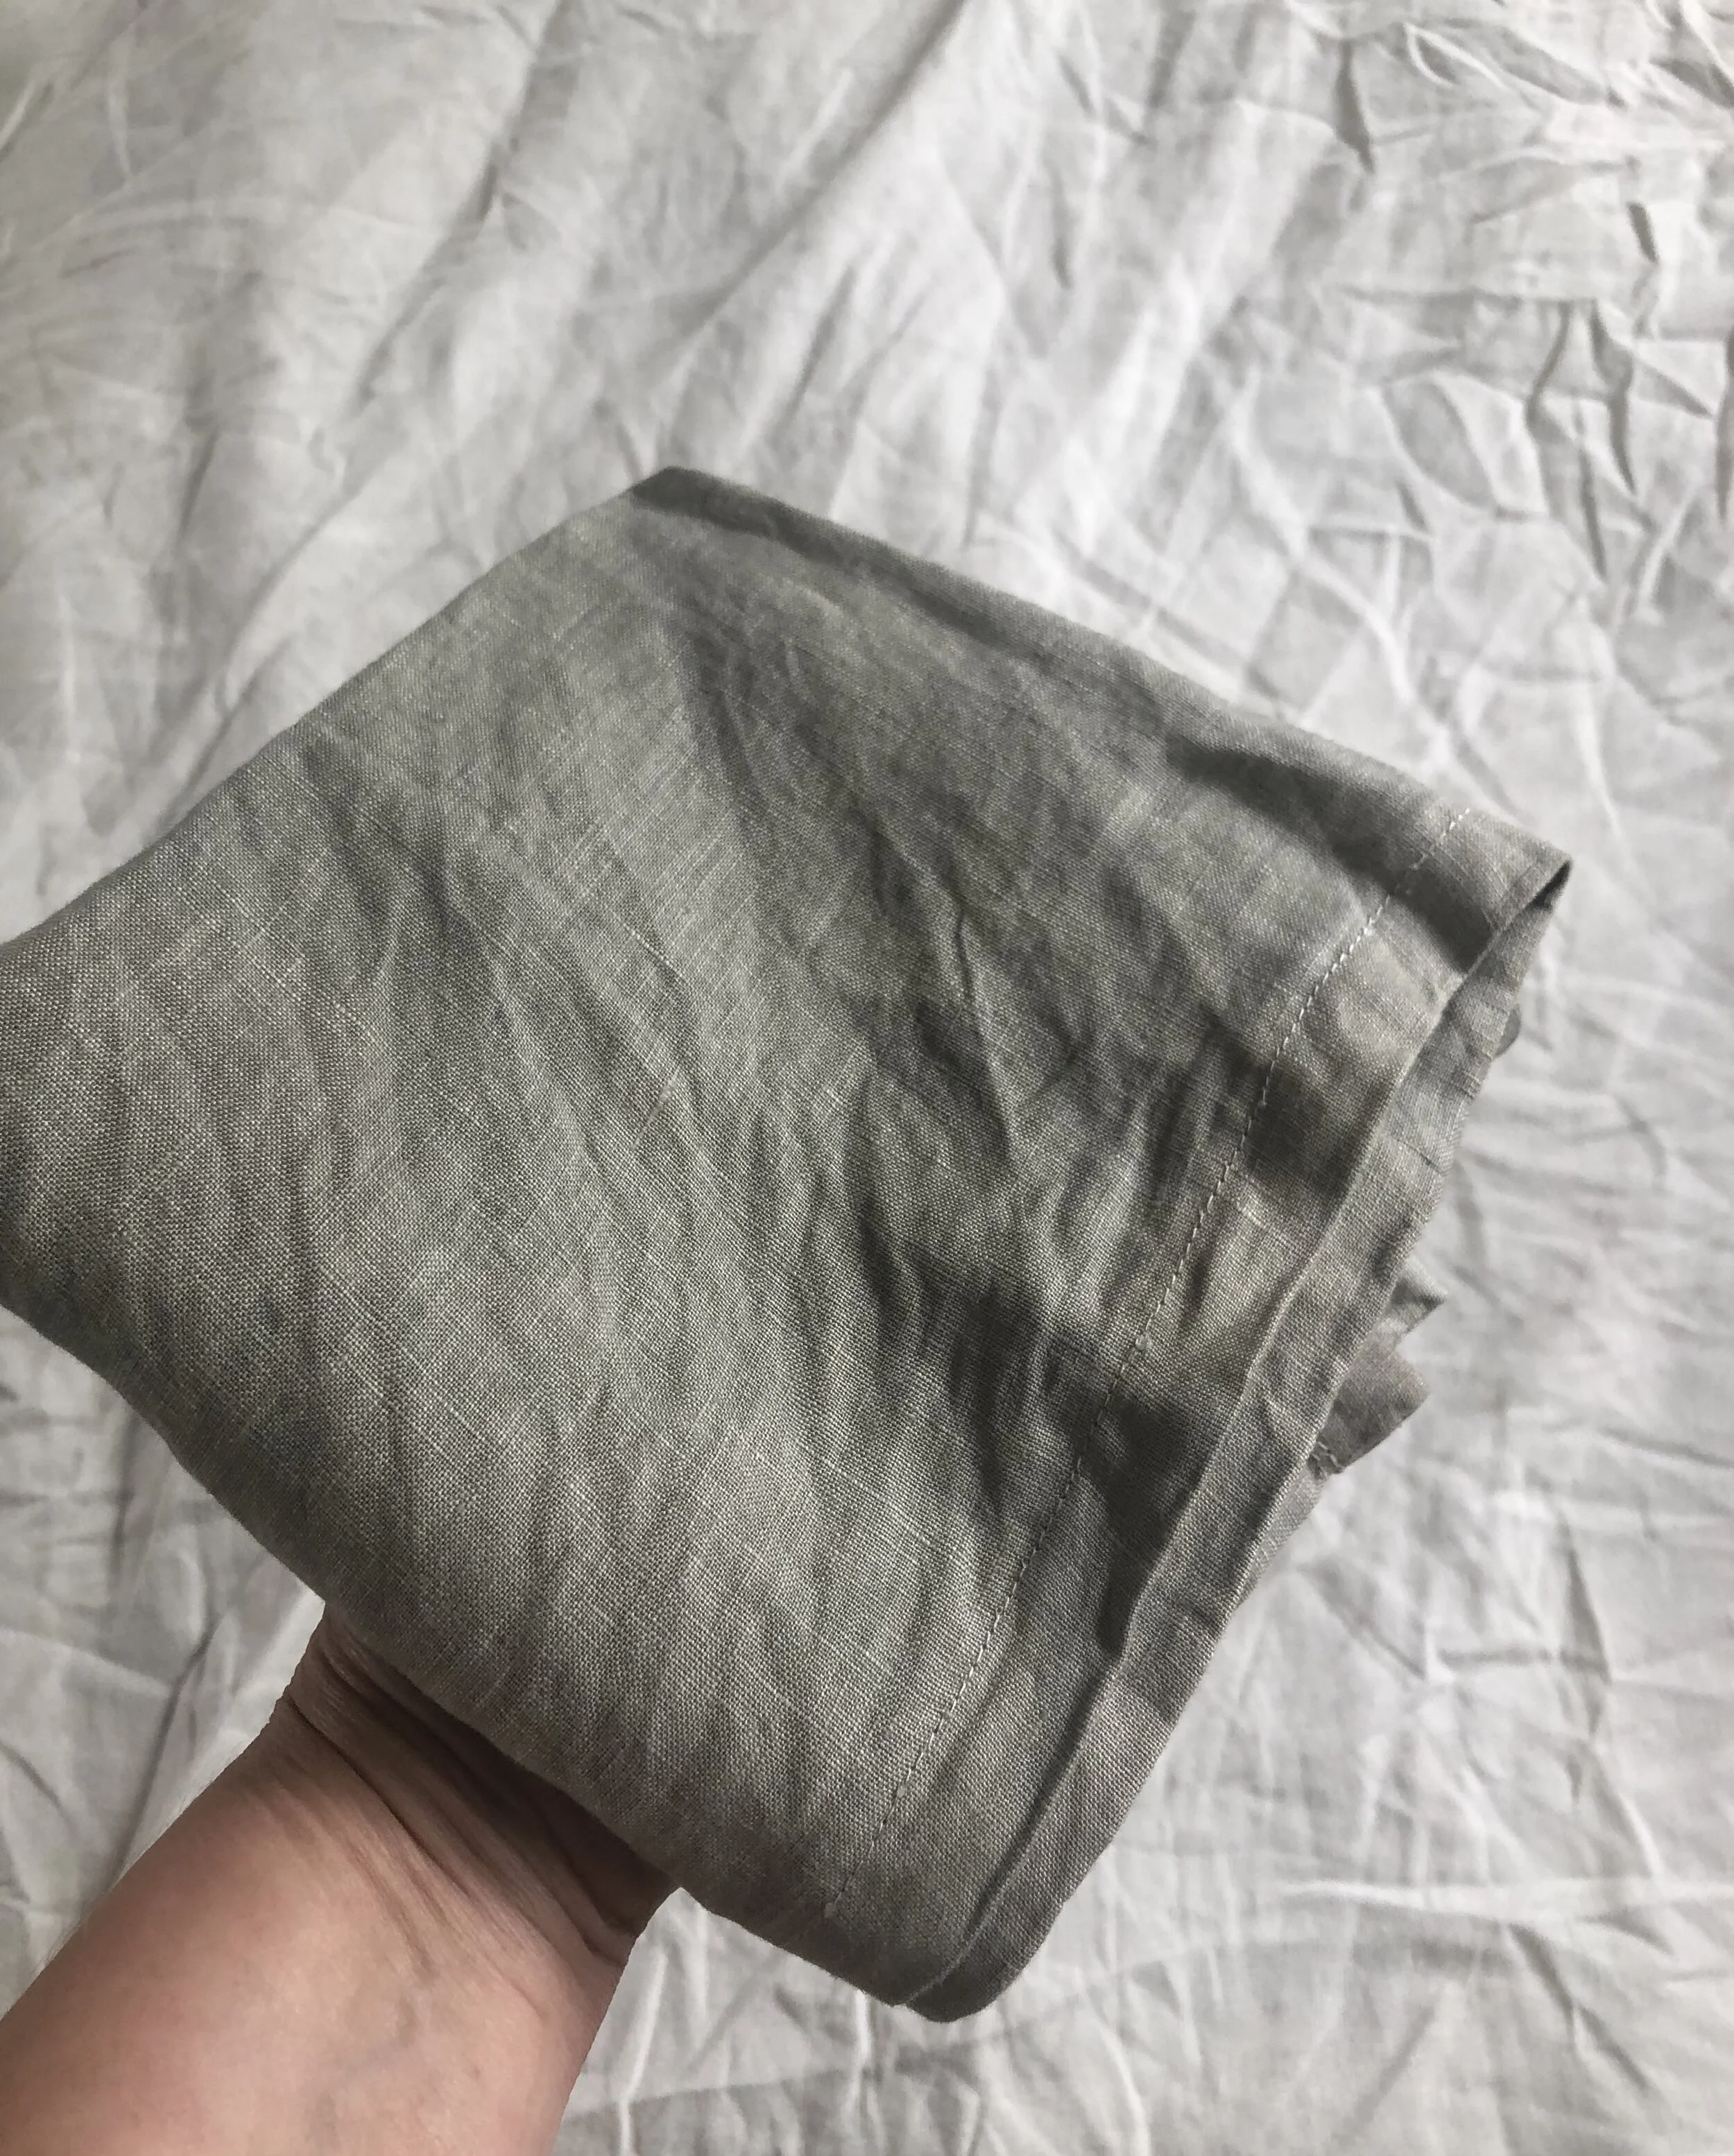
*rosemary grey shade achieved in the summer months
See how the colour shade changes in winter. Next photo is from my photo archive. It becomes more of a grey beige tone really. Seasonal dyeing is an amazing slow process indeed which makes you appreciate nature so much. I am still constantly learning and being surprised.
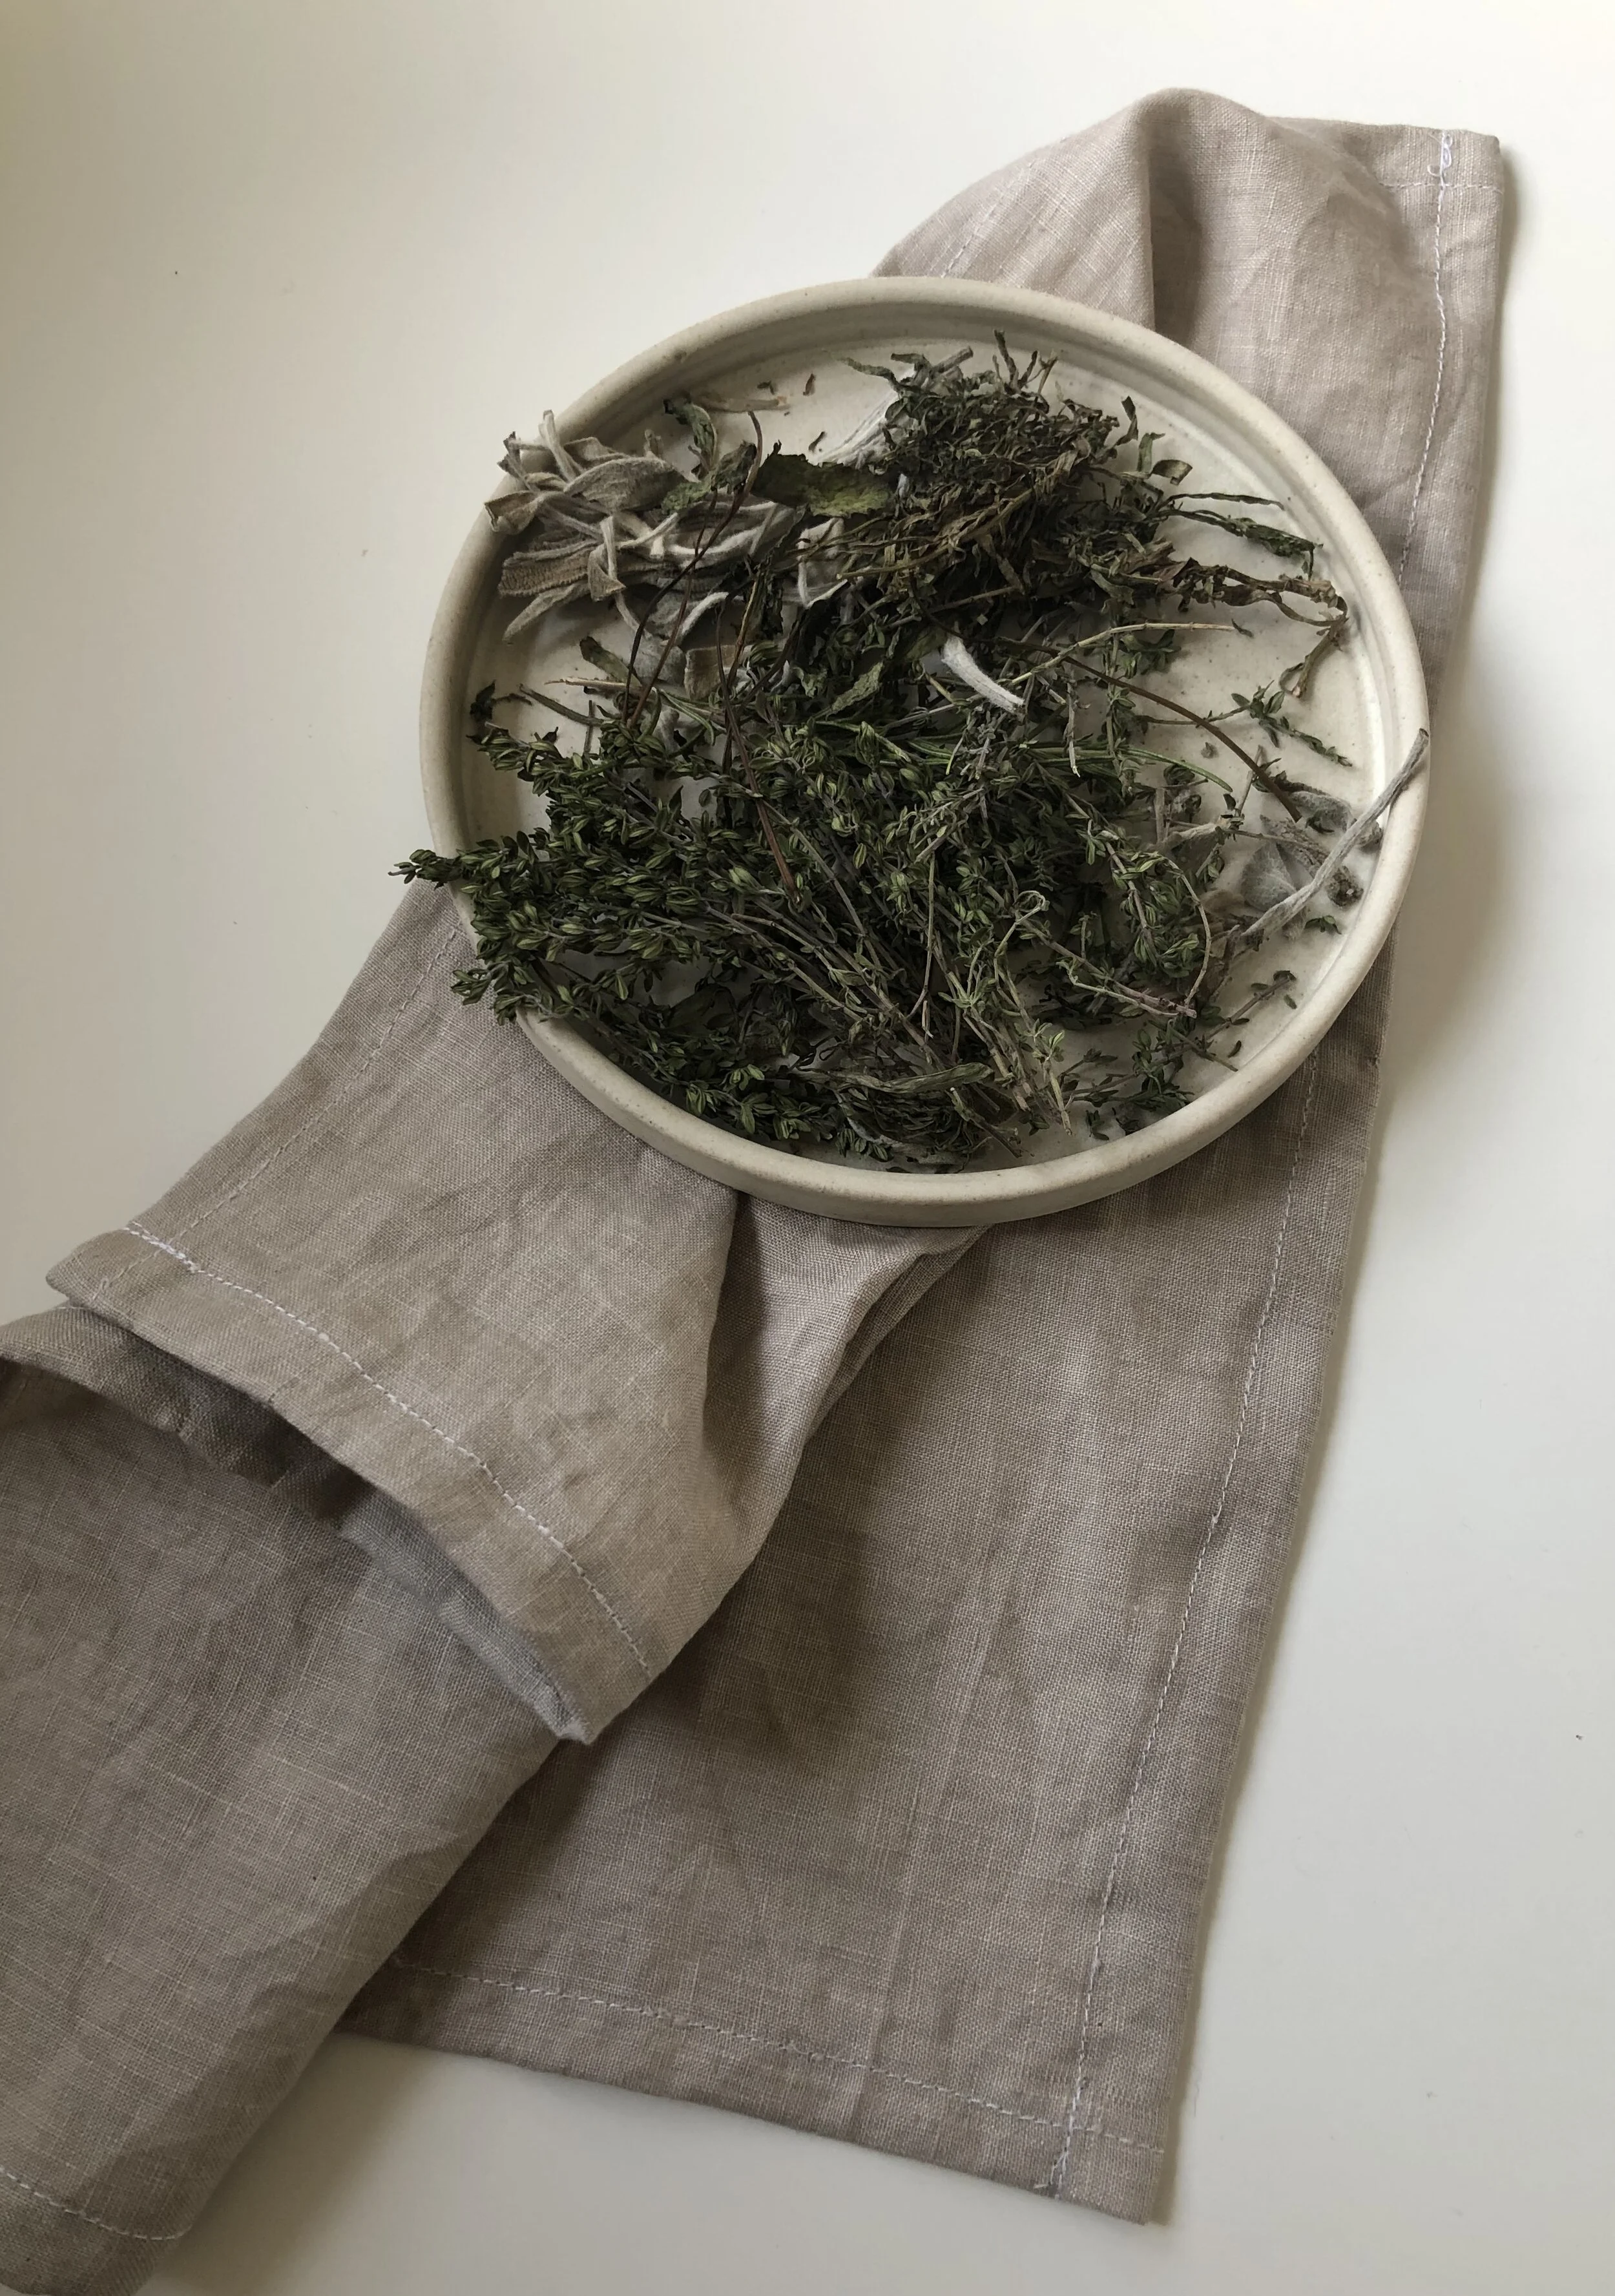
*grey beige shade of linen achieved in winter months
Let me know if you do experiment with summer rosemary. I would love to see your experiments and shades.
Take care, Tanya x
Pin for later:
SUMMER CRAFT IDEAS TO EXPLORE
Summer craft ideas to explore
Summer is a fabulous time to shake off our gloom and gently try something new.
Whether it’s dyeing a well-loved top or making time to prep some discovered wool or yarn that had been hiding in a cupboard, it’s light, intentional steps we seek that don’t require a big commitment.
Playing and seeing what you like can be an unexpected turn that is good for mental well-being to being as well.
I thought I would share a few links to my resources and inspiration behind them with you.
SAVOUR YOUR LOCAL WALKS
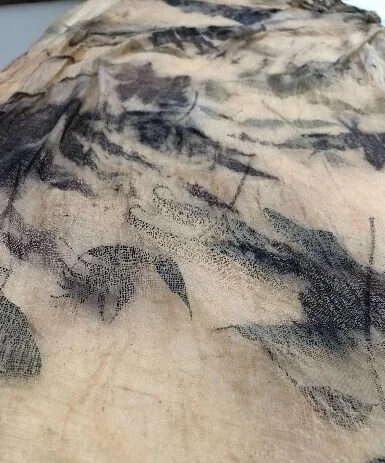
One positive side of being restricted in freedom of movement this past year has been to rekindle a fresh appreciation for the beauty here on my doorstep. Start walking in your area and see if you too can notice some leaves you can gather to do some eco print or dyeing a summer bandana.
I have been experimenting with some summer dyes. Natural shades vary from light to brighter summer colours like yellow ochre.
20 dye baths collection: To get some ideas floating go to my highlights icons and check out the 20 dye baths folder here
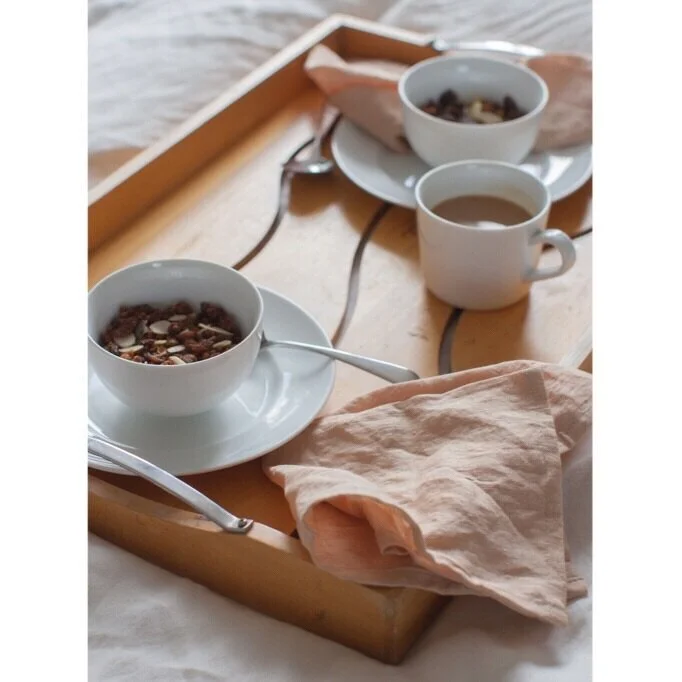
MAKE A SET OF LINEN NAPKINS FOR YOUR SUMMER DINING
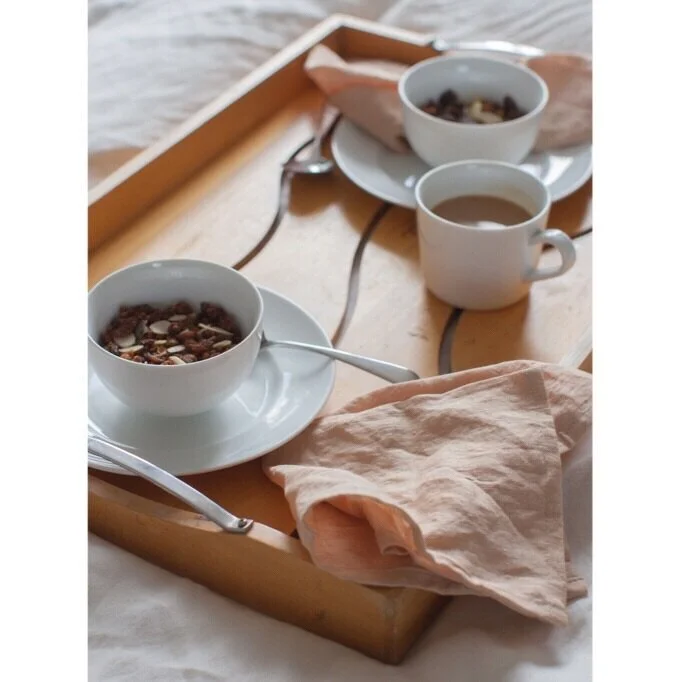
Natural dyes are so forgiving. To enjoy the outdoors or a picnic time with your family, sharing with them the joy of something you've created. This helps us celebrate the quiet moments and can make each gathering special.
Linen is so versatile and always speaks to me of summer. Wrinkled natural tableware is always my go to when I style the summer table.
To see how I pre-treat my linen napkins with soy milk watch this small DIY video of mordanting naturally.
A short video pre-treating linen fabric with soy milk here
CREATE YOUR SUMMER SCARF OR A SILK BANDANA
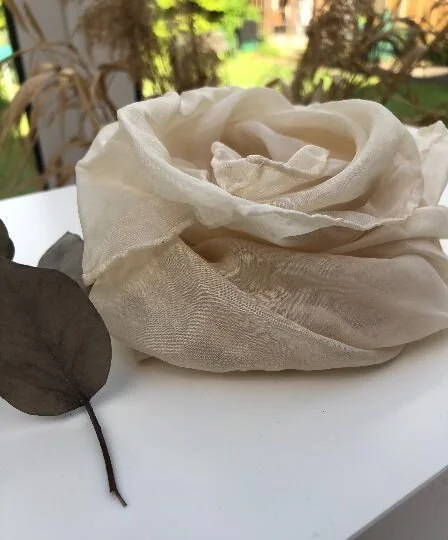
Treat yourself and make more space by being creative!
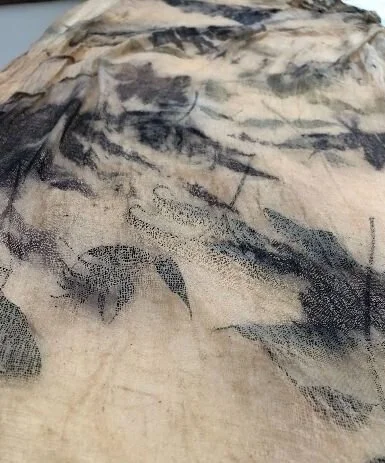
Gentle start on a path to learn how to create a light nuno felt summer scarf to enjoy the evenings this coming season. First discover how to dye silk with fresh nettles and all naturally: watch a short demo here
I hope you give some of these ideas a try. Feel free to get in touch to discover more by tuning in what is happening already.
As always, take good care, best wishes, Tanya x
PIN FOR LATER:
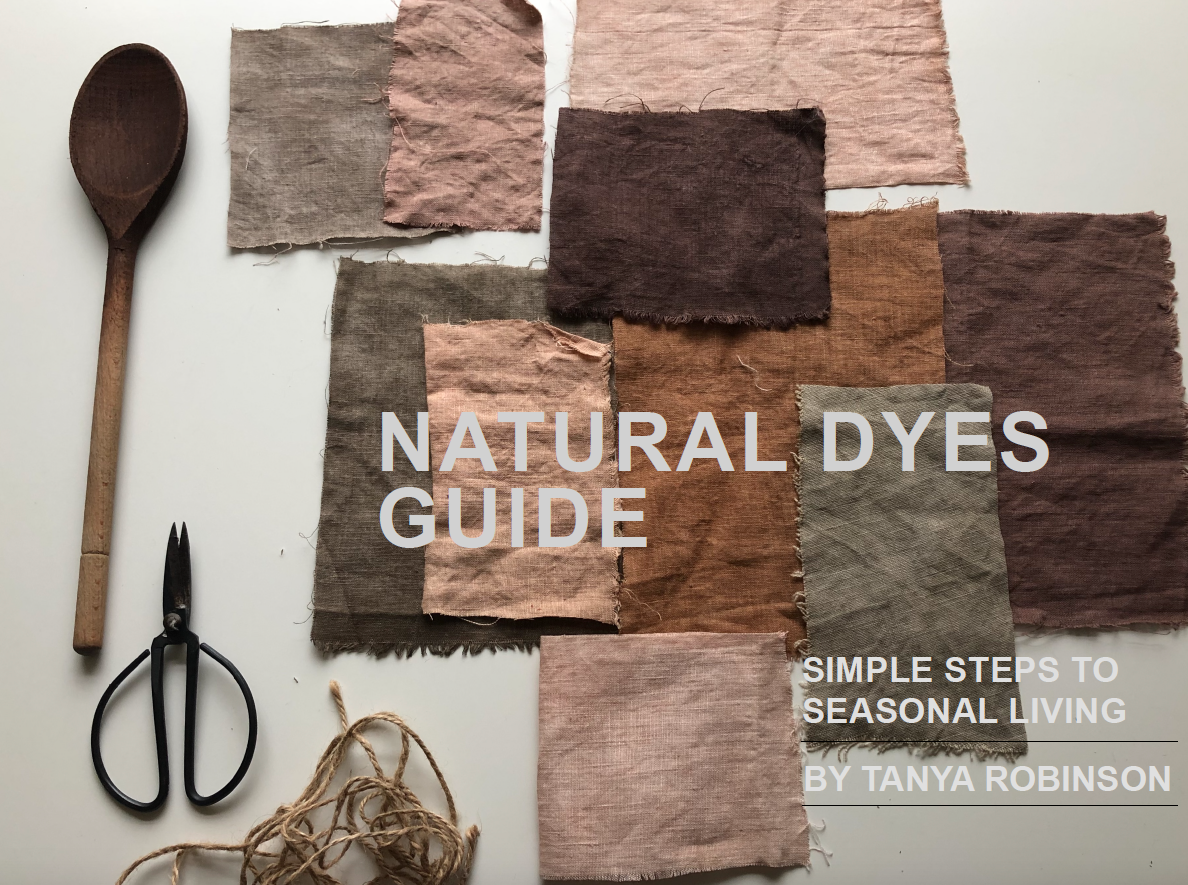
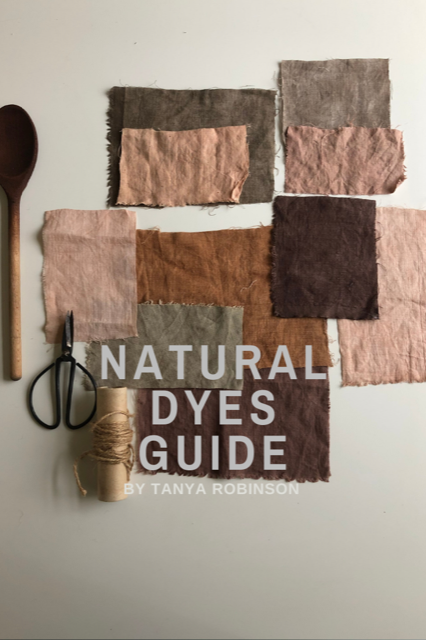
NATURAL DYES GUIDE- SIMPLE STEPS TO SEASONAL LIVING
NATURAL DYES GUIDE- SIMPLE STEPS TO SEASONAL LIVING
AVAILABLE NOW
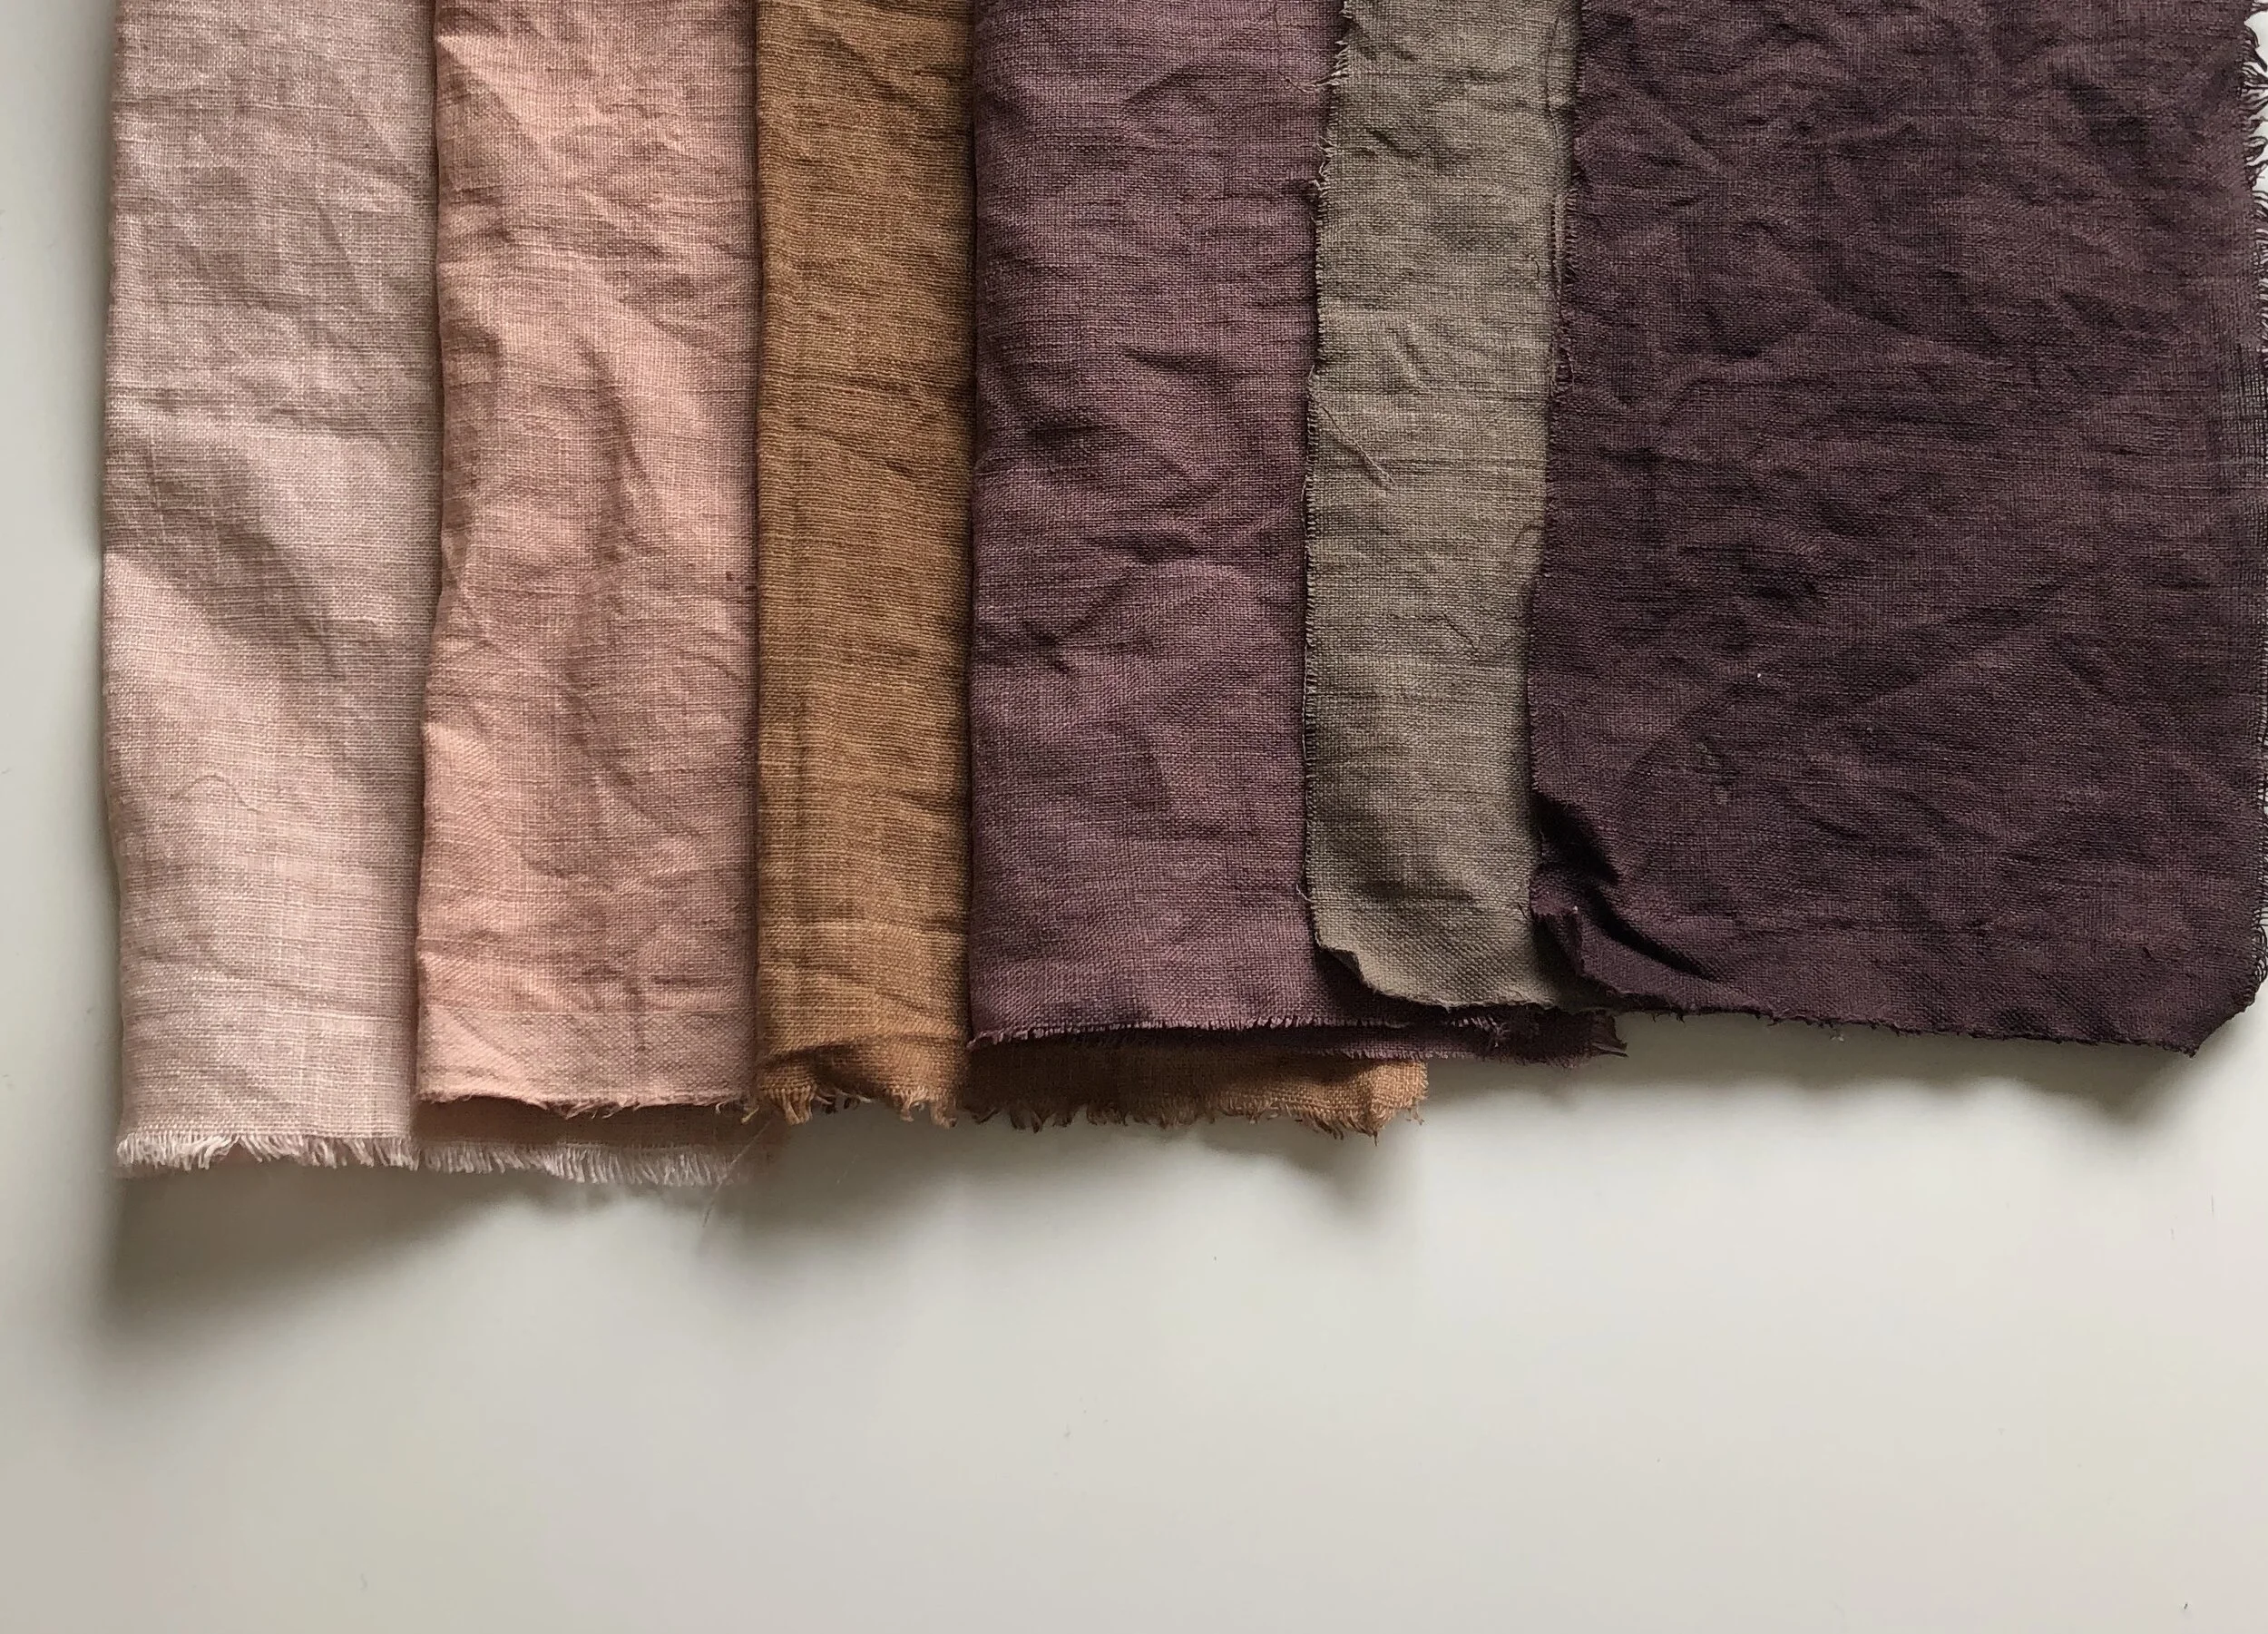
Natural dyes guide - Simple steps for seasonal living
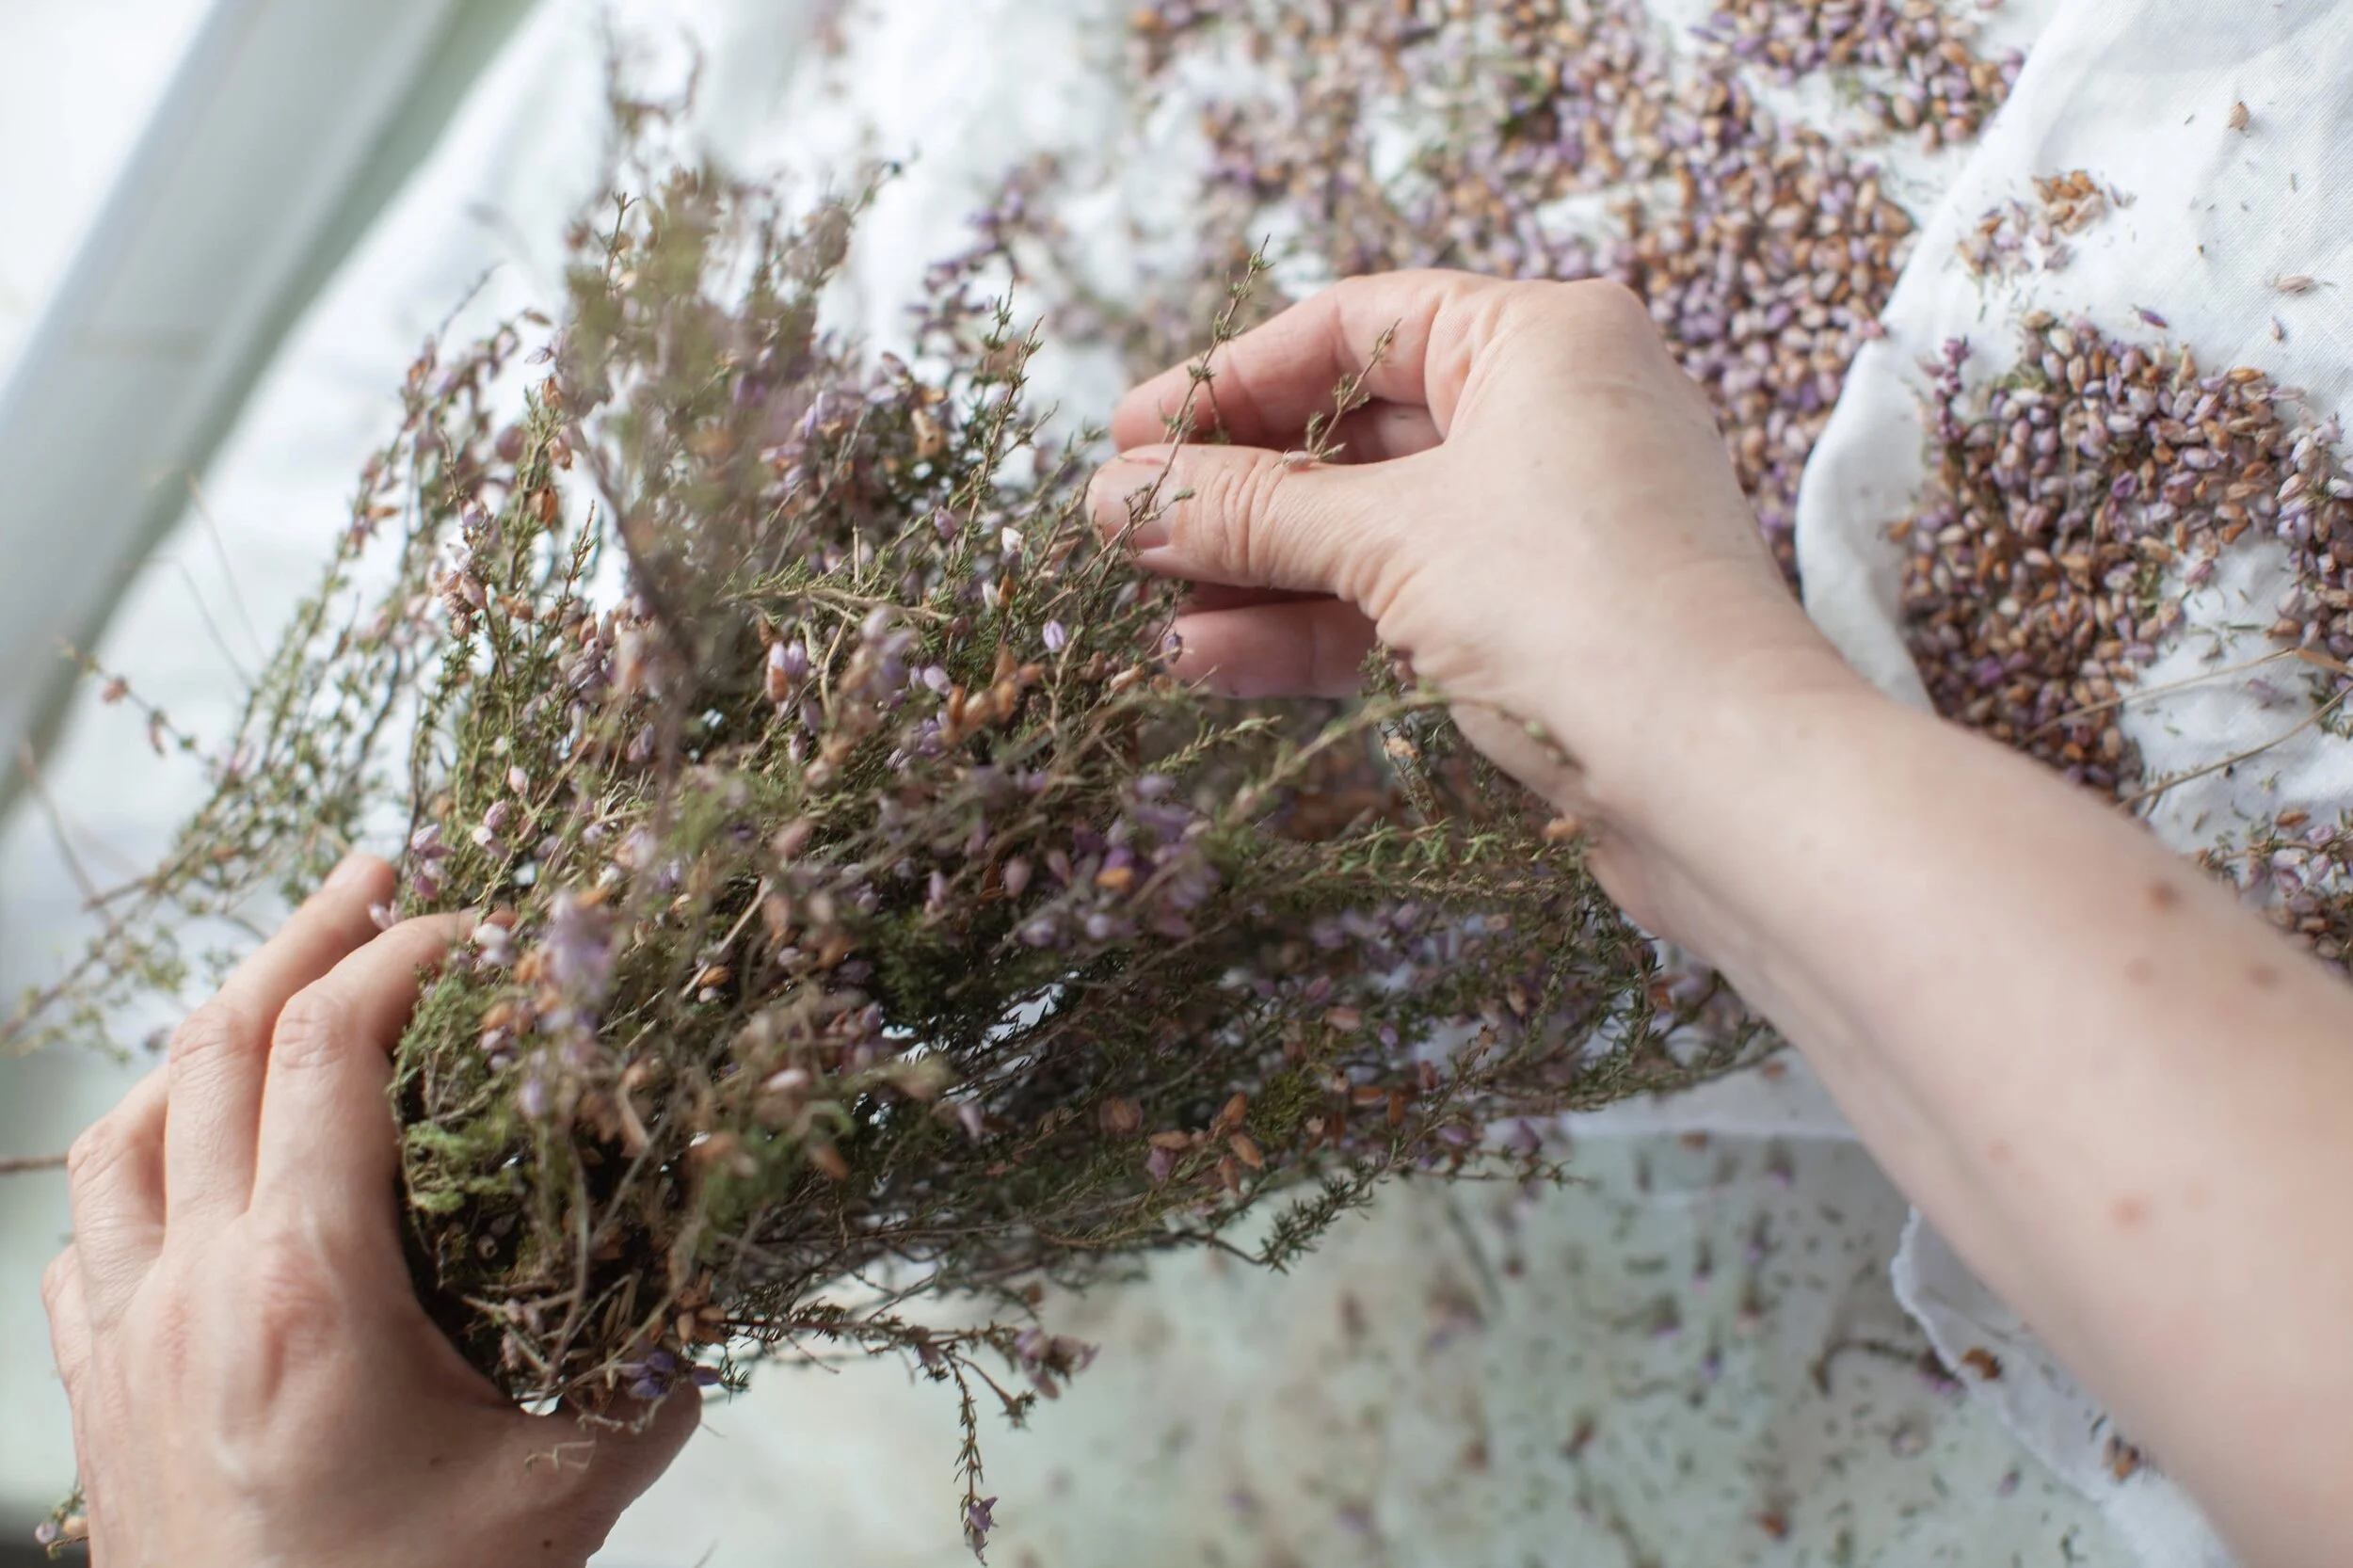
We can see, hear and breathe in the beauty of spring even as we stay at home during these unusual days. If we know what to look for and have clear steps in mind, it’s possible to make the most of even short walks outside.
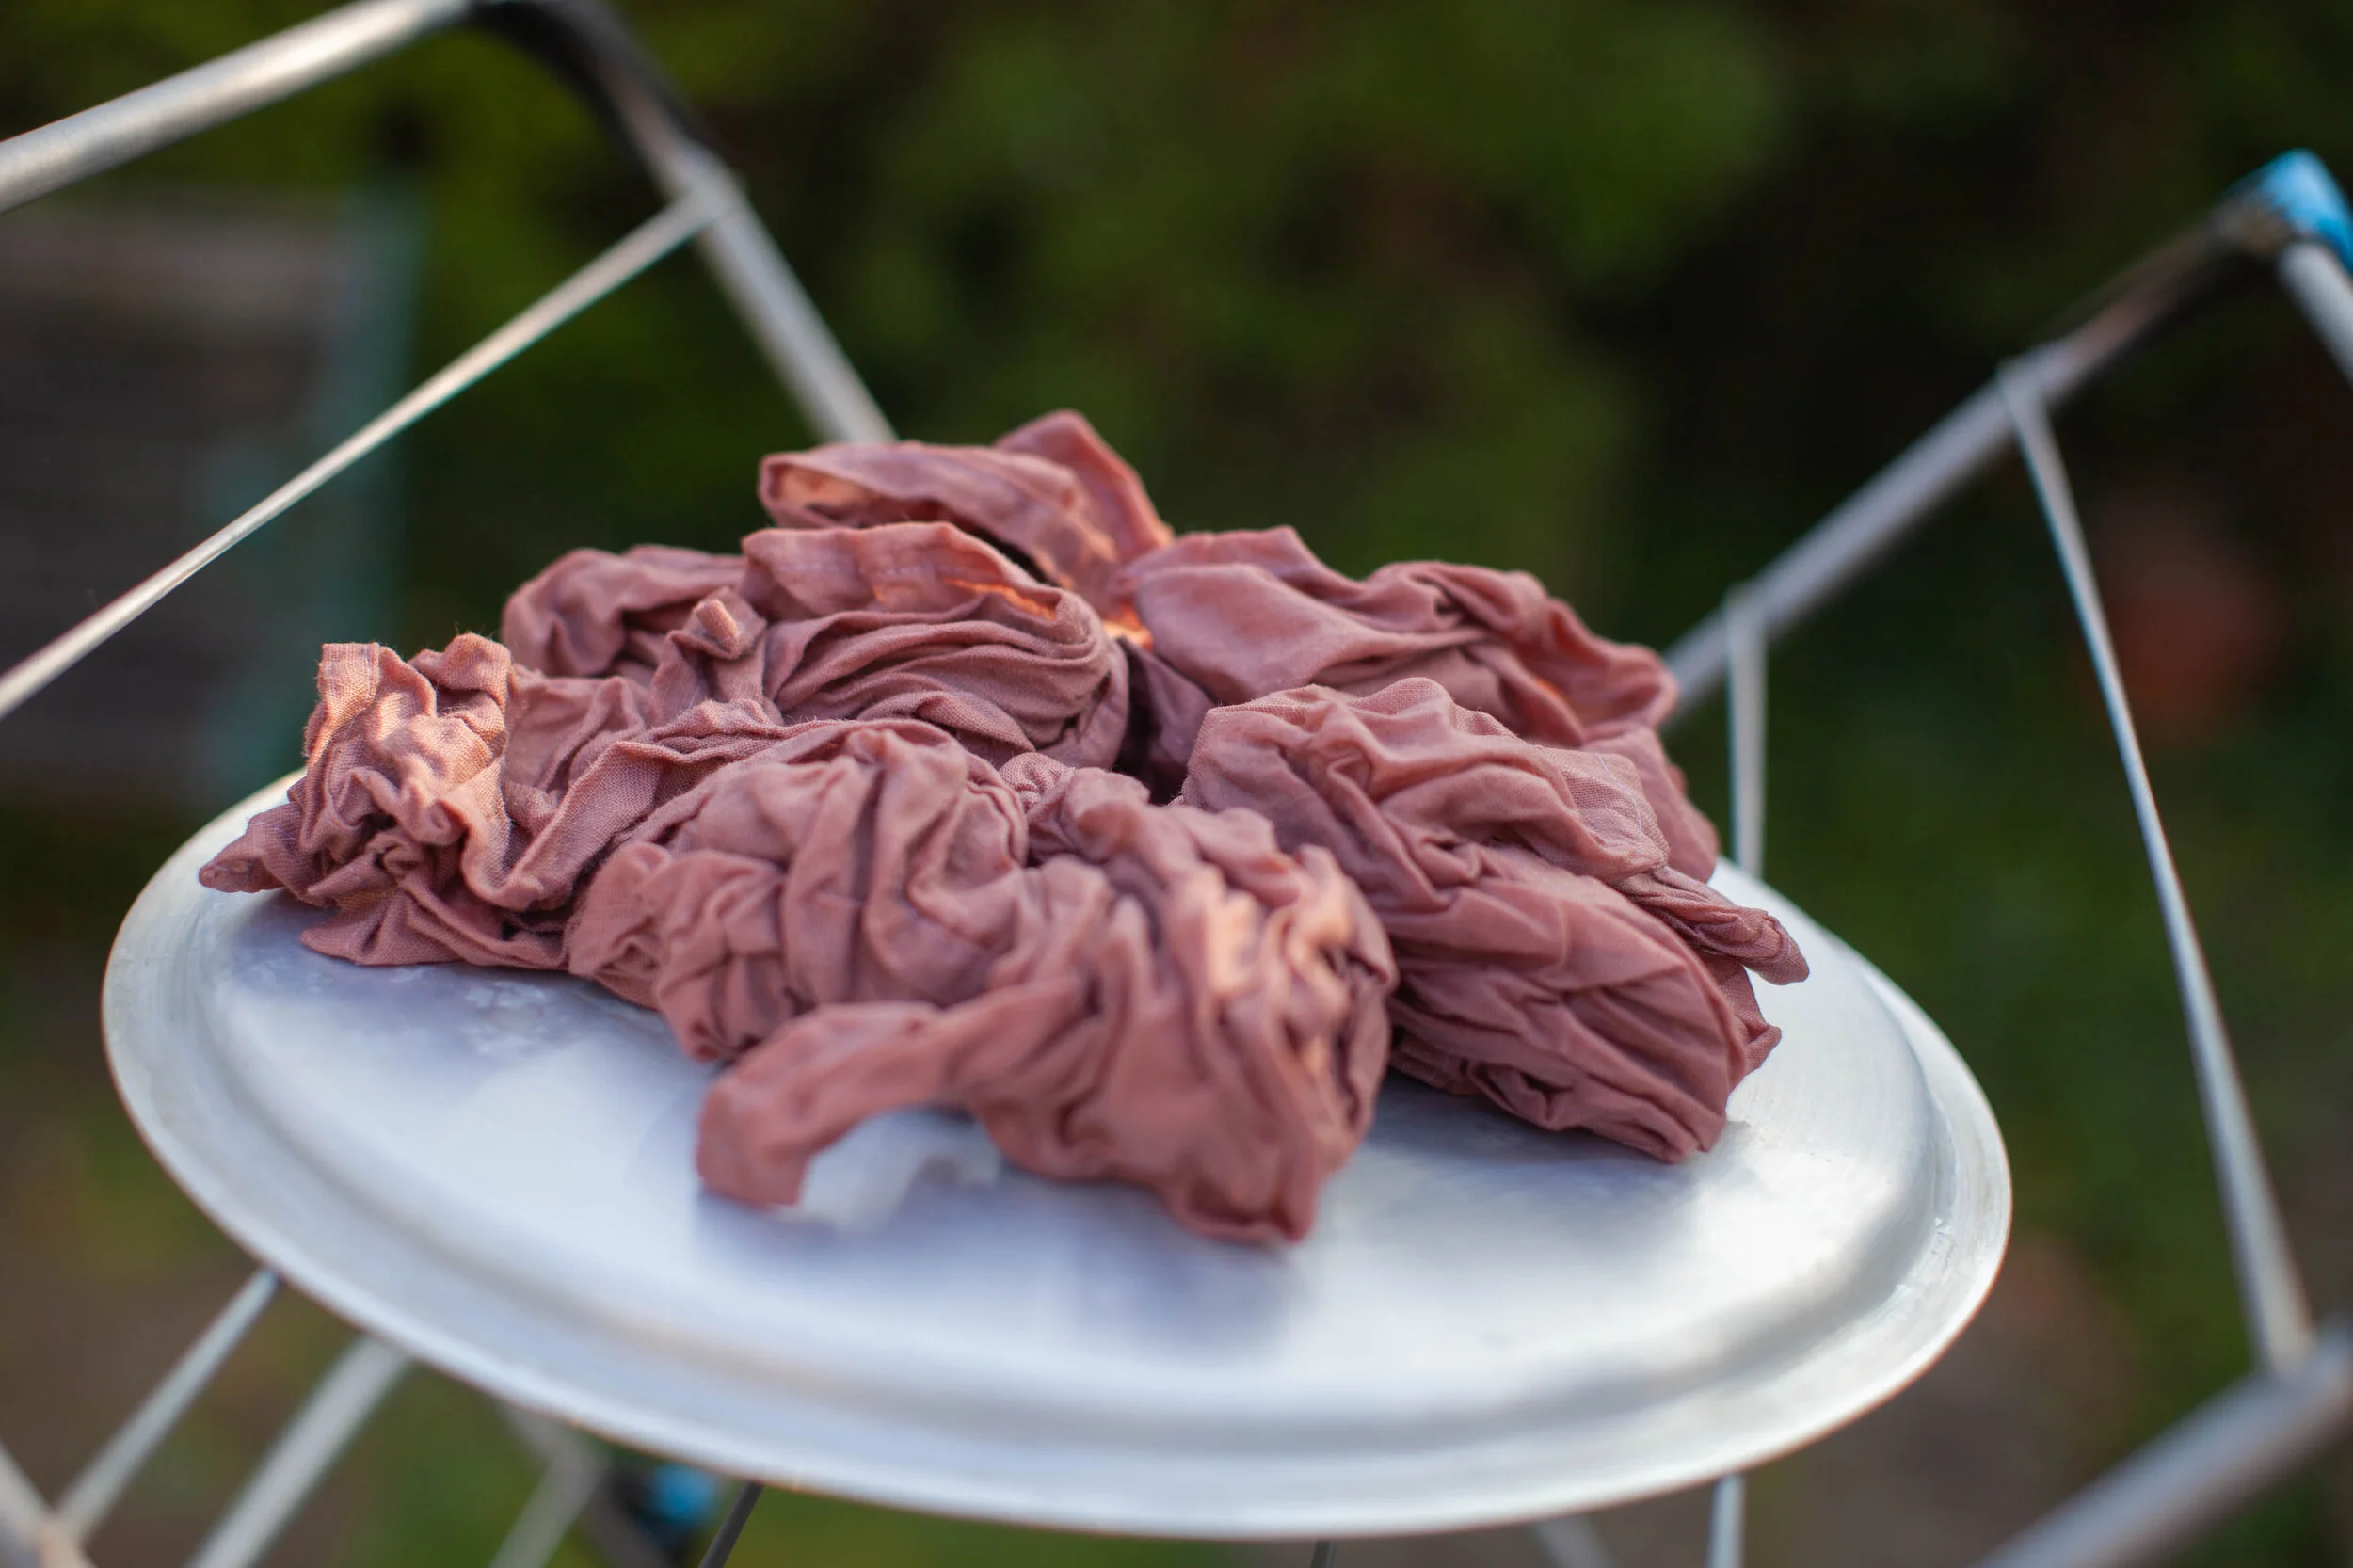
Natural dyeing is a slow, mindful process that’s ideal for these lockdown times. Foraging the first nettles - whether in a quiet wood or an urban alleyway - you can transform what nature gives and learn how to use it at home to create shades and tones of infinite variety.
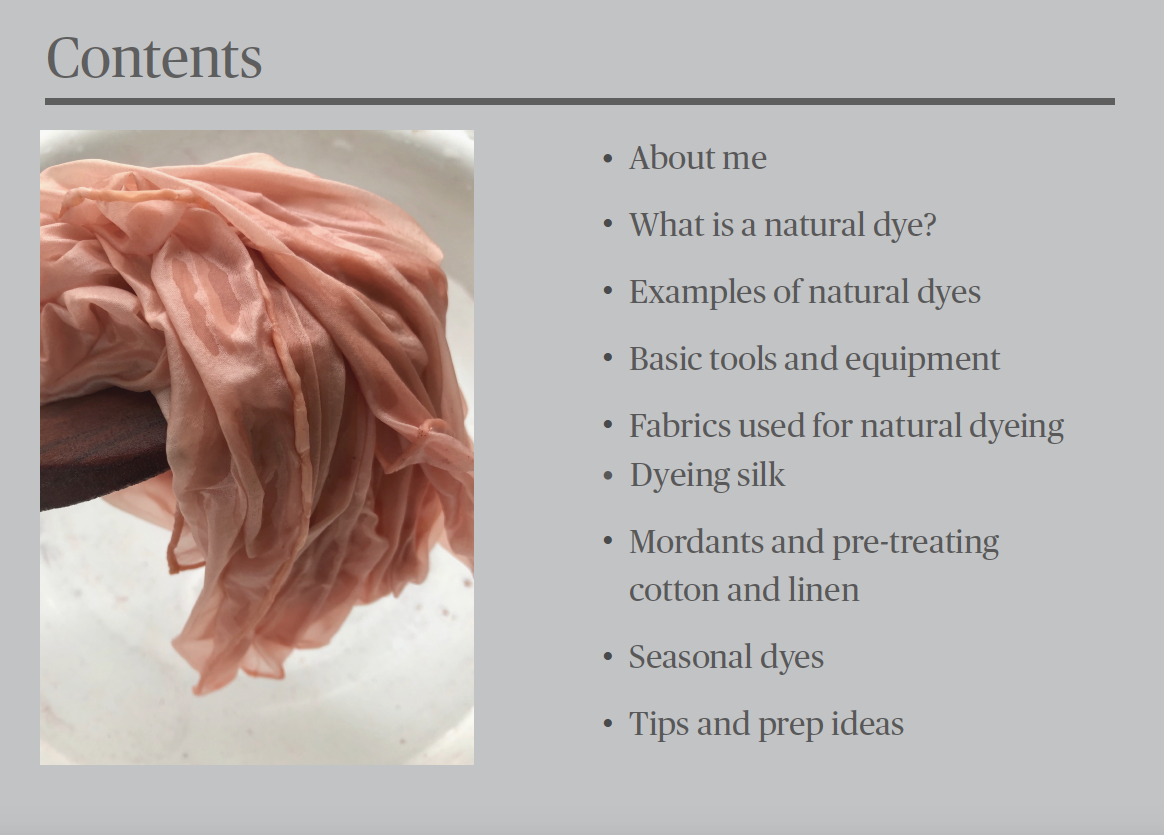
The Natural dyes guide takes you through the basics of what you need to know to get started on your own exciting journey of natural dyes.
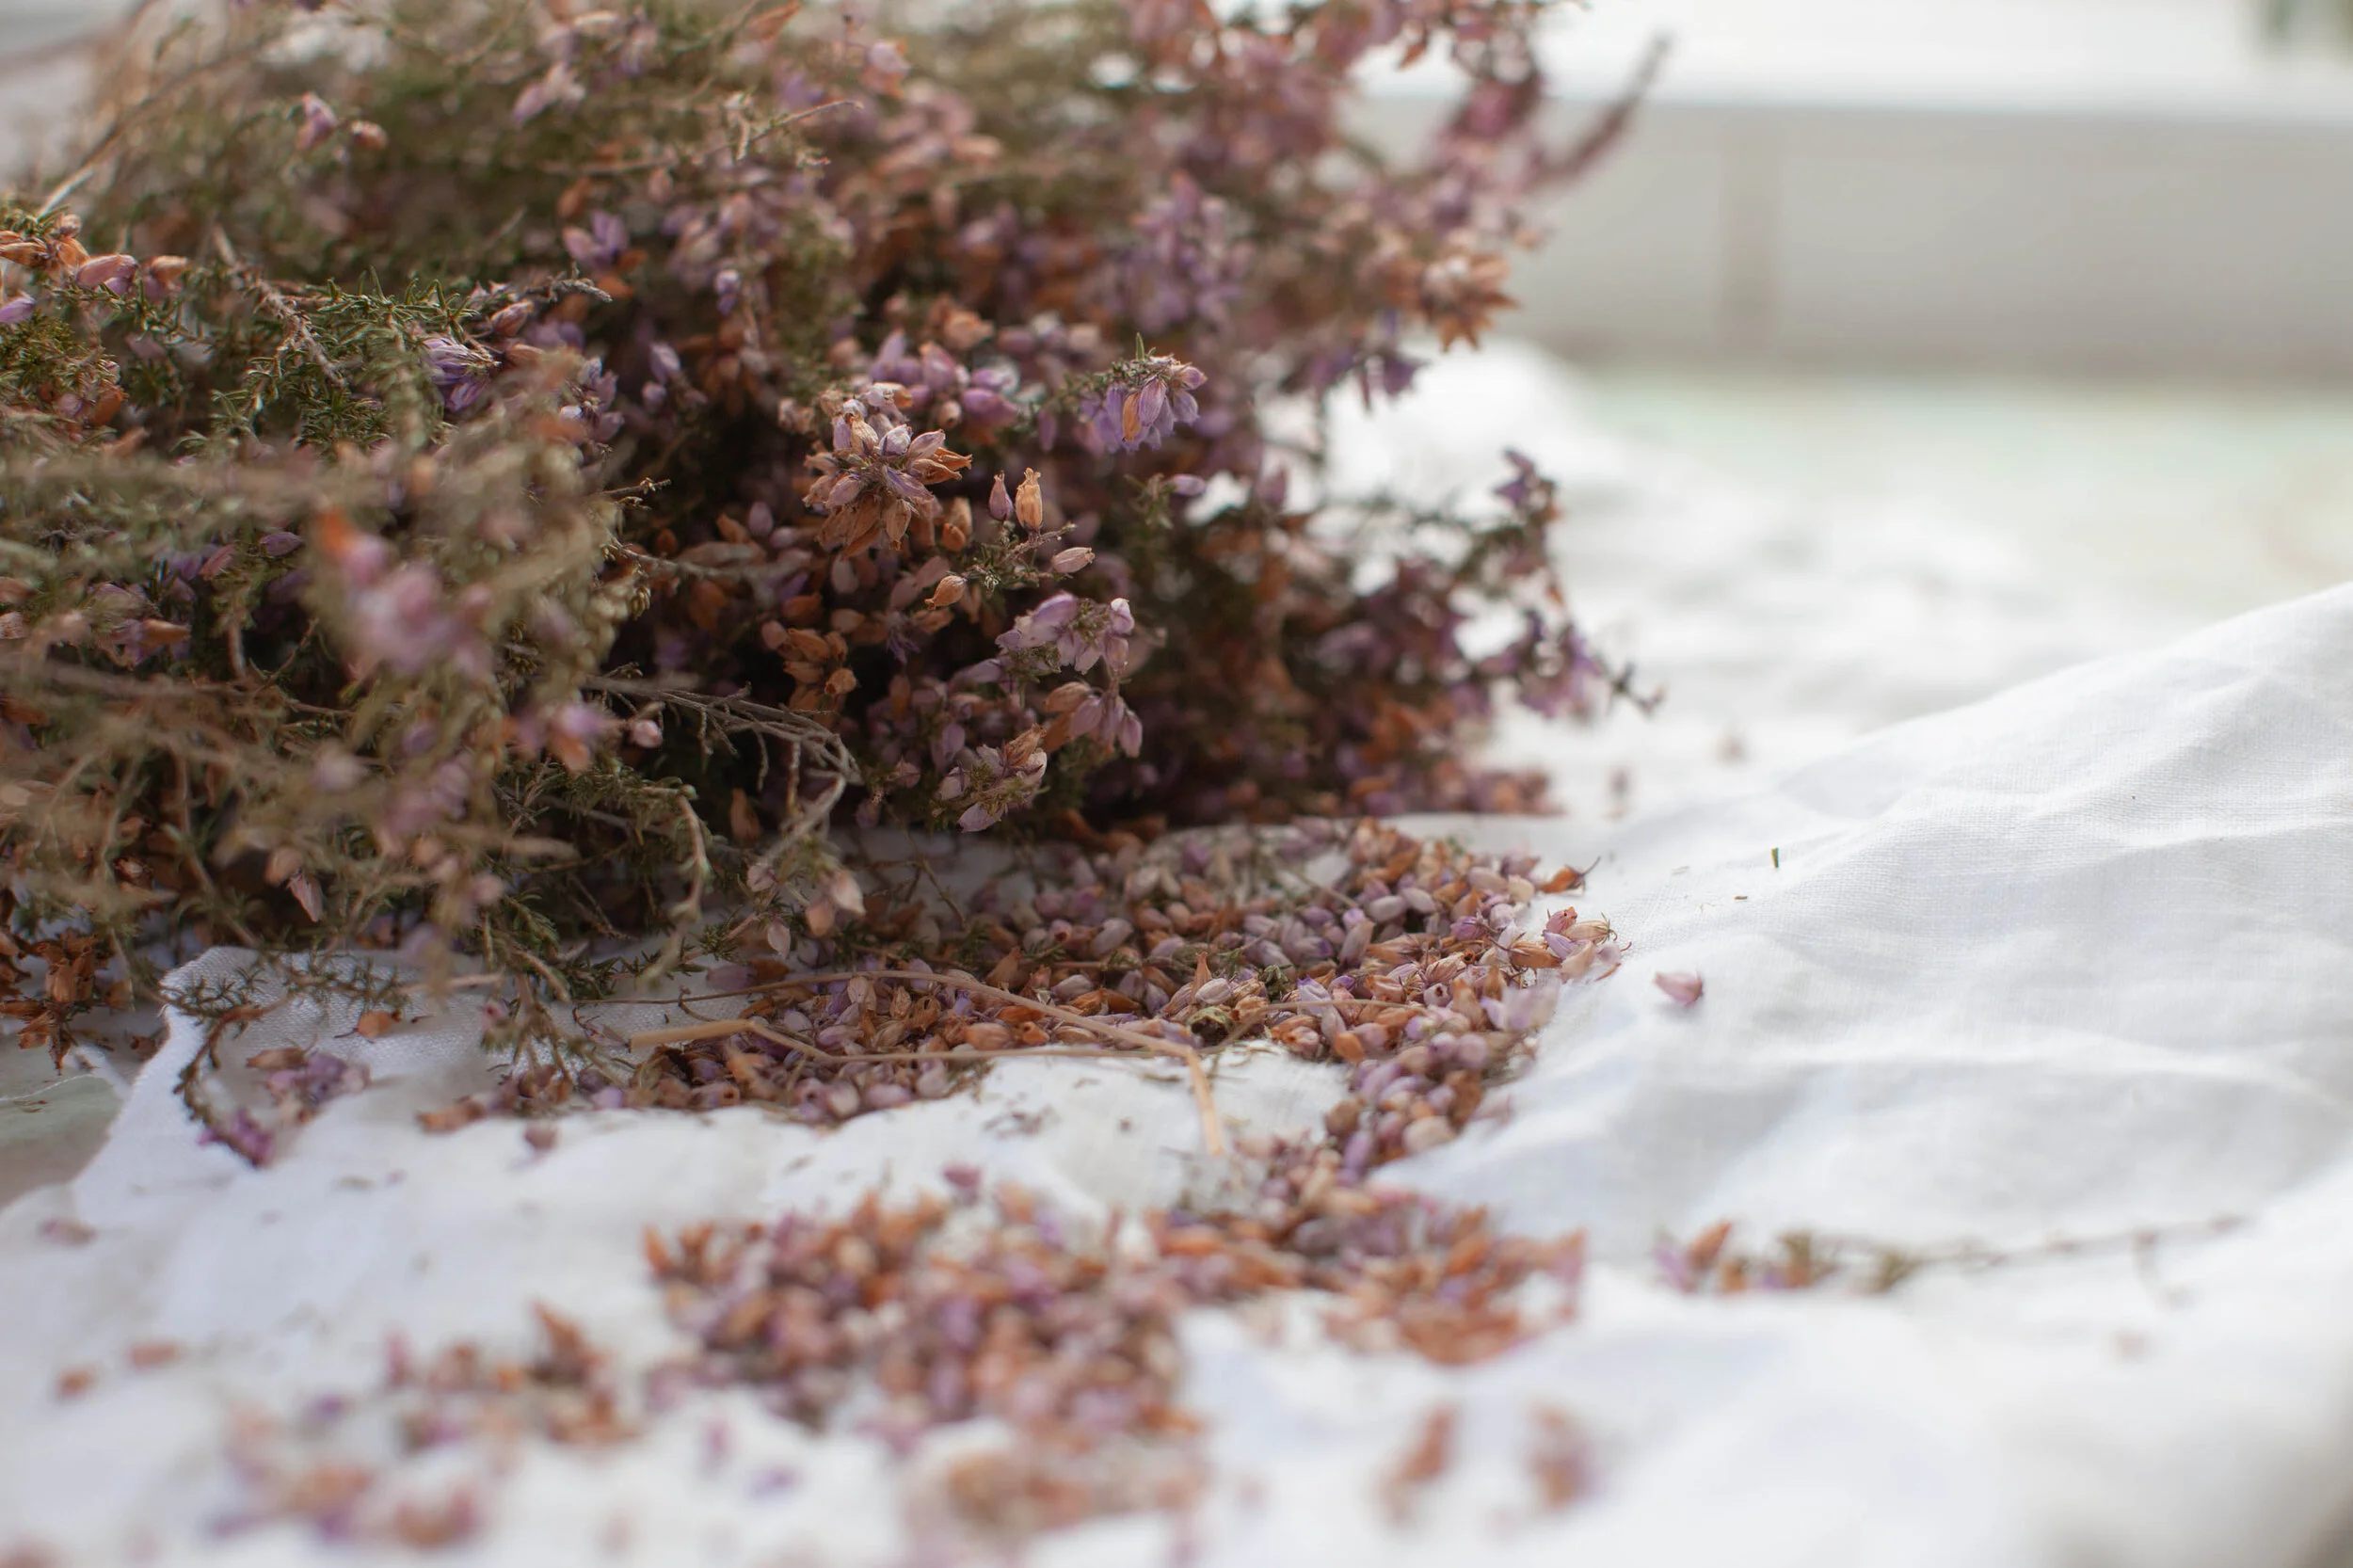
Blossoms, roots, flowers, wood bark, leaves, berries or kitchen waste.
You will learn how to:
+Select the best fabrics for dyeing
+Understand basic mordants and apply them to fix your natural dye
+Create and brew your own dye baths
+Choose and forage your material mindfully
+ Tips and ideas on making your own best colour palettes combination
+ Seasonal dyes and how to use them to the full
*37 pages that include my photos of the botanical dyeing process with tips and insights learned through numerous trials and experimenting these past several years.
This visual and practical ebook guide is available to download as a PDF publication after you make a purchase.
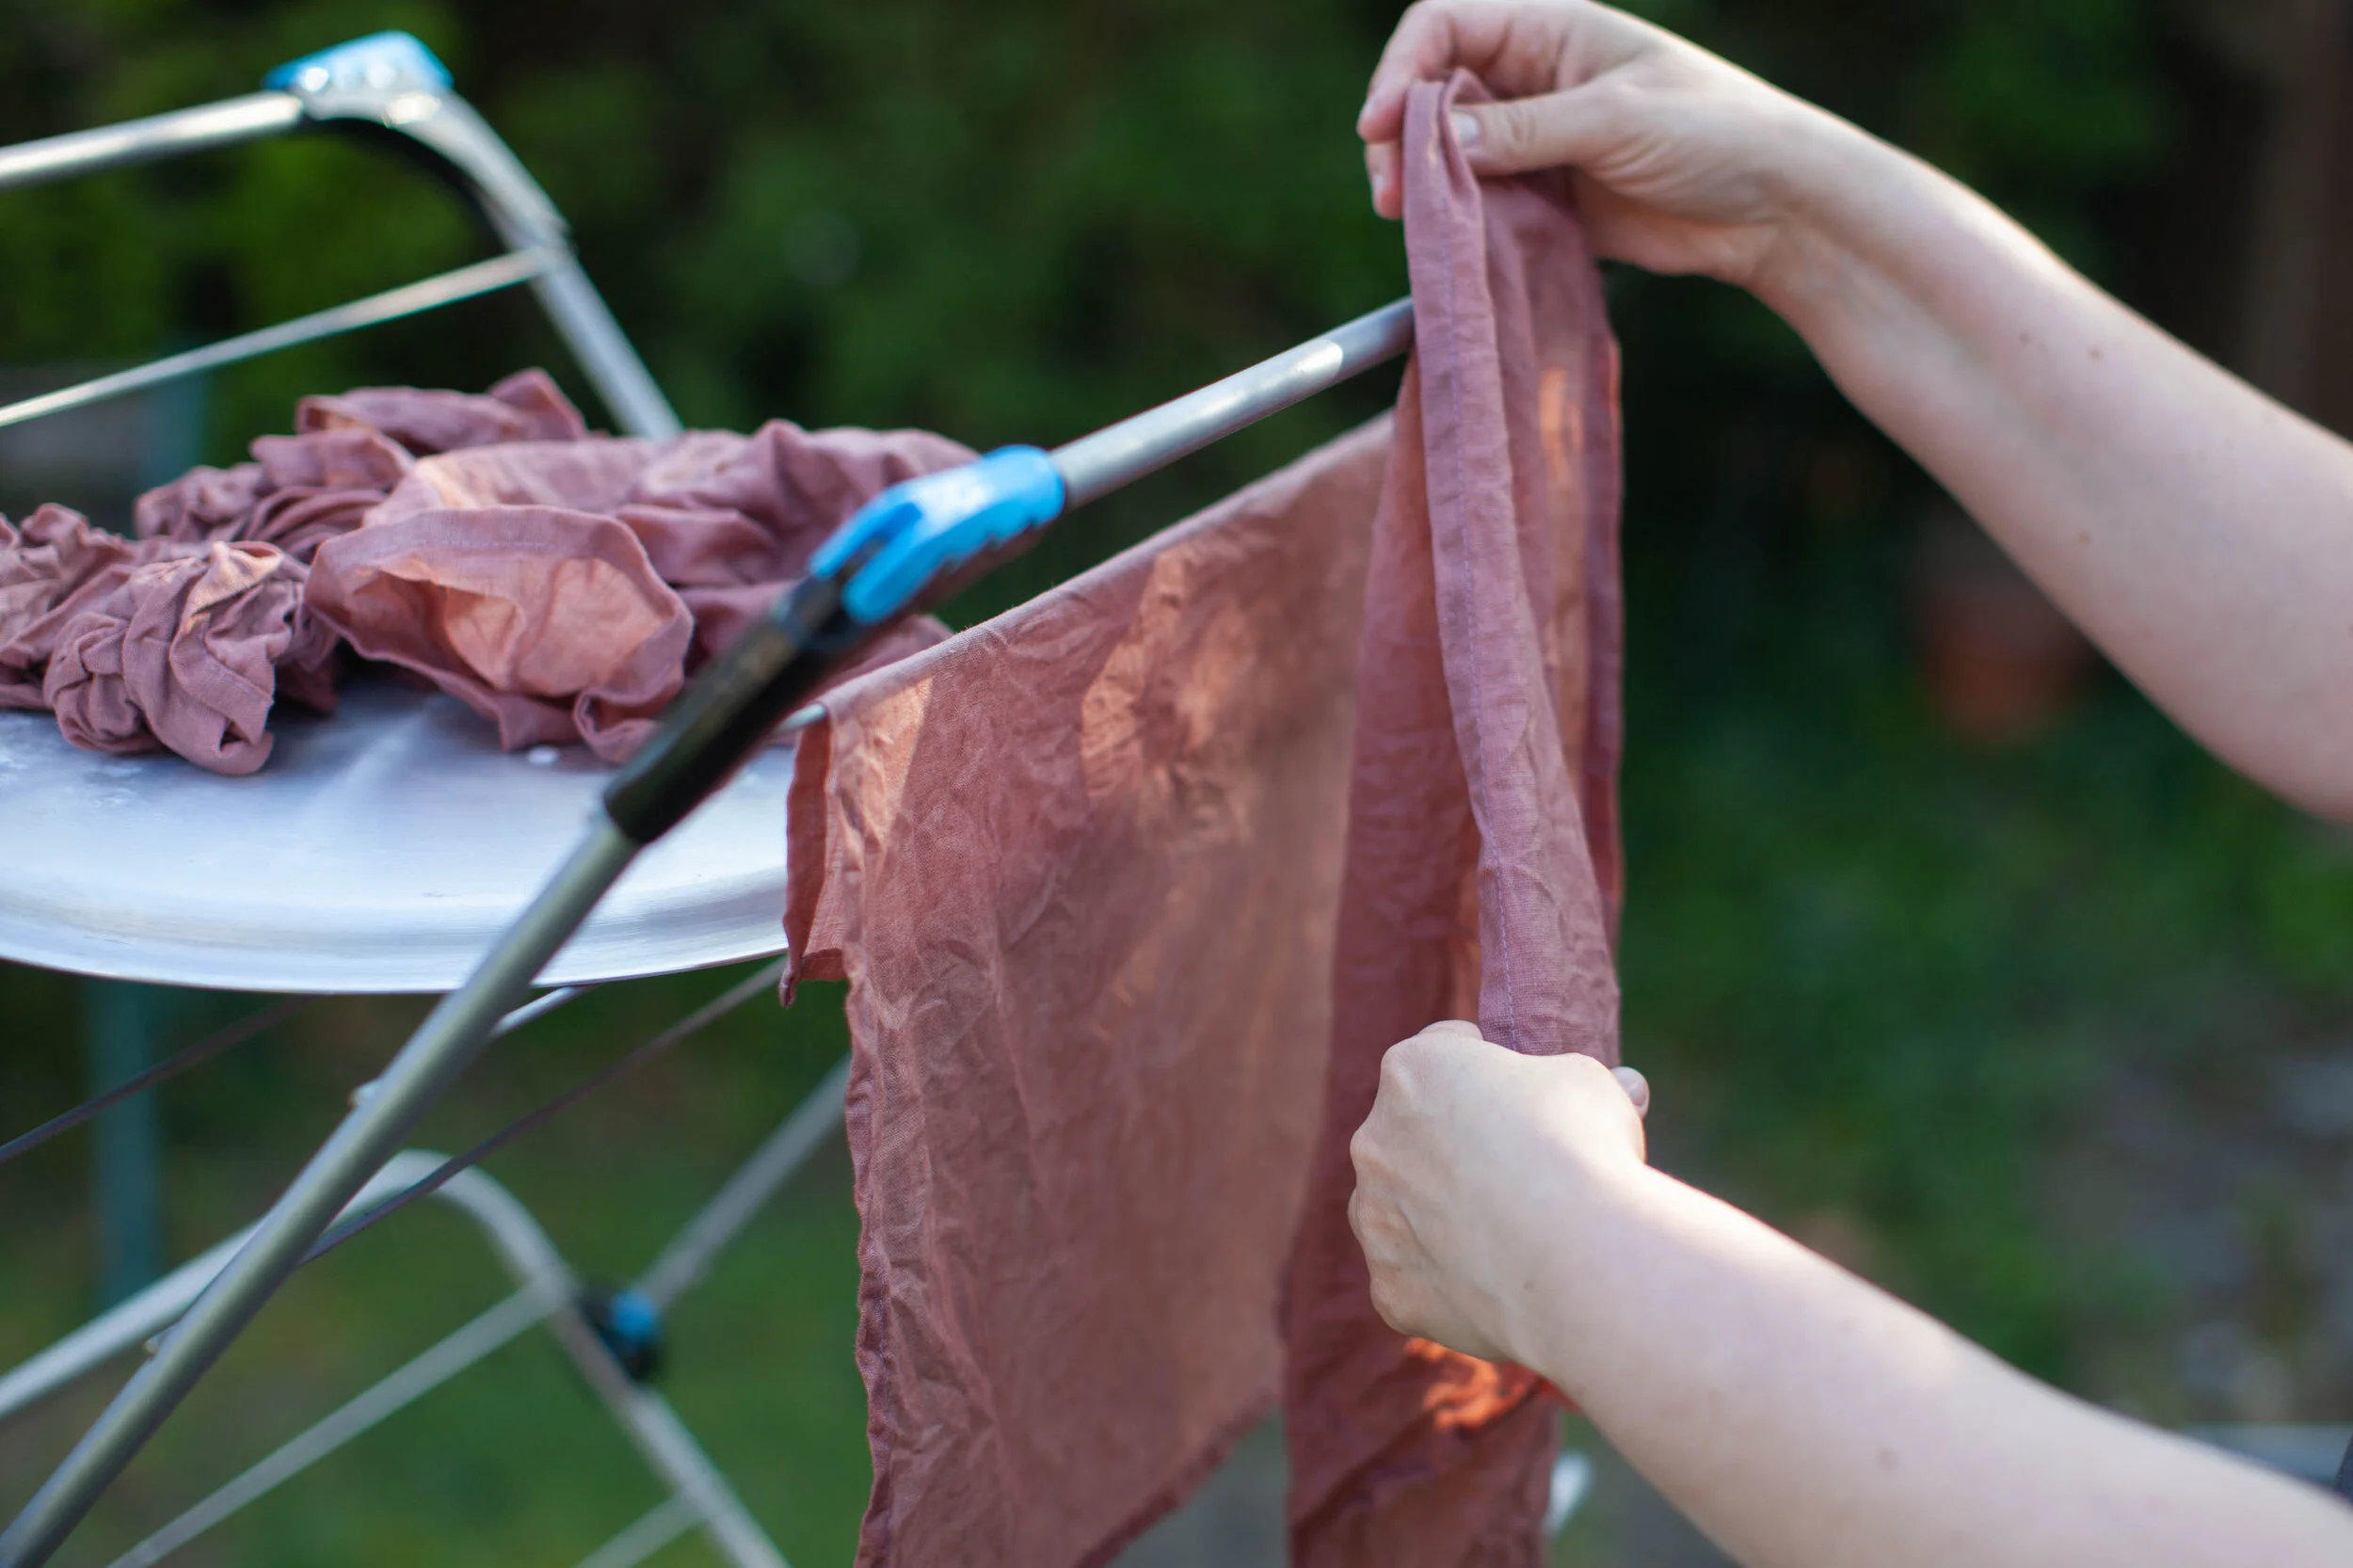
PIN IT FOR LATER:
NUNO FELT TUTORIAL: WOOL PONCHO
HOW TO MAKE A WOOL PASTEL PONCHO
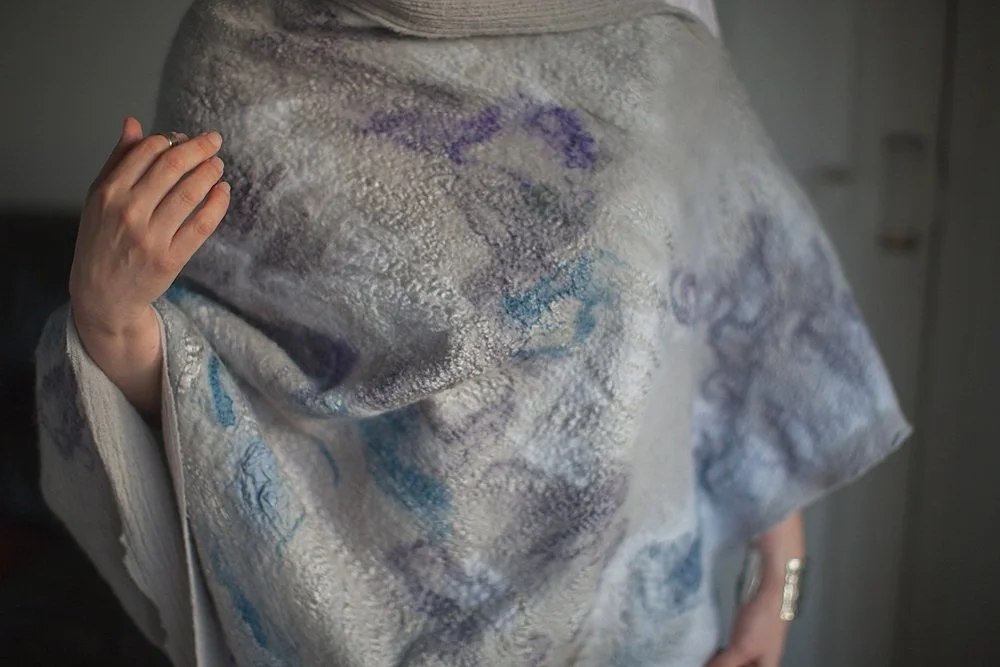
Hi I am Tanya Robinson and my journey as a fibre artist involves constant exploration of different materials and design ideas. What I love about wet felting is that even my most carefully planned projects always need to adapt when I see how materials respond and combine together. Typically I’ve used silk or cotton muslin as a base material for scarves or shawls, and so I was very interested to see how a large piece of wool gauze as a canvas would bond with merino wool tops, viscose and silk. The wool gauze used in this poncho has a lovely rustic feel and unique grid and density which makes it perfect for a cosy, sturdy and resilient piece that will be a joy to wear.
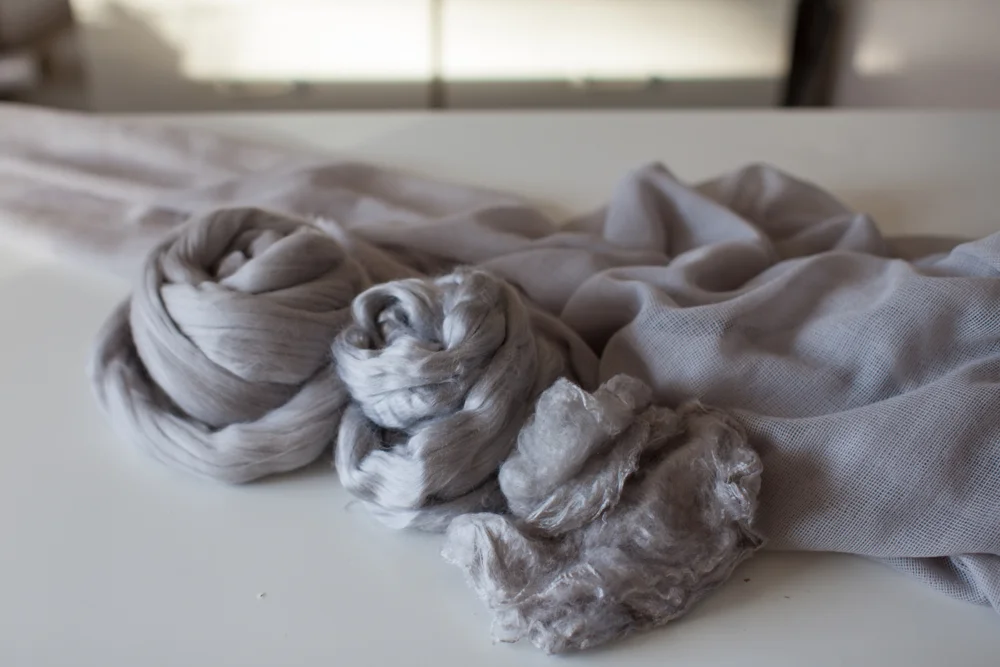
Materials by DHG Dyeing House Gallery
1st side:
140 cm wide wool gauze color Cloud- 2,25 m
1st side:
Extra fine merino wool tops color Cloud
Viscose tops color Cloud
Grade A1 mulberry silk tops color Cloud
Silk hankies color Cloud 6/8 pieces
2nd side:
Wool gauze
Extra fine merino wool tops color Cloud
16 micron merino wool tops color Pearl
Viscose tops color Cloud
Viscose tops color Fog
Viscose tops color Jeans, Violet, Natural white
Grade A1 mulberry silk tops color Cloud
Silk Fabric, cotton gauze bits left over, 3-4 small pieces
Lukewarm Water
Liquid soap
Bubble wrap to cover your whole project under and over
Electric hand-sander
Finished Poncho measurements:
Length: 93 cm
Width: 85 cm
Length diagonally: 120 cm
One Size, fits size: M/L
Follow the instructions step by step to make a nuno felted seasonal poncho
Spread the fabric on a large work surface to begin laying the wool on the first side. In my case it is the back side, although the poncho shown can work as a transformer and be worn both ways. I have folded the material in half, marking the possible head entrance and leaving it uncovered and placing the bubble wrap between the folded fabric to prevent felting through both sides.
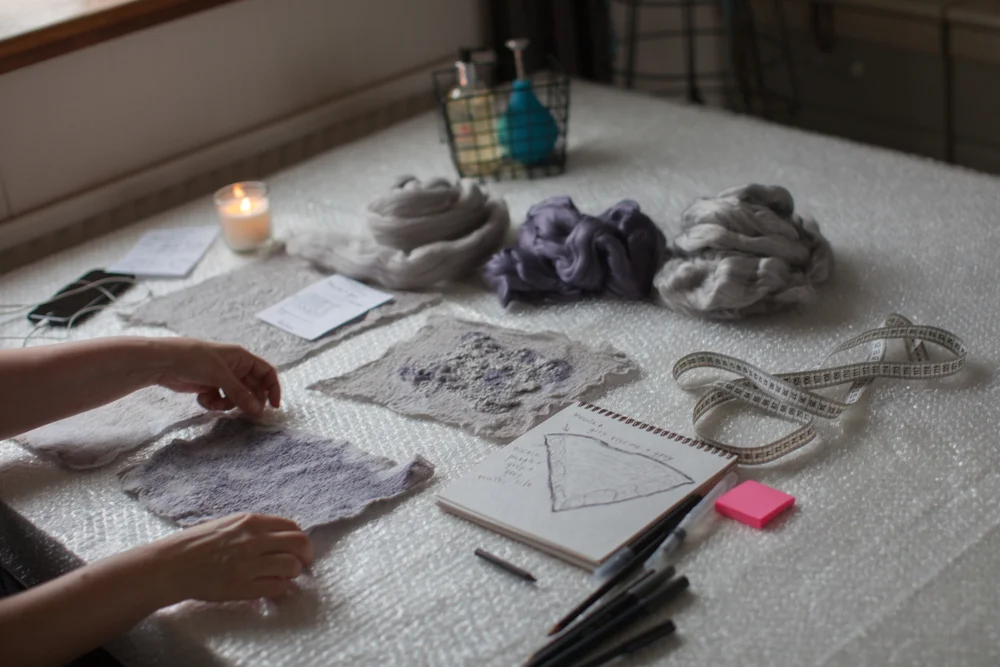
As this is my first project with wool gauze, I cut a few small squares as samples to see how it responded to felting as well as shrinkage. Based on these trials I estimate the shrinkage of the wool gauze to be between 30-35 per cent. It is quite important to know your own shrinkage percentage at the start of the project.
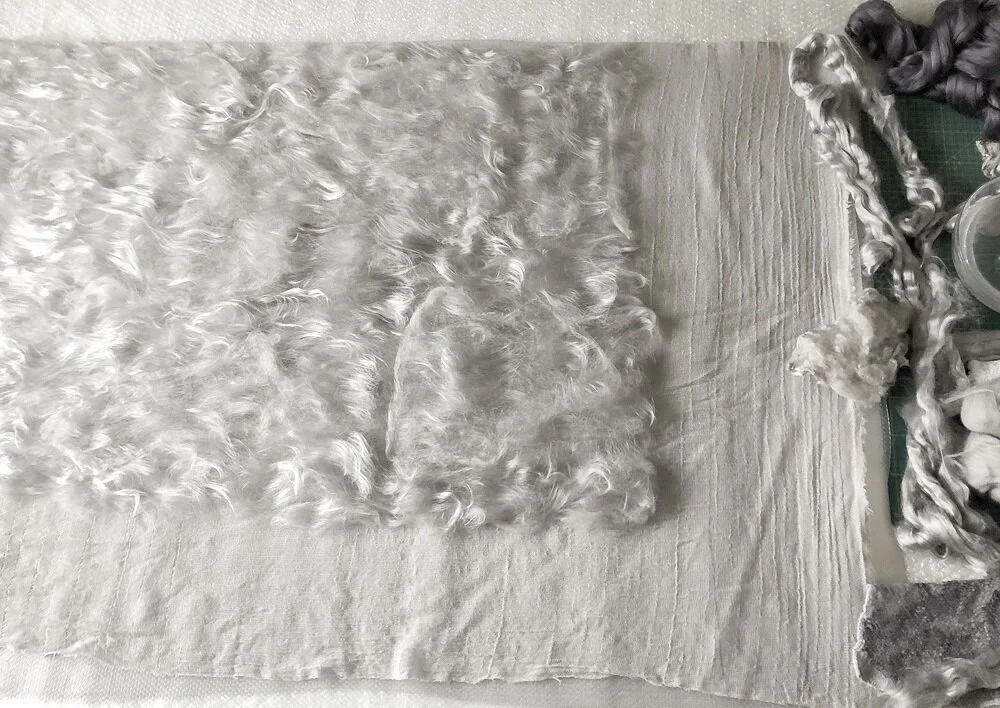
With this in mind, I chose to lay the grey merino wool (nuvola merino tops) horizontally for the shrinkage to primarily occur in that direction. Tease out the wool and cover the whole of the space of side 1 of the fabric, leaving at least 10-15 cm on the sides not covered. When you finish laying the wool add the grey viscose and mulberry silk in piles (pockets of fibres) leaving some spaces in between.
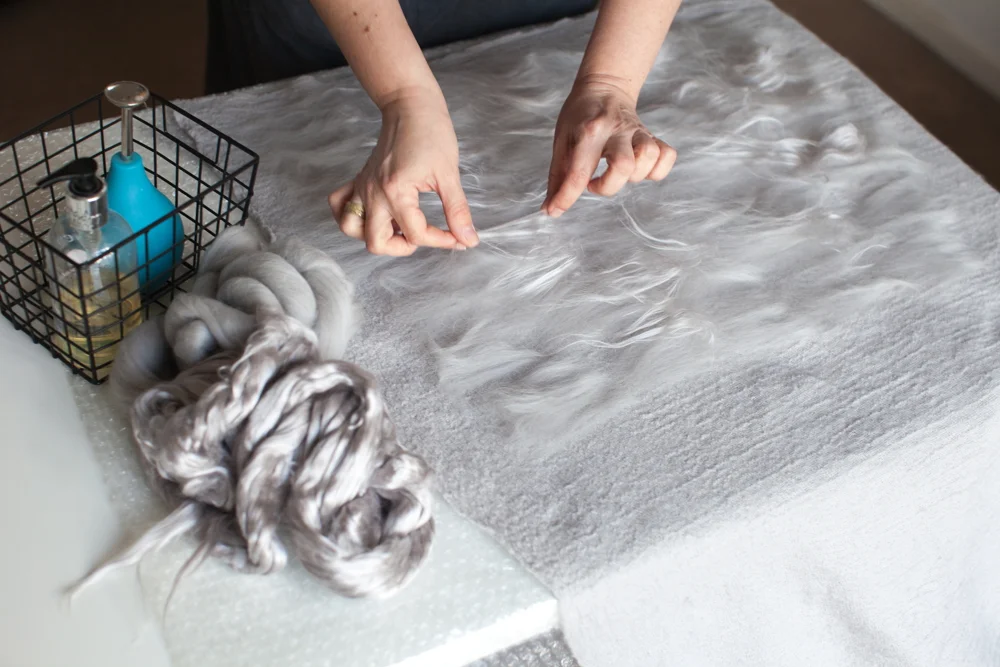
I have also added 6-8 silk hankies on top of my fibres for added texture, etc. by pulling them by the edges and spreading them thin.
Side 1 – felting the first layer of fibre
Sprinkle the project generously with lukewarm water and liquid soap evenly. Cover with bubble wrap. Pat with your towel on top of the bubble wrap for the water to go through and make sure your project is evenly wet.
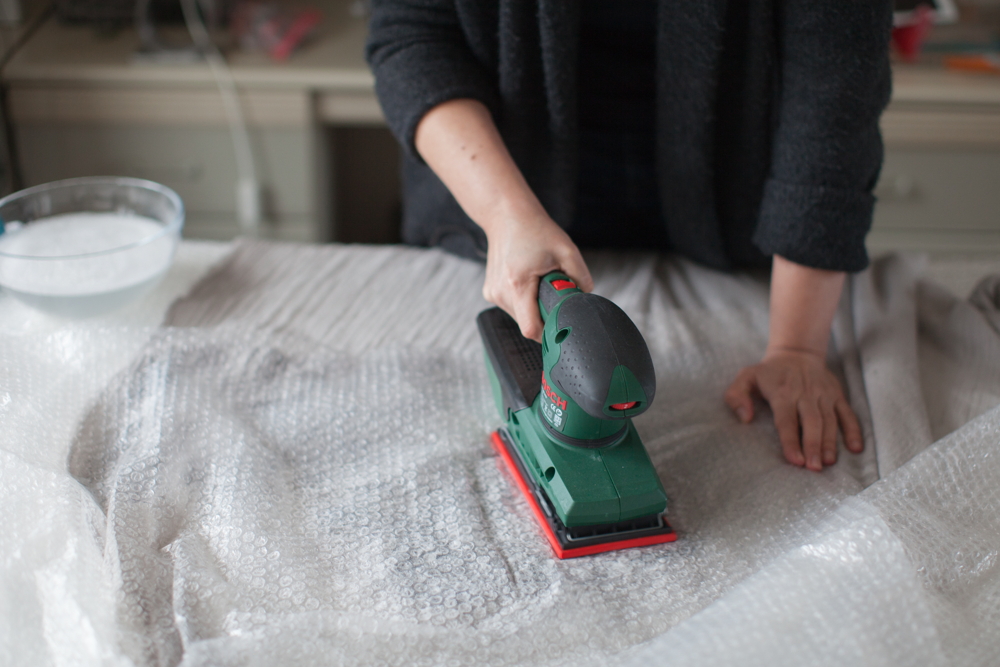
Use the sander and go over the whole of the project leaving it for 10 seconds or so in one spot. You will see the white thick foam with begin to form on top of the project. It is important the surface is not oversaturated and soggy.
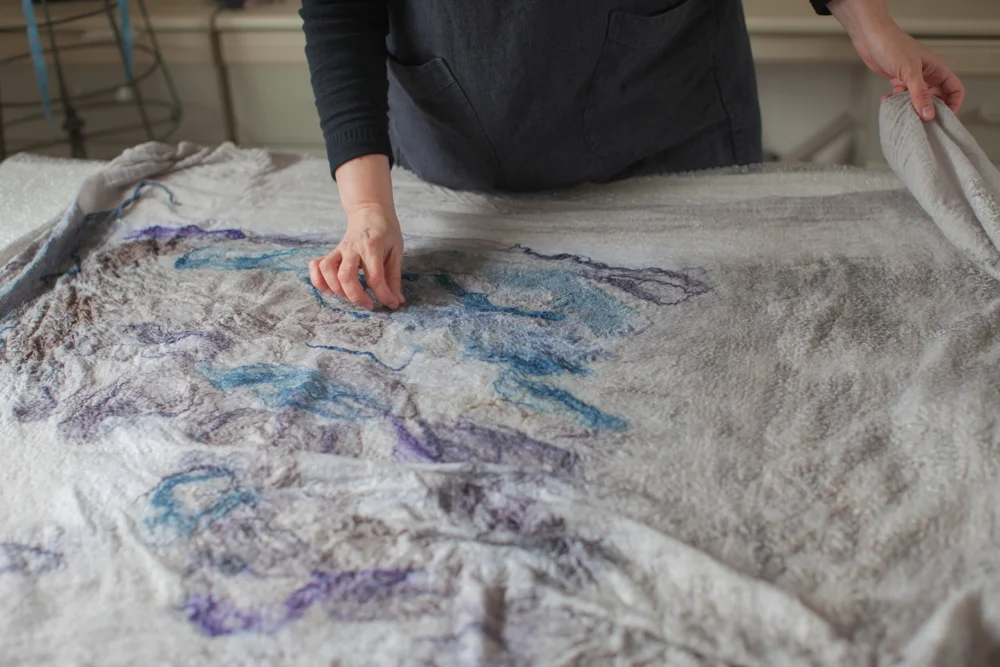
Using the plastic glove (with the bubble wrap still covering the project) go over the project in rubbing circling movement creating more soapy suds but without applying excessive pressure. When the surface is soapy enough, flip the fabric to the other side, take the plastic off and rub the reverse side with a gentle circling motion without applying pressure or force. It is important to spend enough time and not to rush this stage to enable the smaller fibres to come through the surface and bond with the wool gauze fabric.
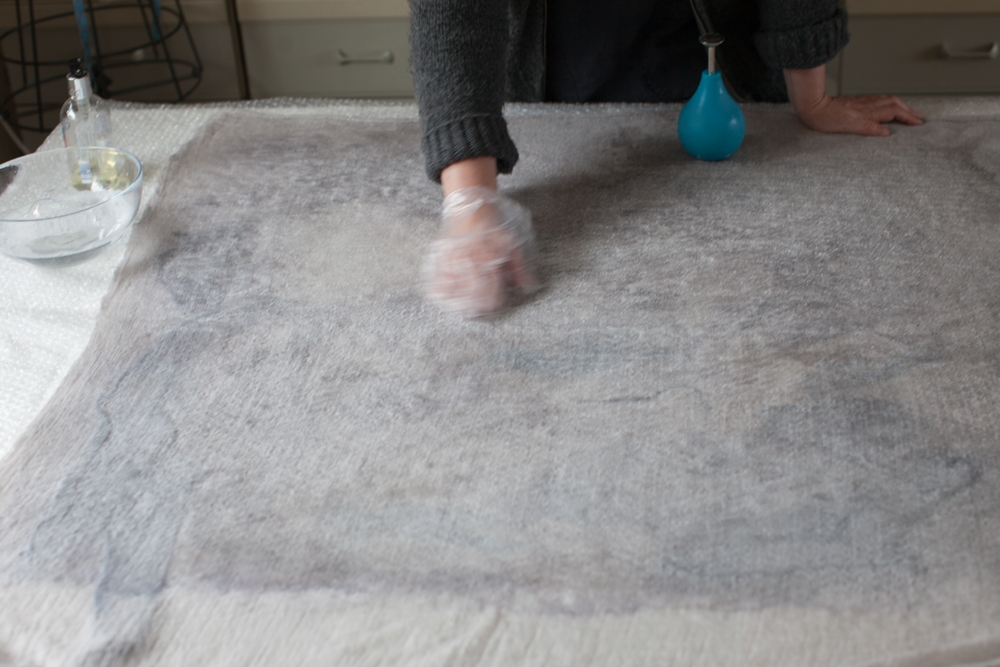
Lightly connect the opposite corners and wiggle the fabric from the opposite ends. This helps the next stage of the process to begin. Continue for 10-15 times. Rub the fabric and fibres gently against the bubble wrap of needed adding a bit of a sprinkle if the fabric looks dry and checking the feel of this stage. Gently throw all of the project up in the air as an open sheet without scrunching it or being too forceful. Repeat 20-25 times.
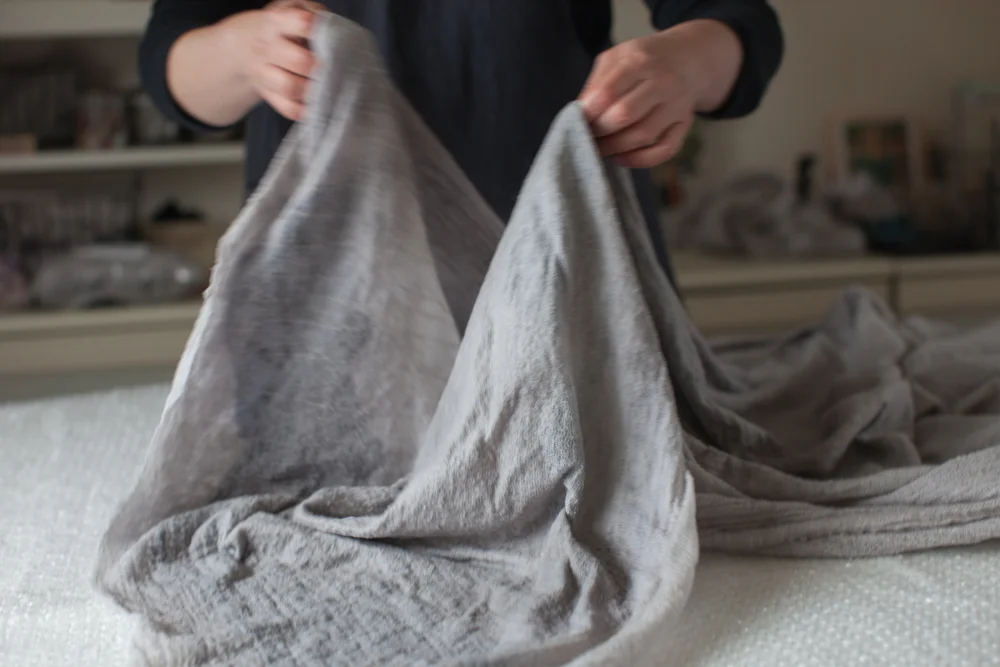
Continue with rubbing the fabric against the bubble wrap surface decor down with medium strength.
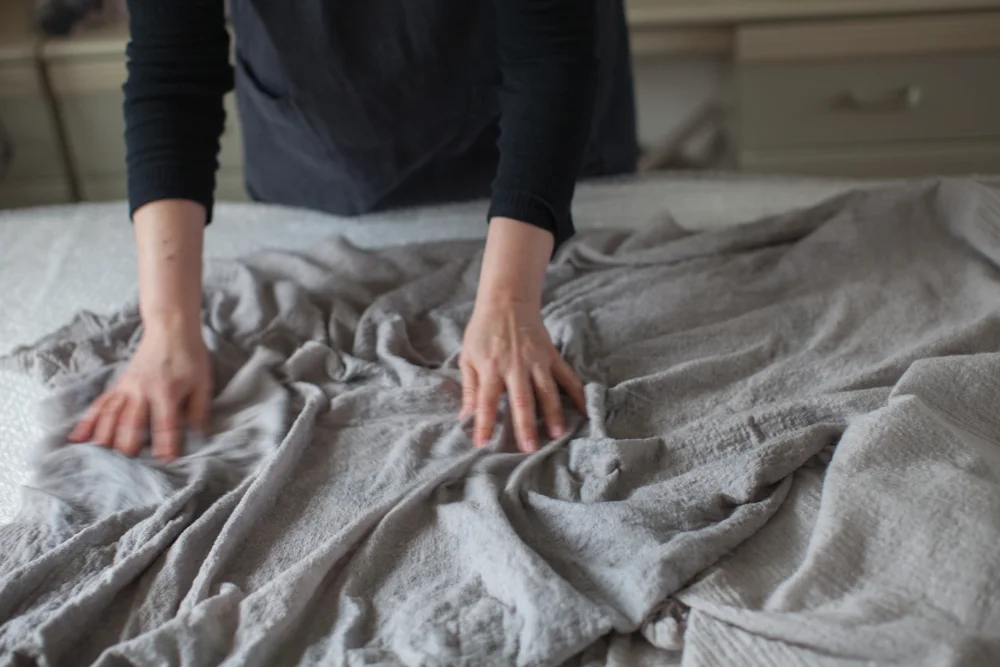

Photo of rubbing the wool gauze fabric against the bubble wrap face down. When finished with this stage and gentle throwing, rinse all the soap out in a tub using lukewarm water.
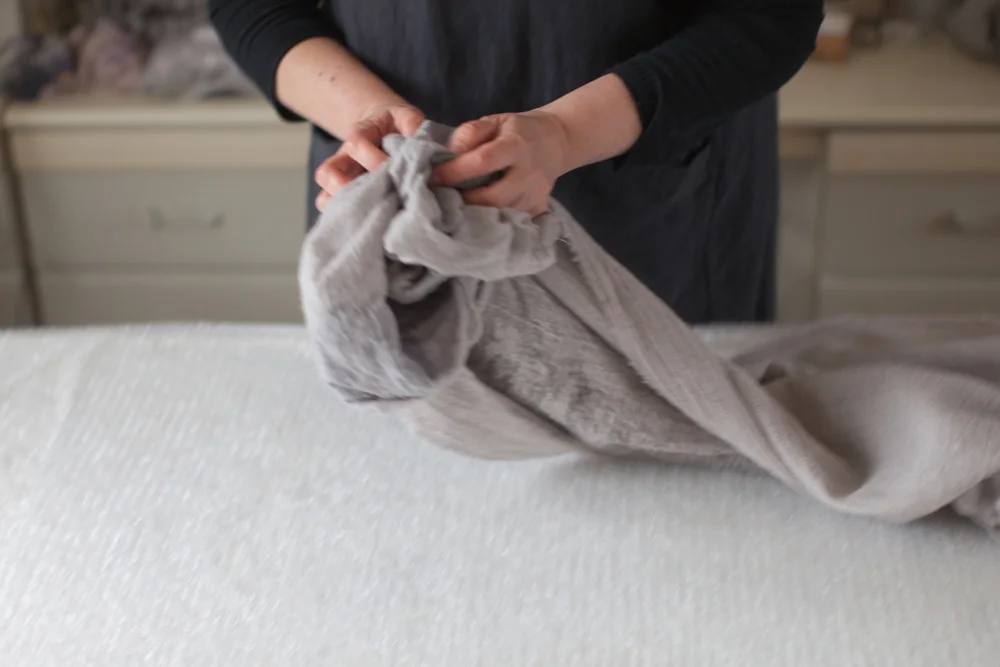
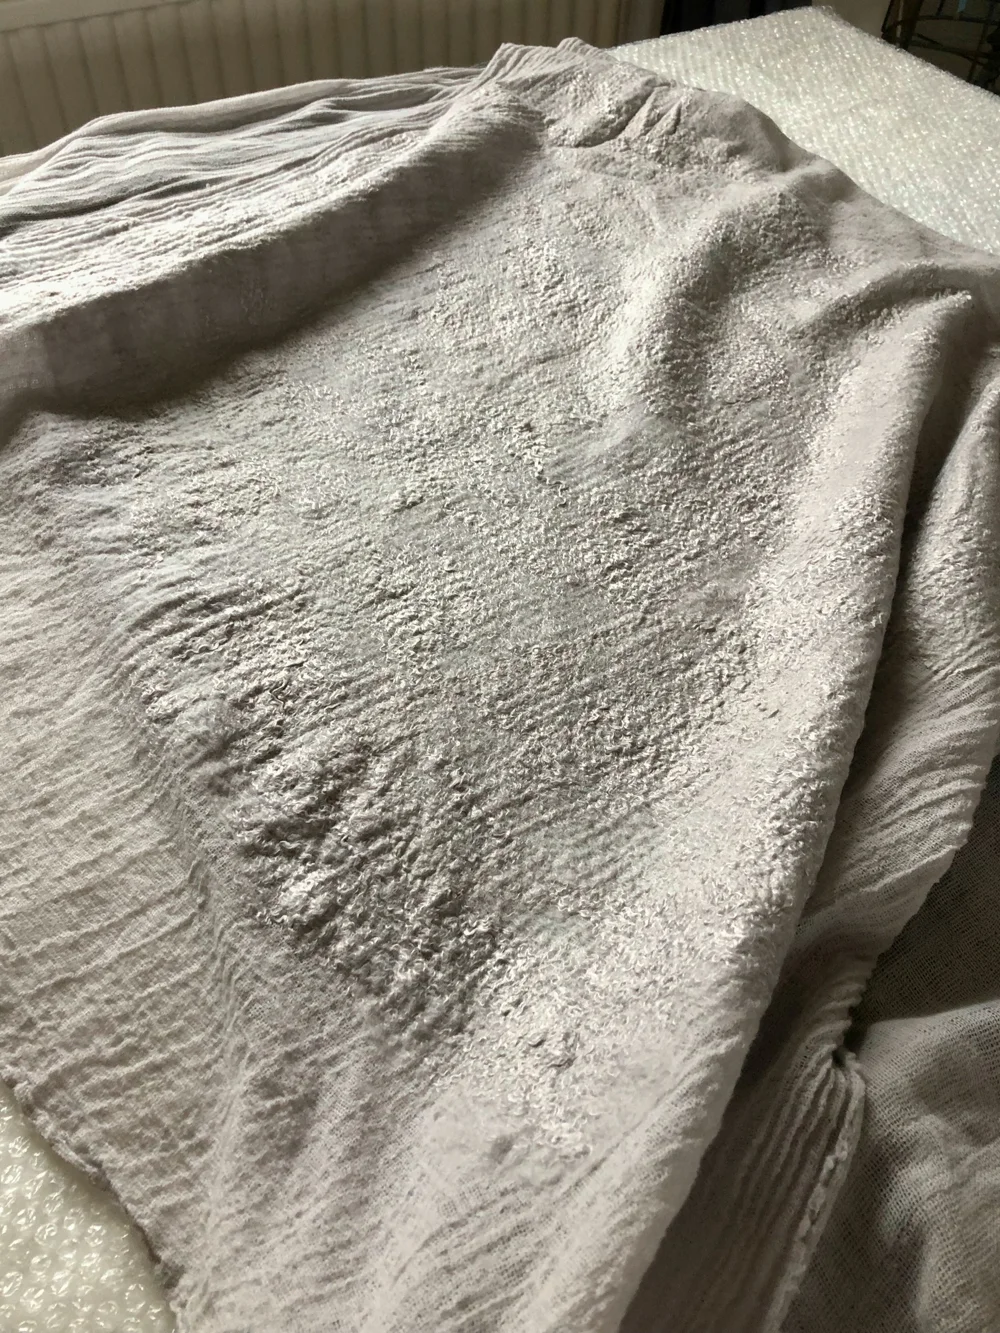
Photo of the dry side 1.
Side 2 – felting the second layer of fibre
Continue to lay the second side with merino wool tops horizontally marking the opening for the head (35-40 cm) from the top left corner. The opening width can be adjusted according to your preference.
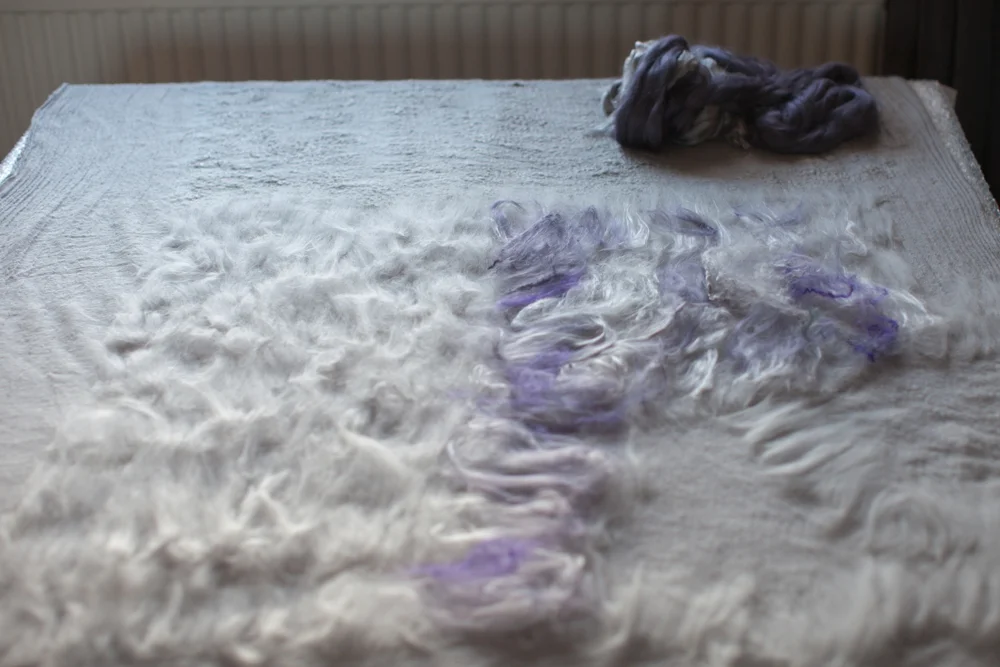
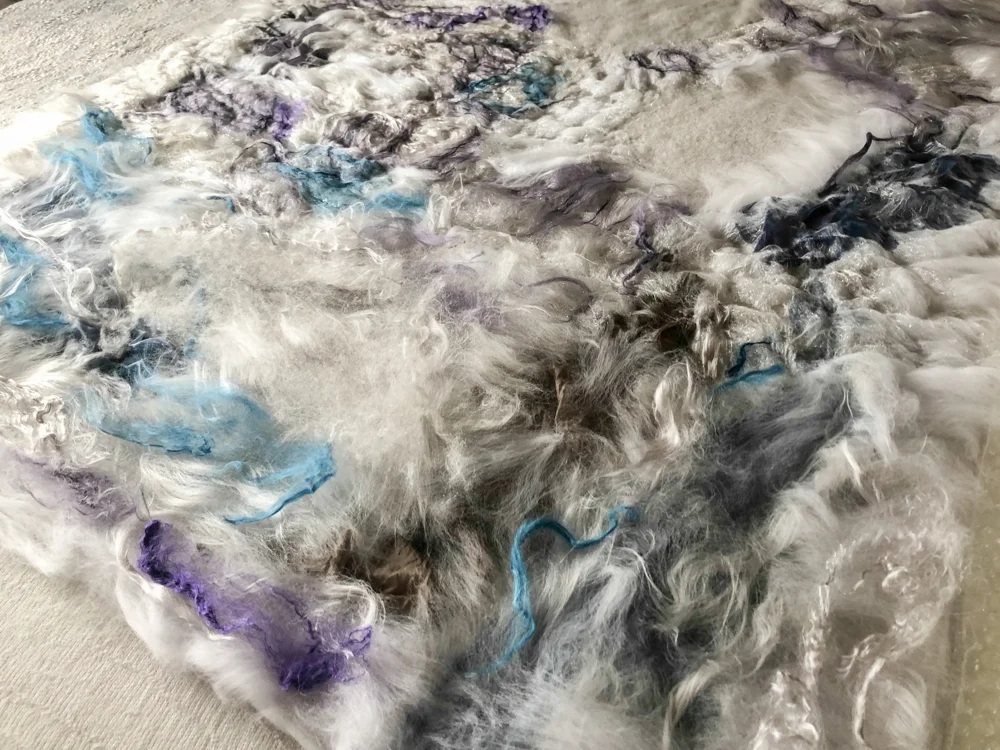
For my design I opted to use a layer of merino tops followed by grey viscose, mulberry silk and then decorating it with clouds of other colours of viscose and silk (purple and blue). For additional texture I added elements of ponge silk fabric and cotton gauze bits left over covering the edges of the fabric with a thin layer merino wool all around.
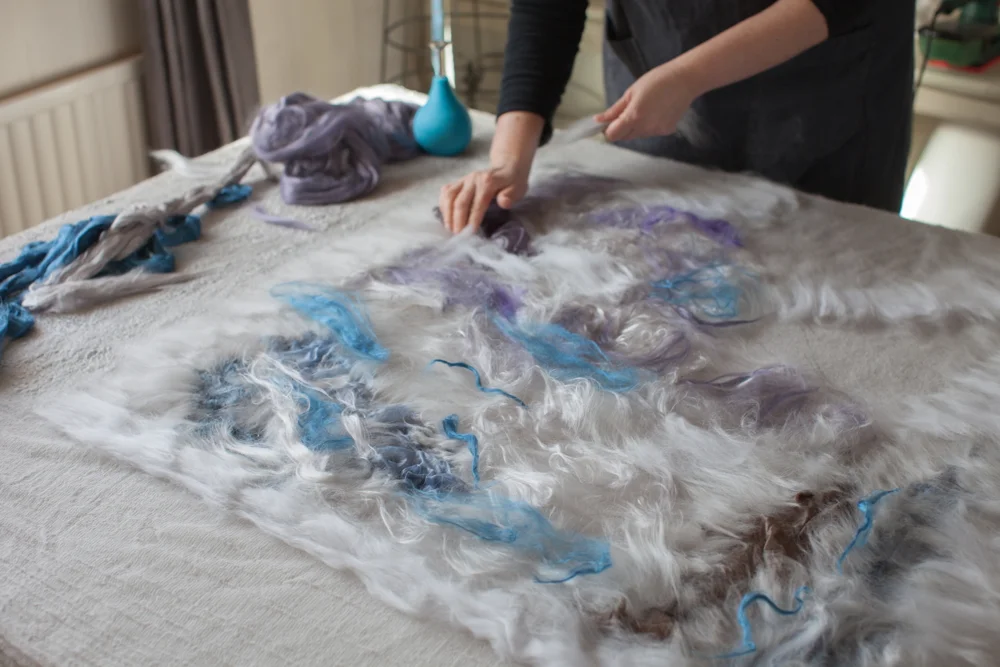
The design also utilizes negative space intentionally, so that you can see places where the open wool gauze is uncovered as shown in this photo.
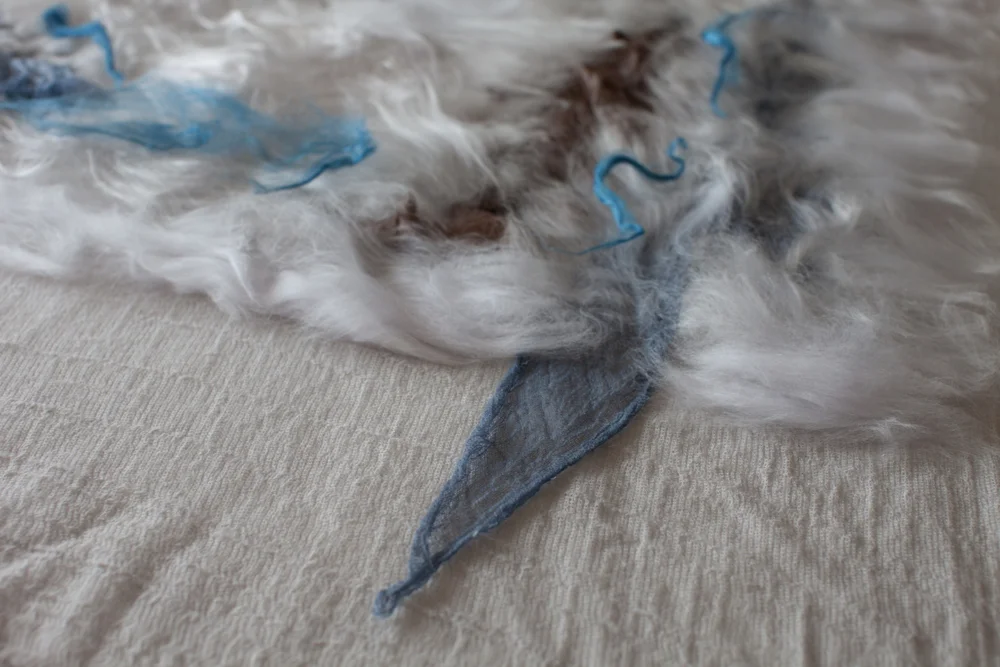
Repeat the same steps on side 2 stage 1 and 2 as in day 1 written above. Do “the pinch test” to see if the project is fully felted by pulling gently on the felted decor.
Final stage for both sides
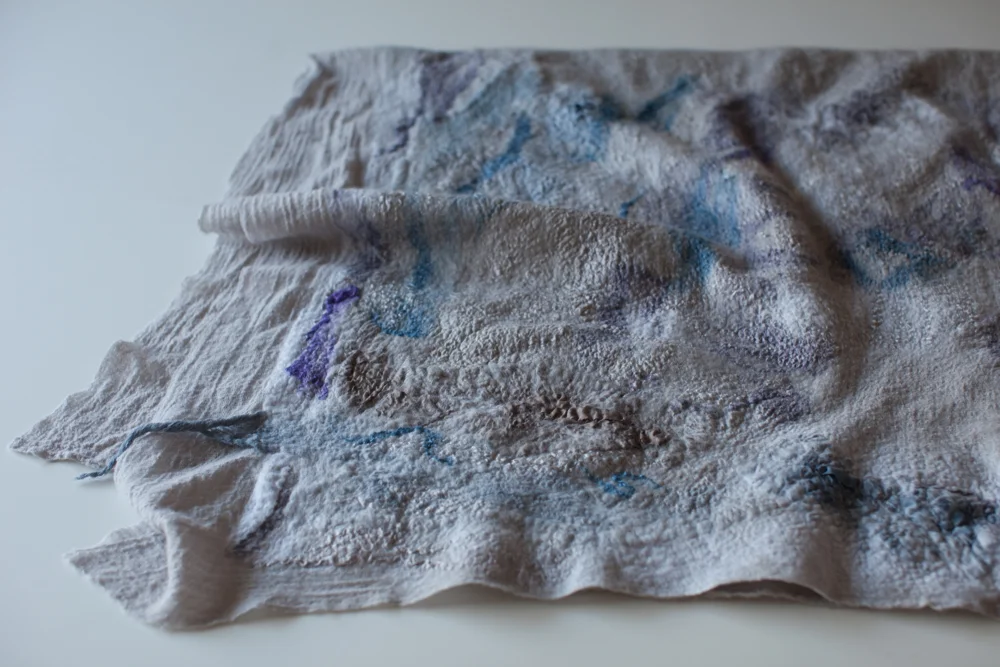
After both sides dry and are finished in terms of the wet felting process, I had a few fittings to mark the precise place for the head opening and to make final alterations for the length chosen etc. I went for quite a wide opening since the overall feel of the poncho is oversize and it looked good slightly off shoulder. The fabric edges have a very natural floaty feel and I chose to leave them unfinished. Use the sewing machine to finish the seam on one arm and wet felt over it using grey merino wool and viscose. The wool gauze bonds so easily with wool and fibres.
The outcome of this project is a medium-weight poncho that is perfect for in between seasons. The garment feels very soft and comfortable against the skin as the materials used for it are so light and luxurious – it feels comfortable even over a simple t-shirt.
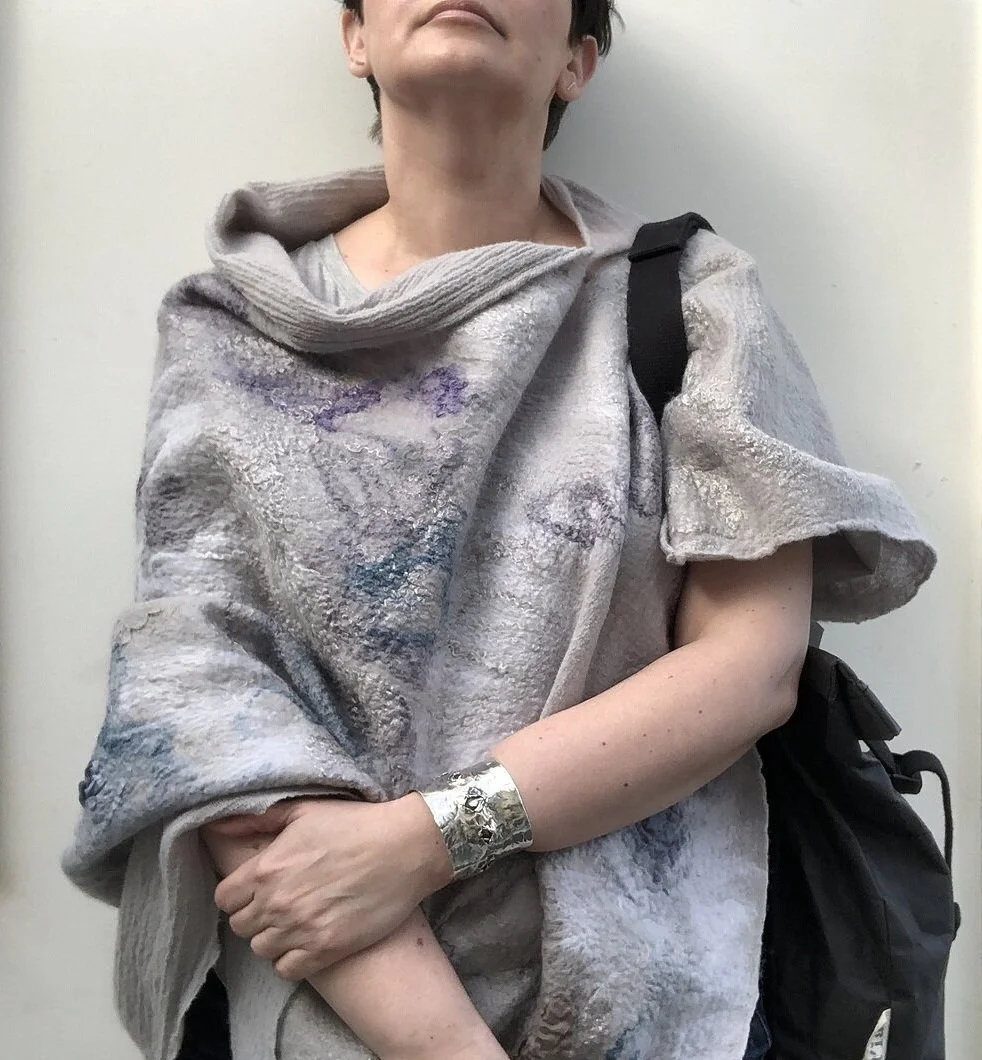
Spring/ Autumn are natural times to explore new accessories and refresh our wardrobe. I hope you enjoy this tutorial and feel inspired and confident to make your own artisan poncho this season!
SIGN UP WITH YOUR EMAIL TO RECEIVE MY MONTHLY NEWS, FREE RESOURCES, TUTORIALS AND UPDATES.