NATURAL DYES GUIDE- SIMPLE STEPS TO SEASONAL LIVING
NATURAL DYES GUIDE- SIMPLE STEPS TO SEASONAL LIVING
AVAILABLE NOW
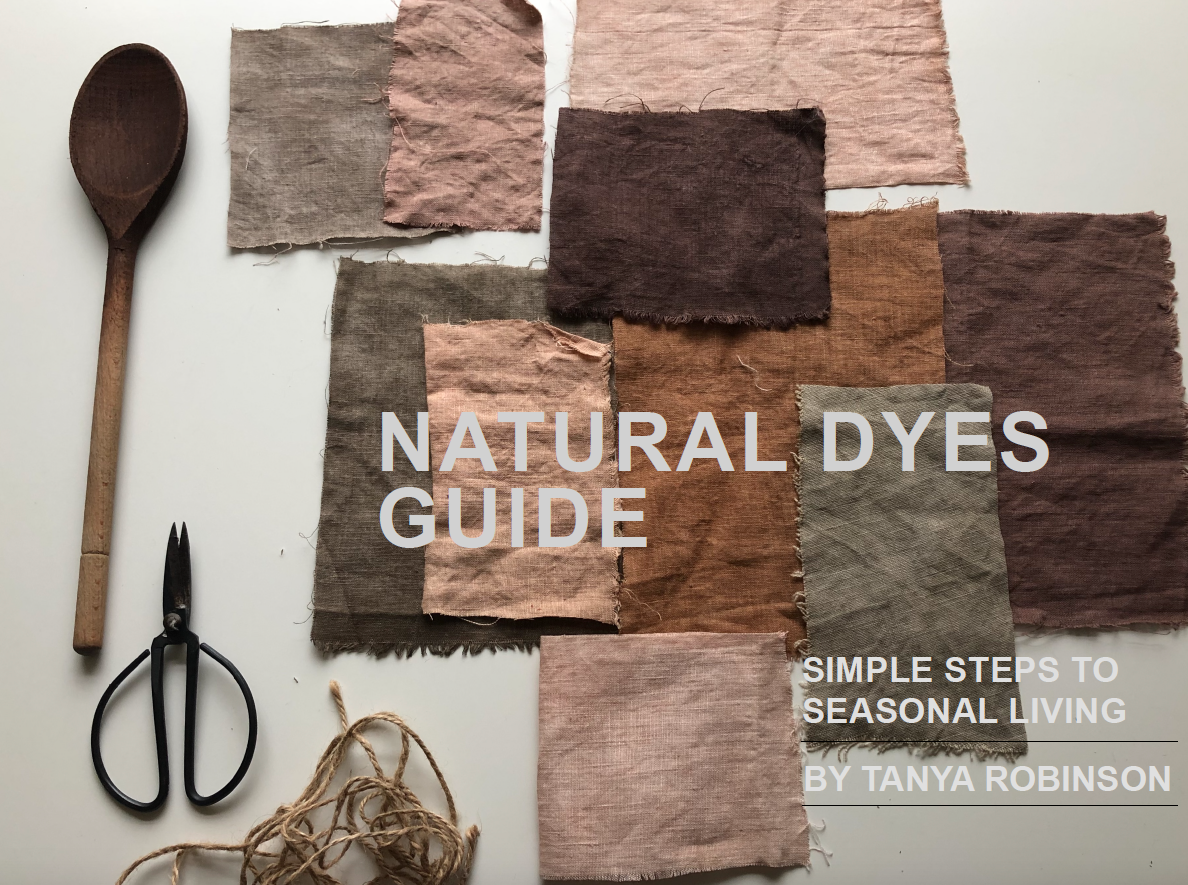
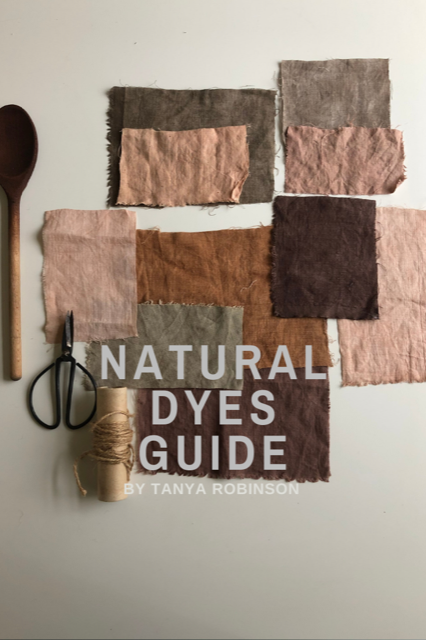
Natural dyes guide - Simple steps for seasonal living
We can see, hear and breathe in the beauty of spring even as we stay at home during these unusual days. If we know what to look for and have clear steps in mind, it’s possible to make the most of even short walks outside.
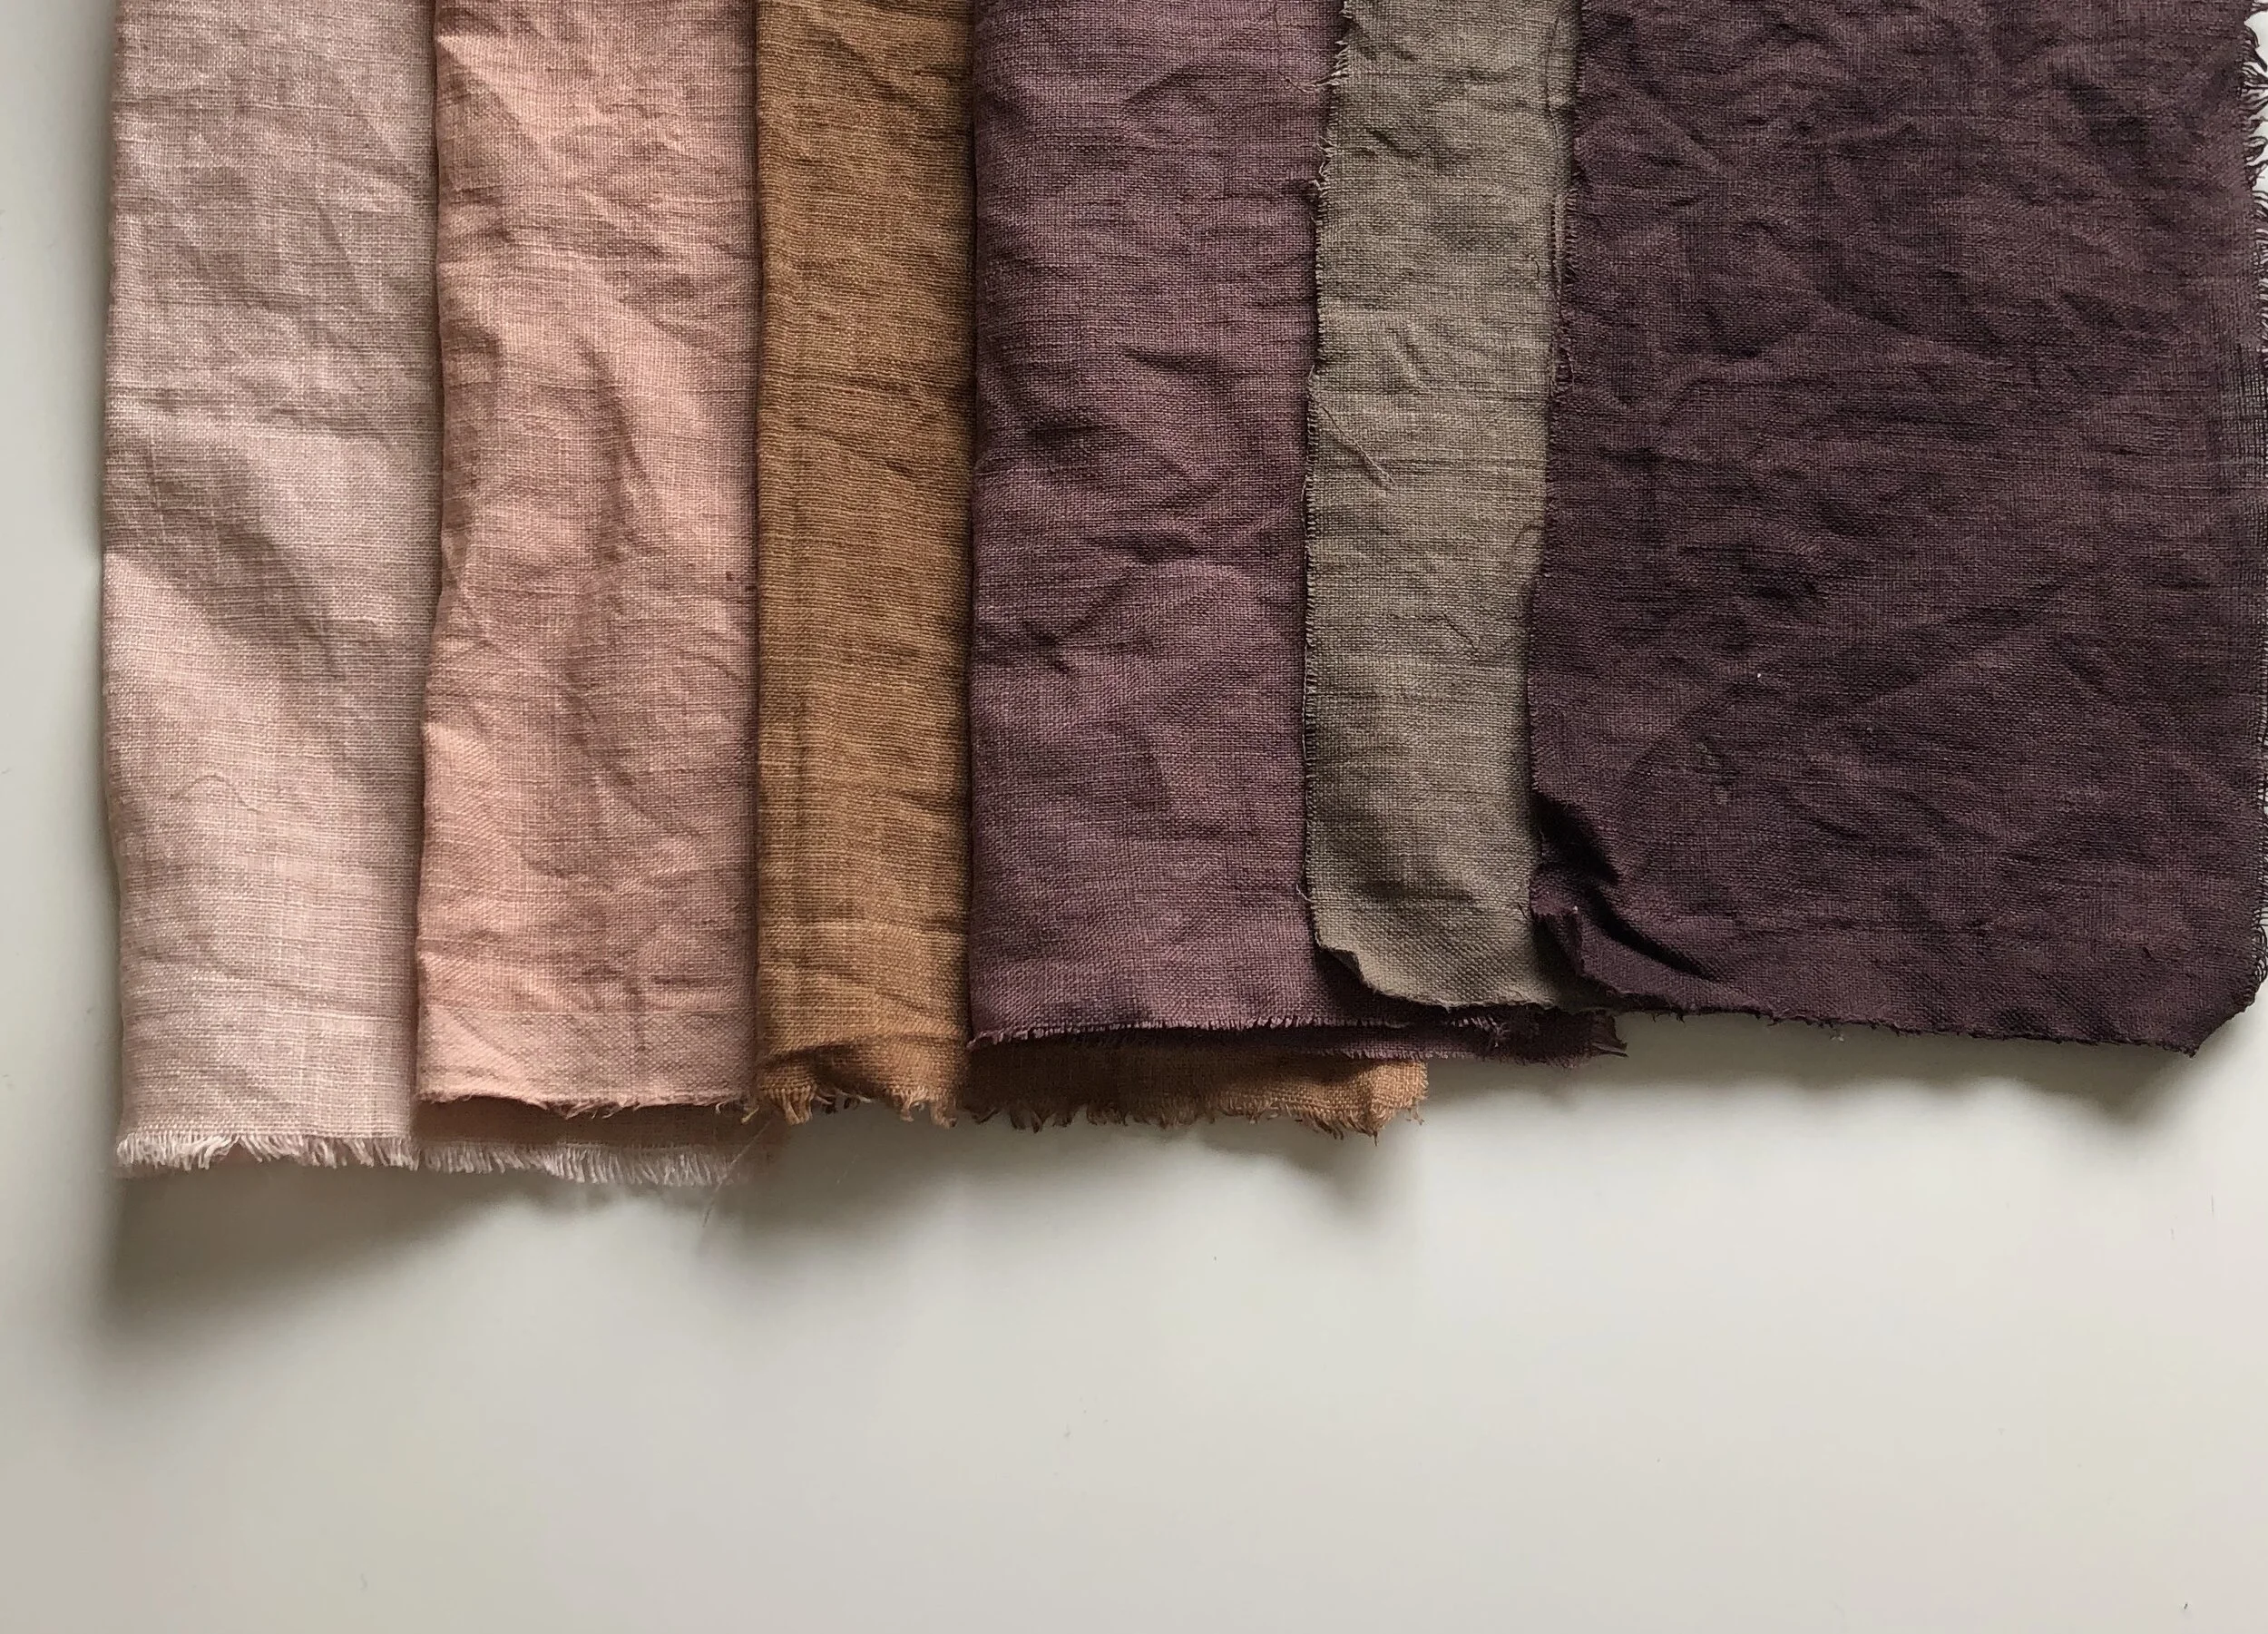
Natural dyeing is a slow, mindful process that’s ideal for these lockdown times. Foraging the first nettles - whether in a quiet wood or an urban alleyway - you can transform what nature gives and learn how to use it at home to create shades and tones of infinite variety.
The Natural dyes guide takes you through the basics of what you need to know to get started on your own exciting journey of natural dyes.
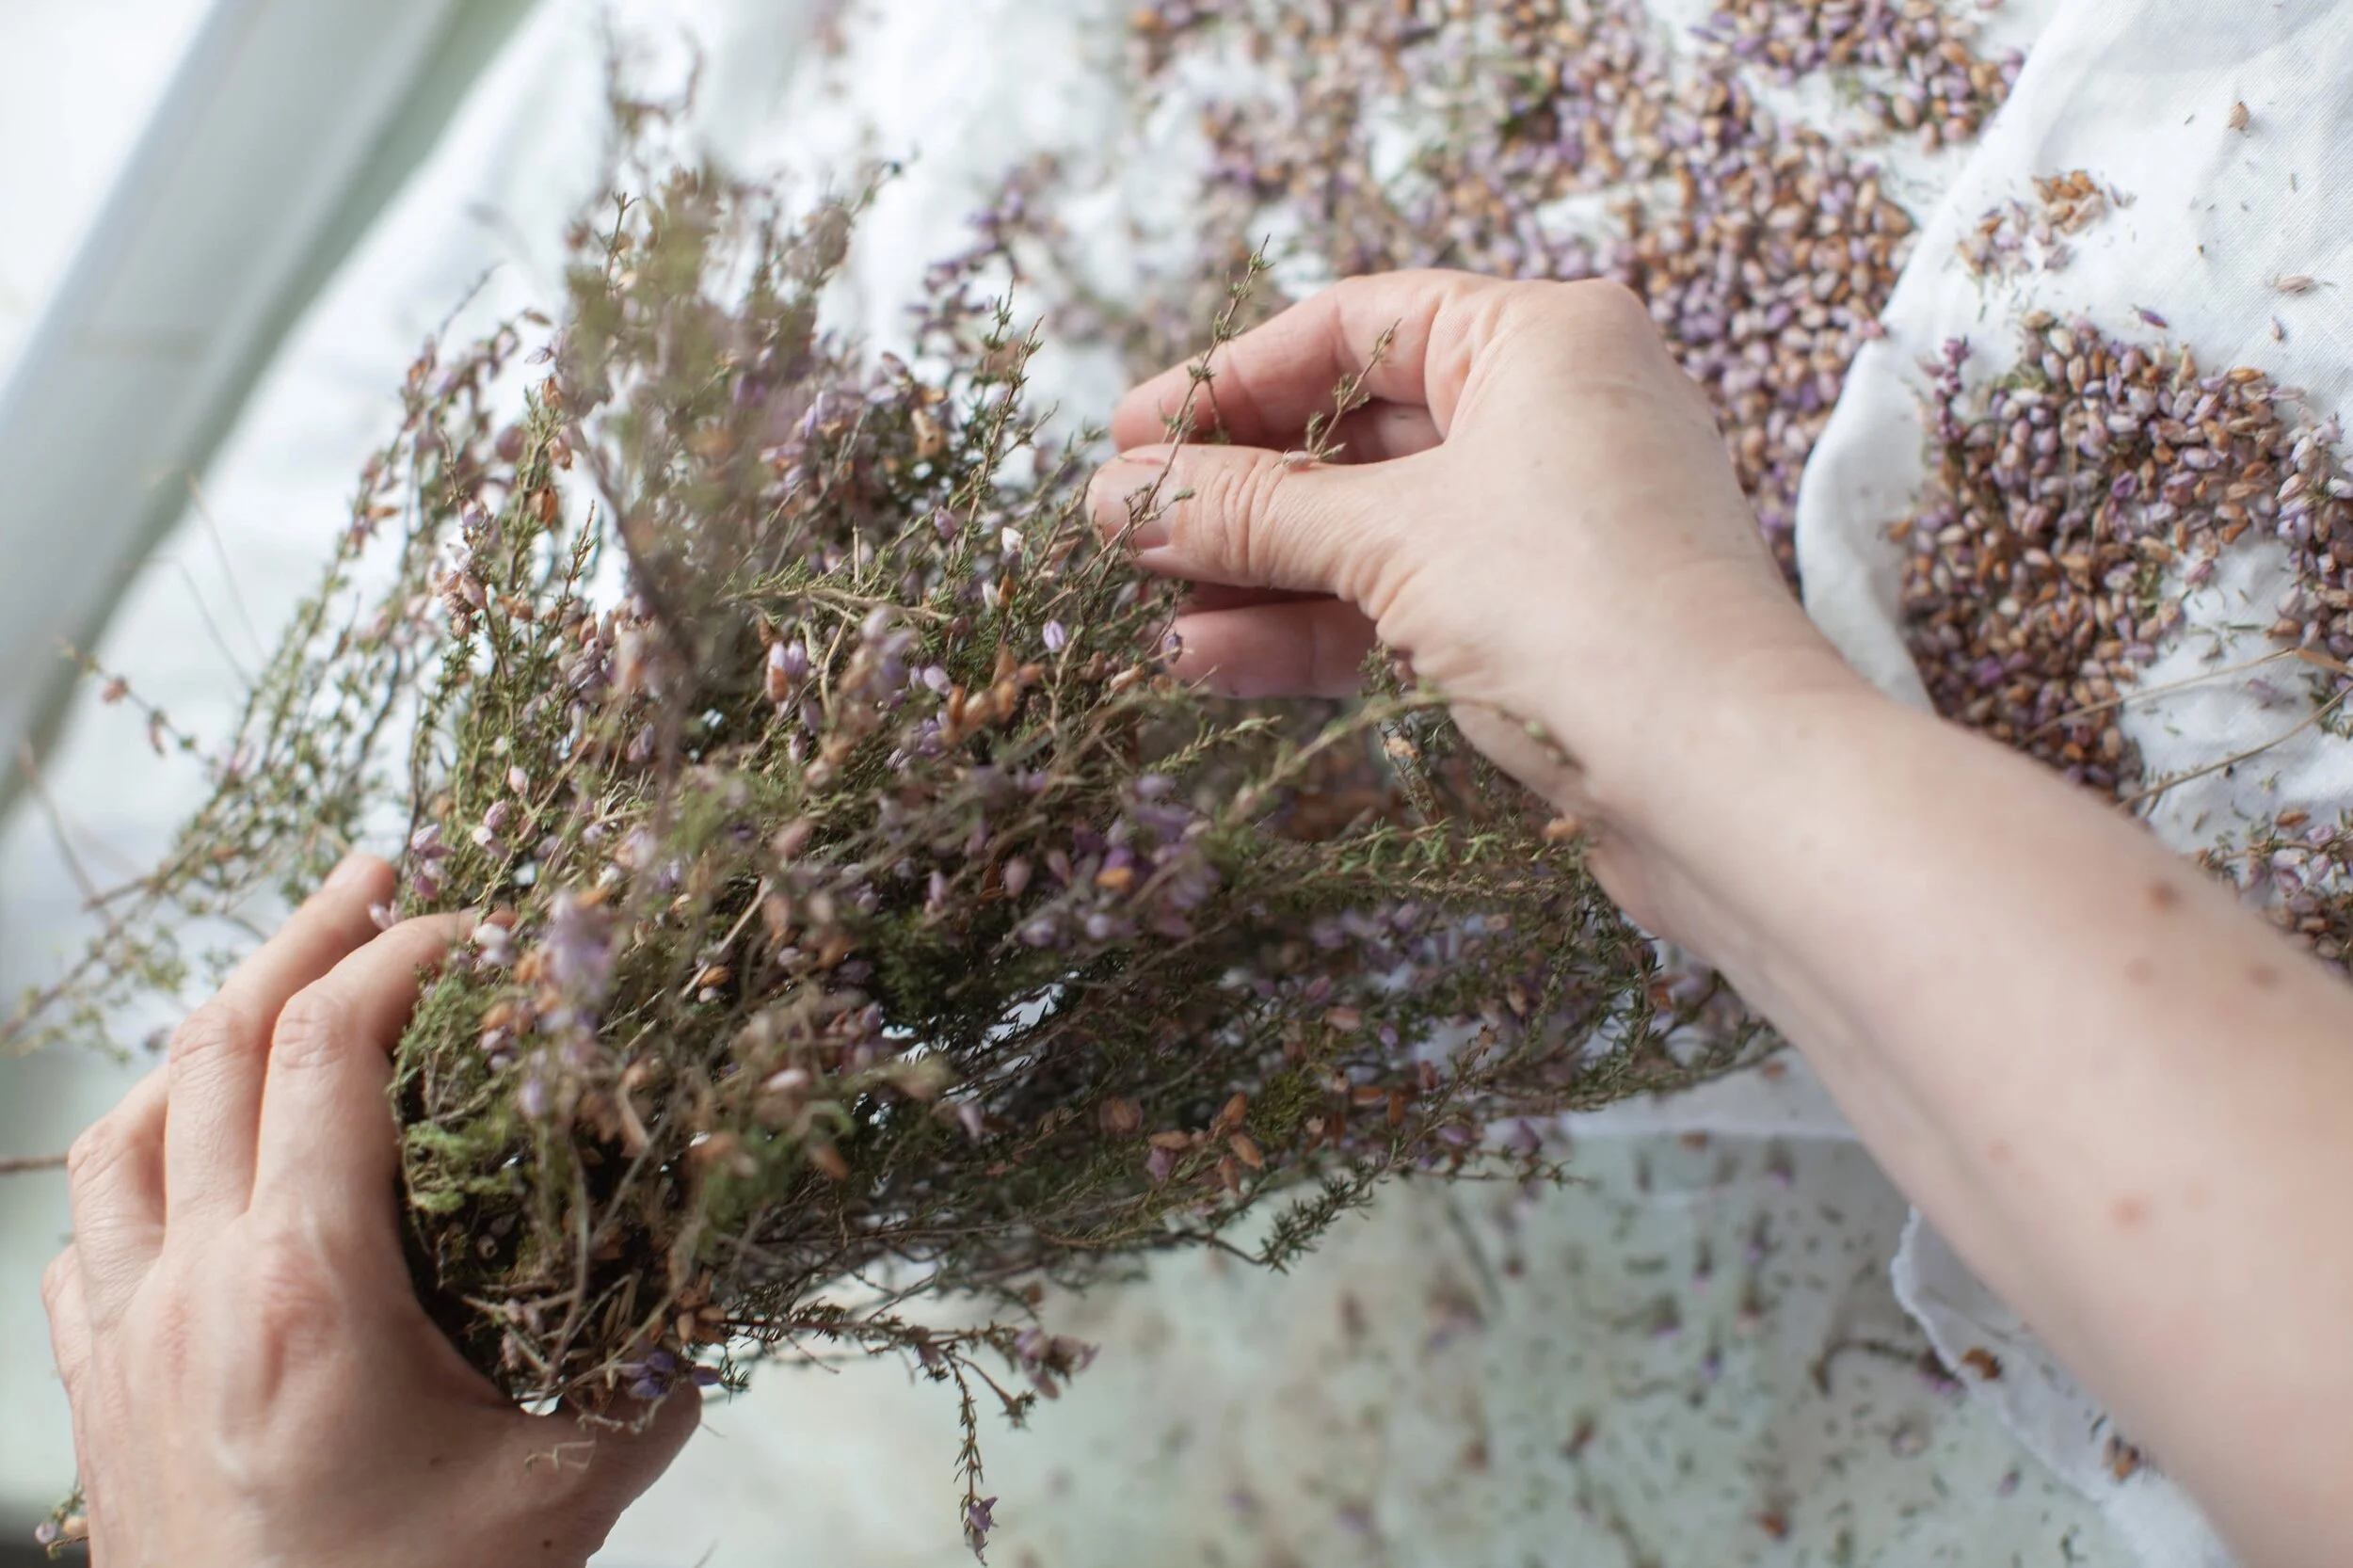
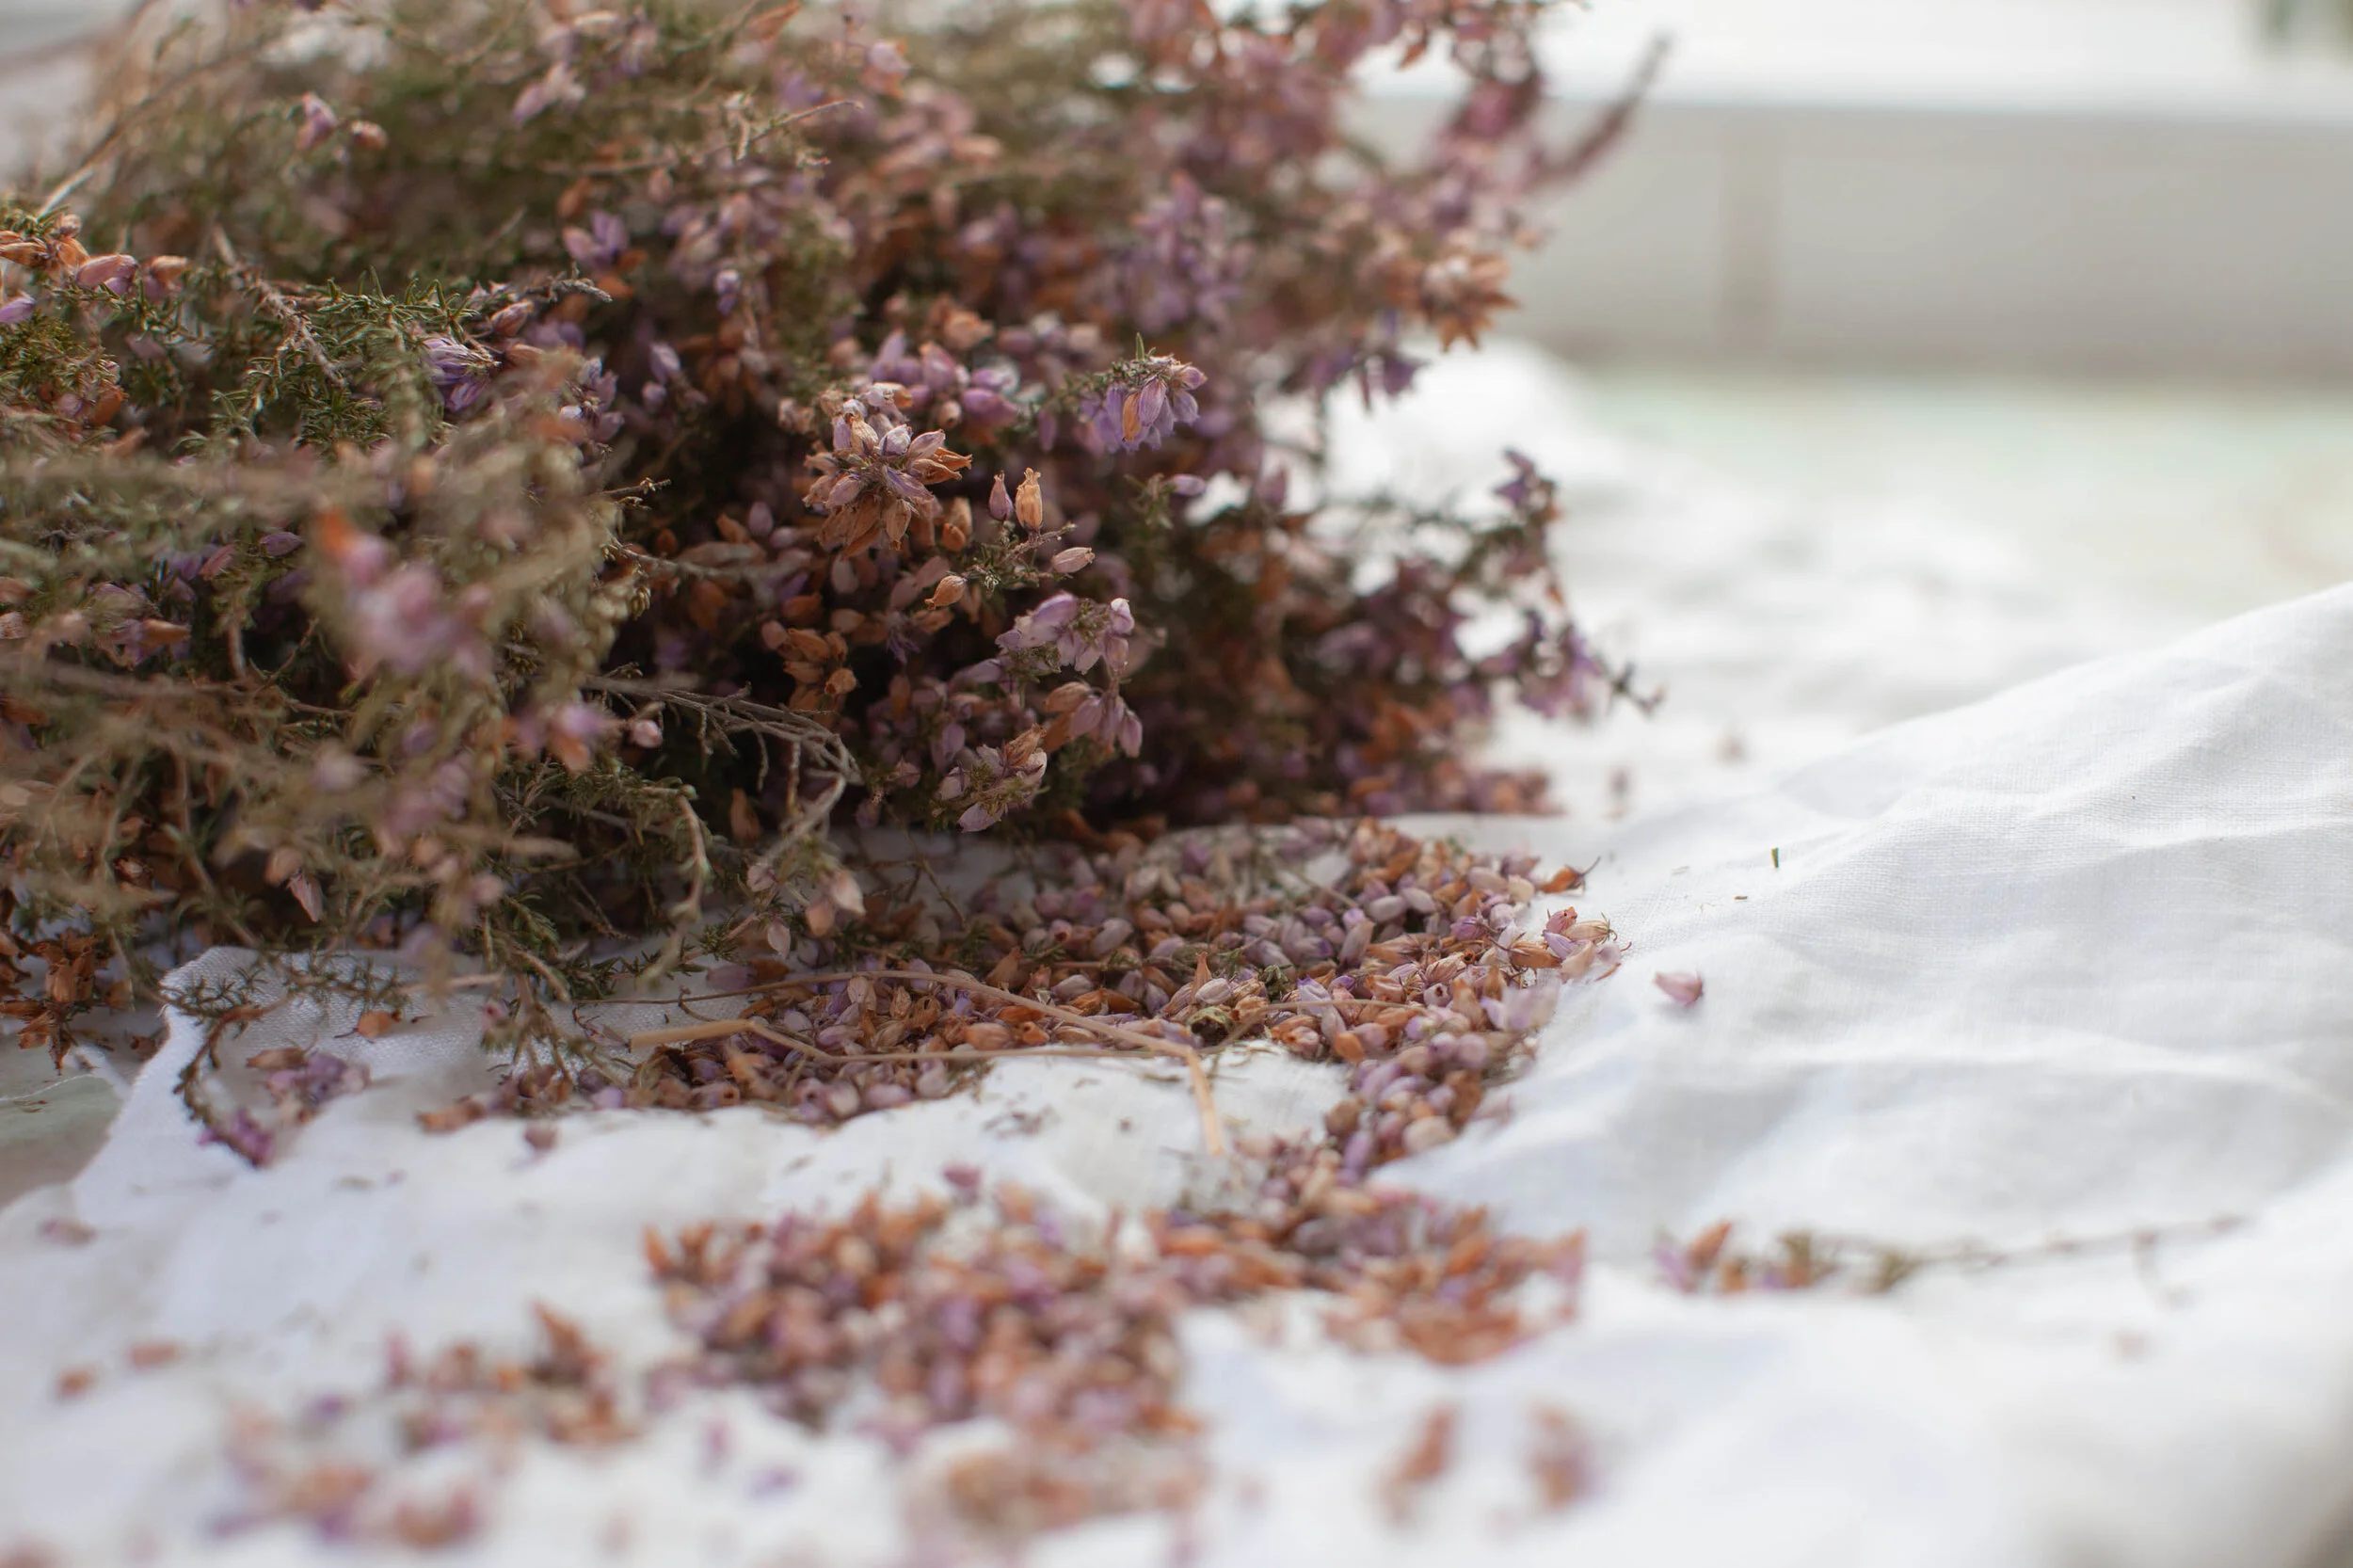
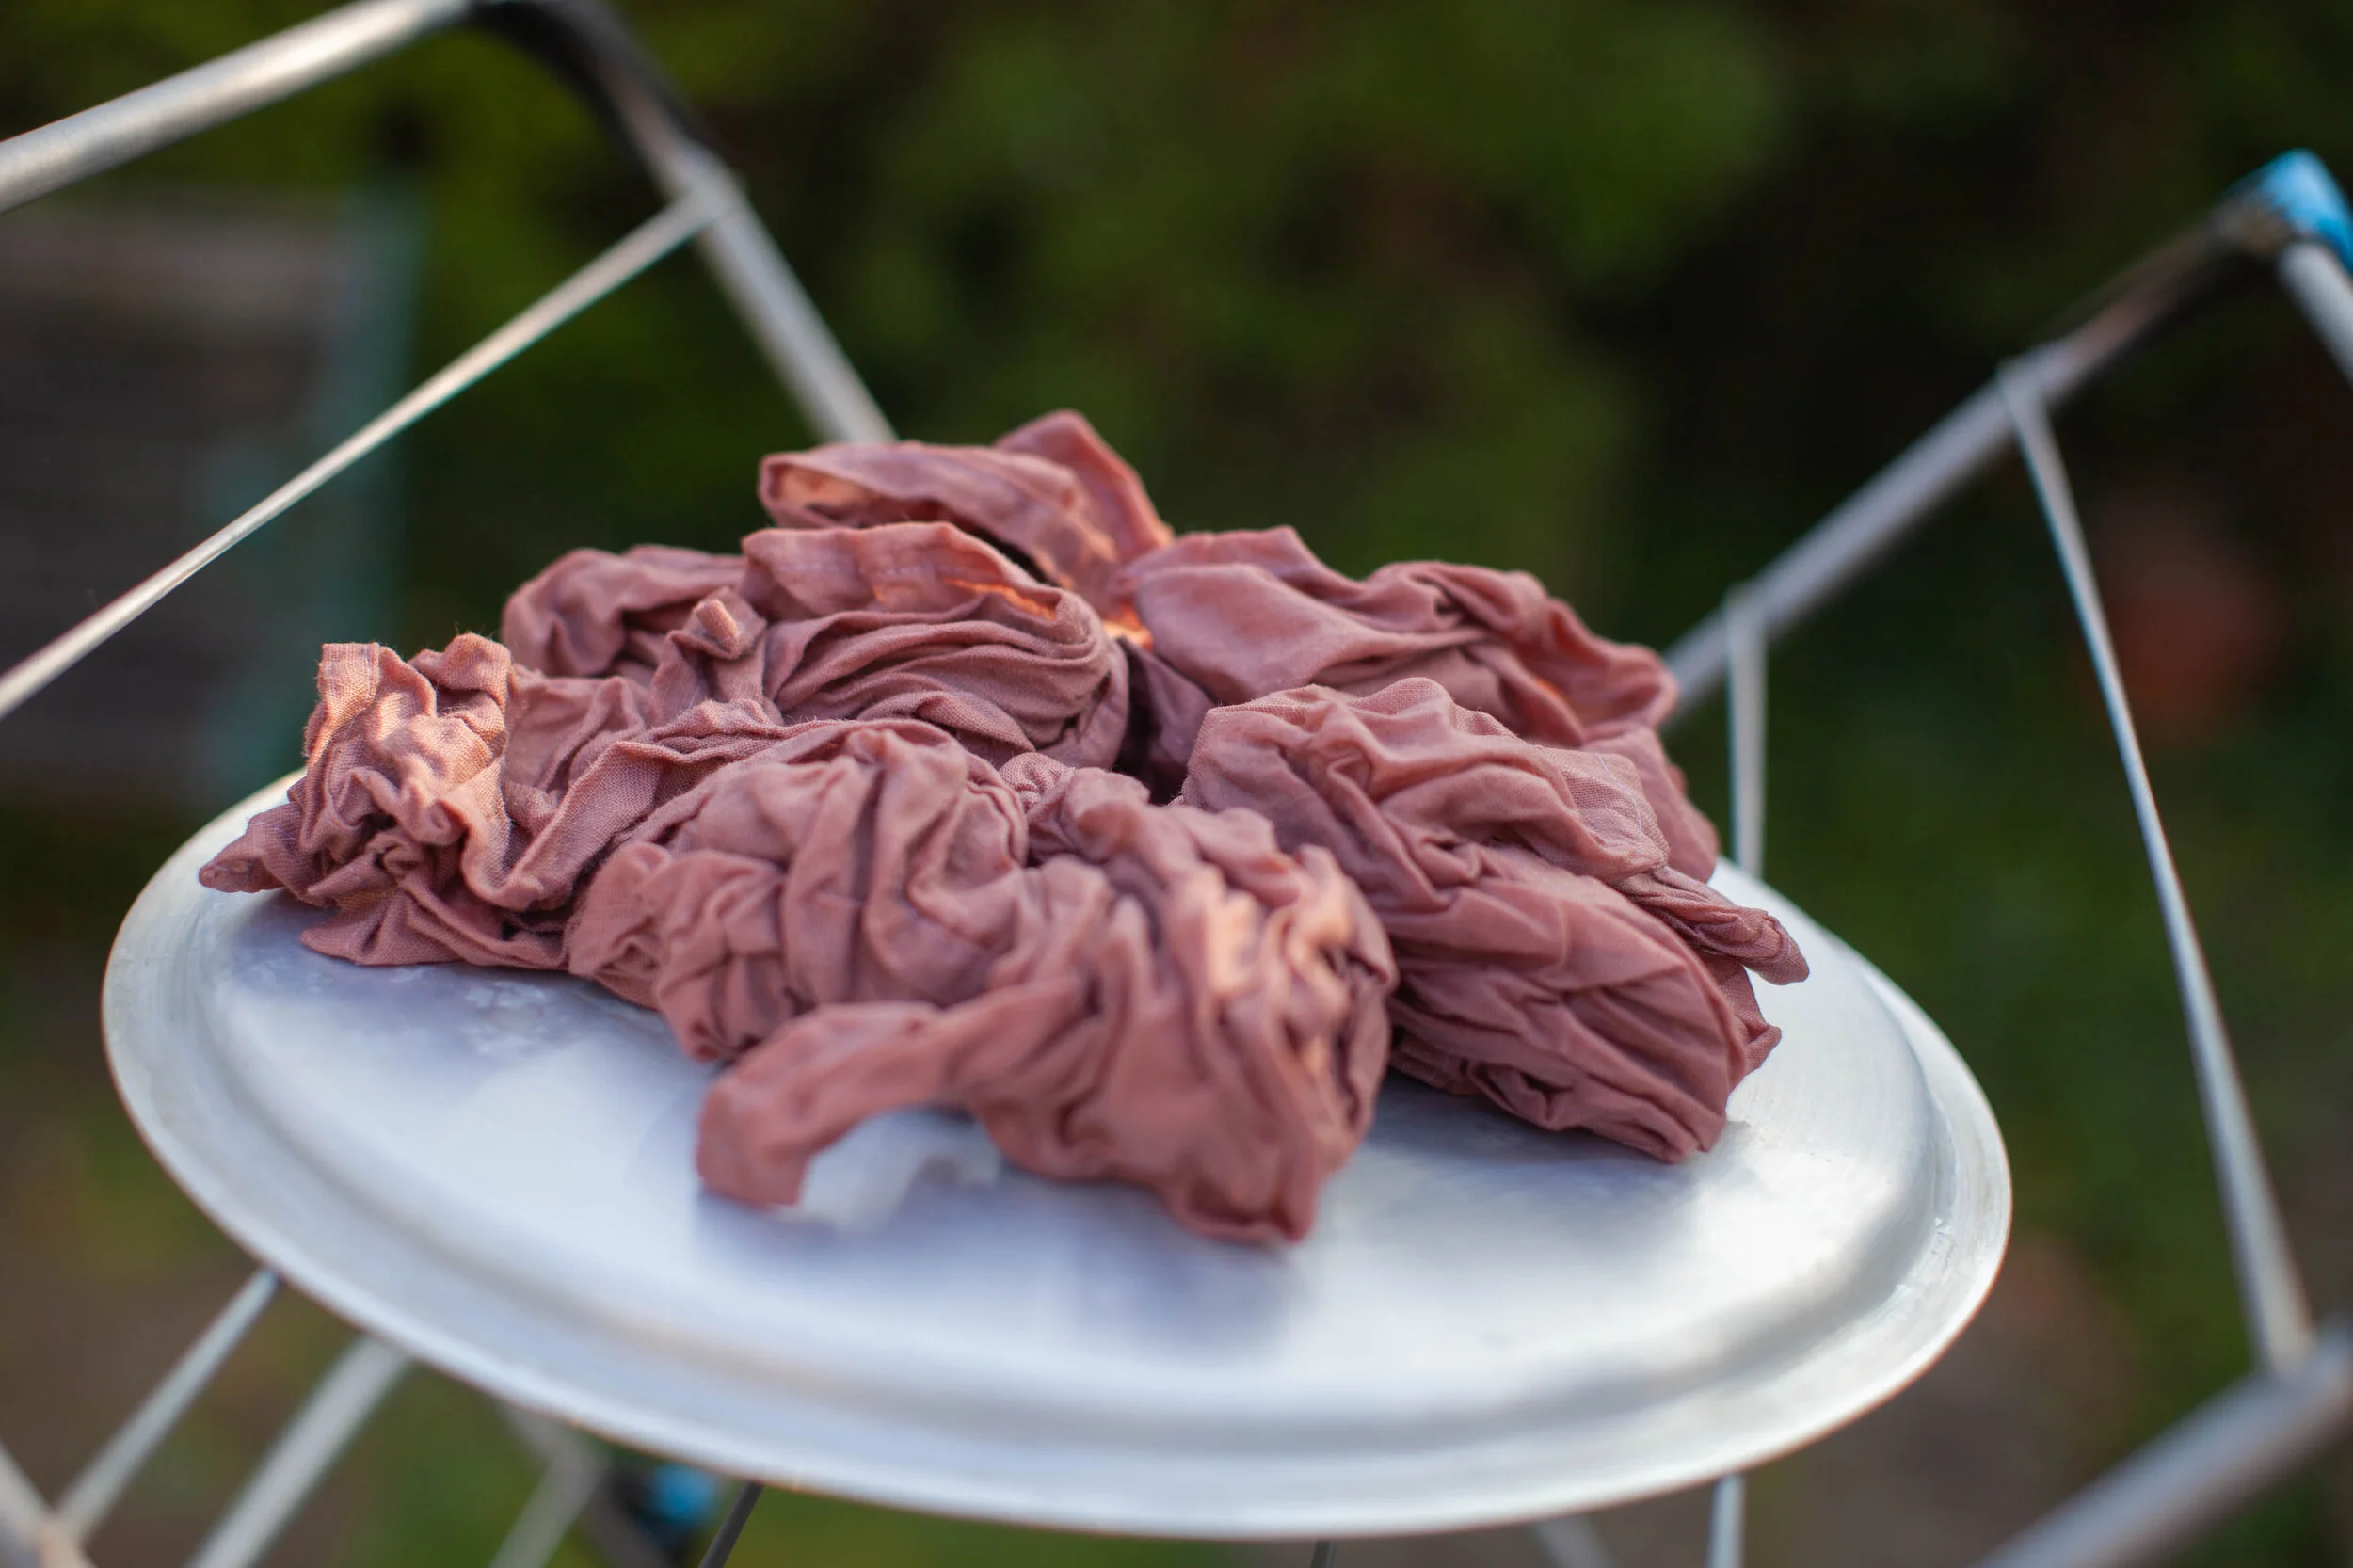
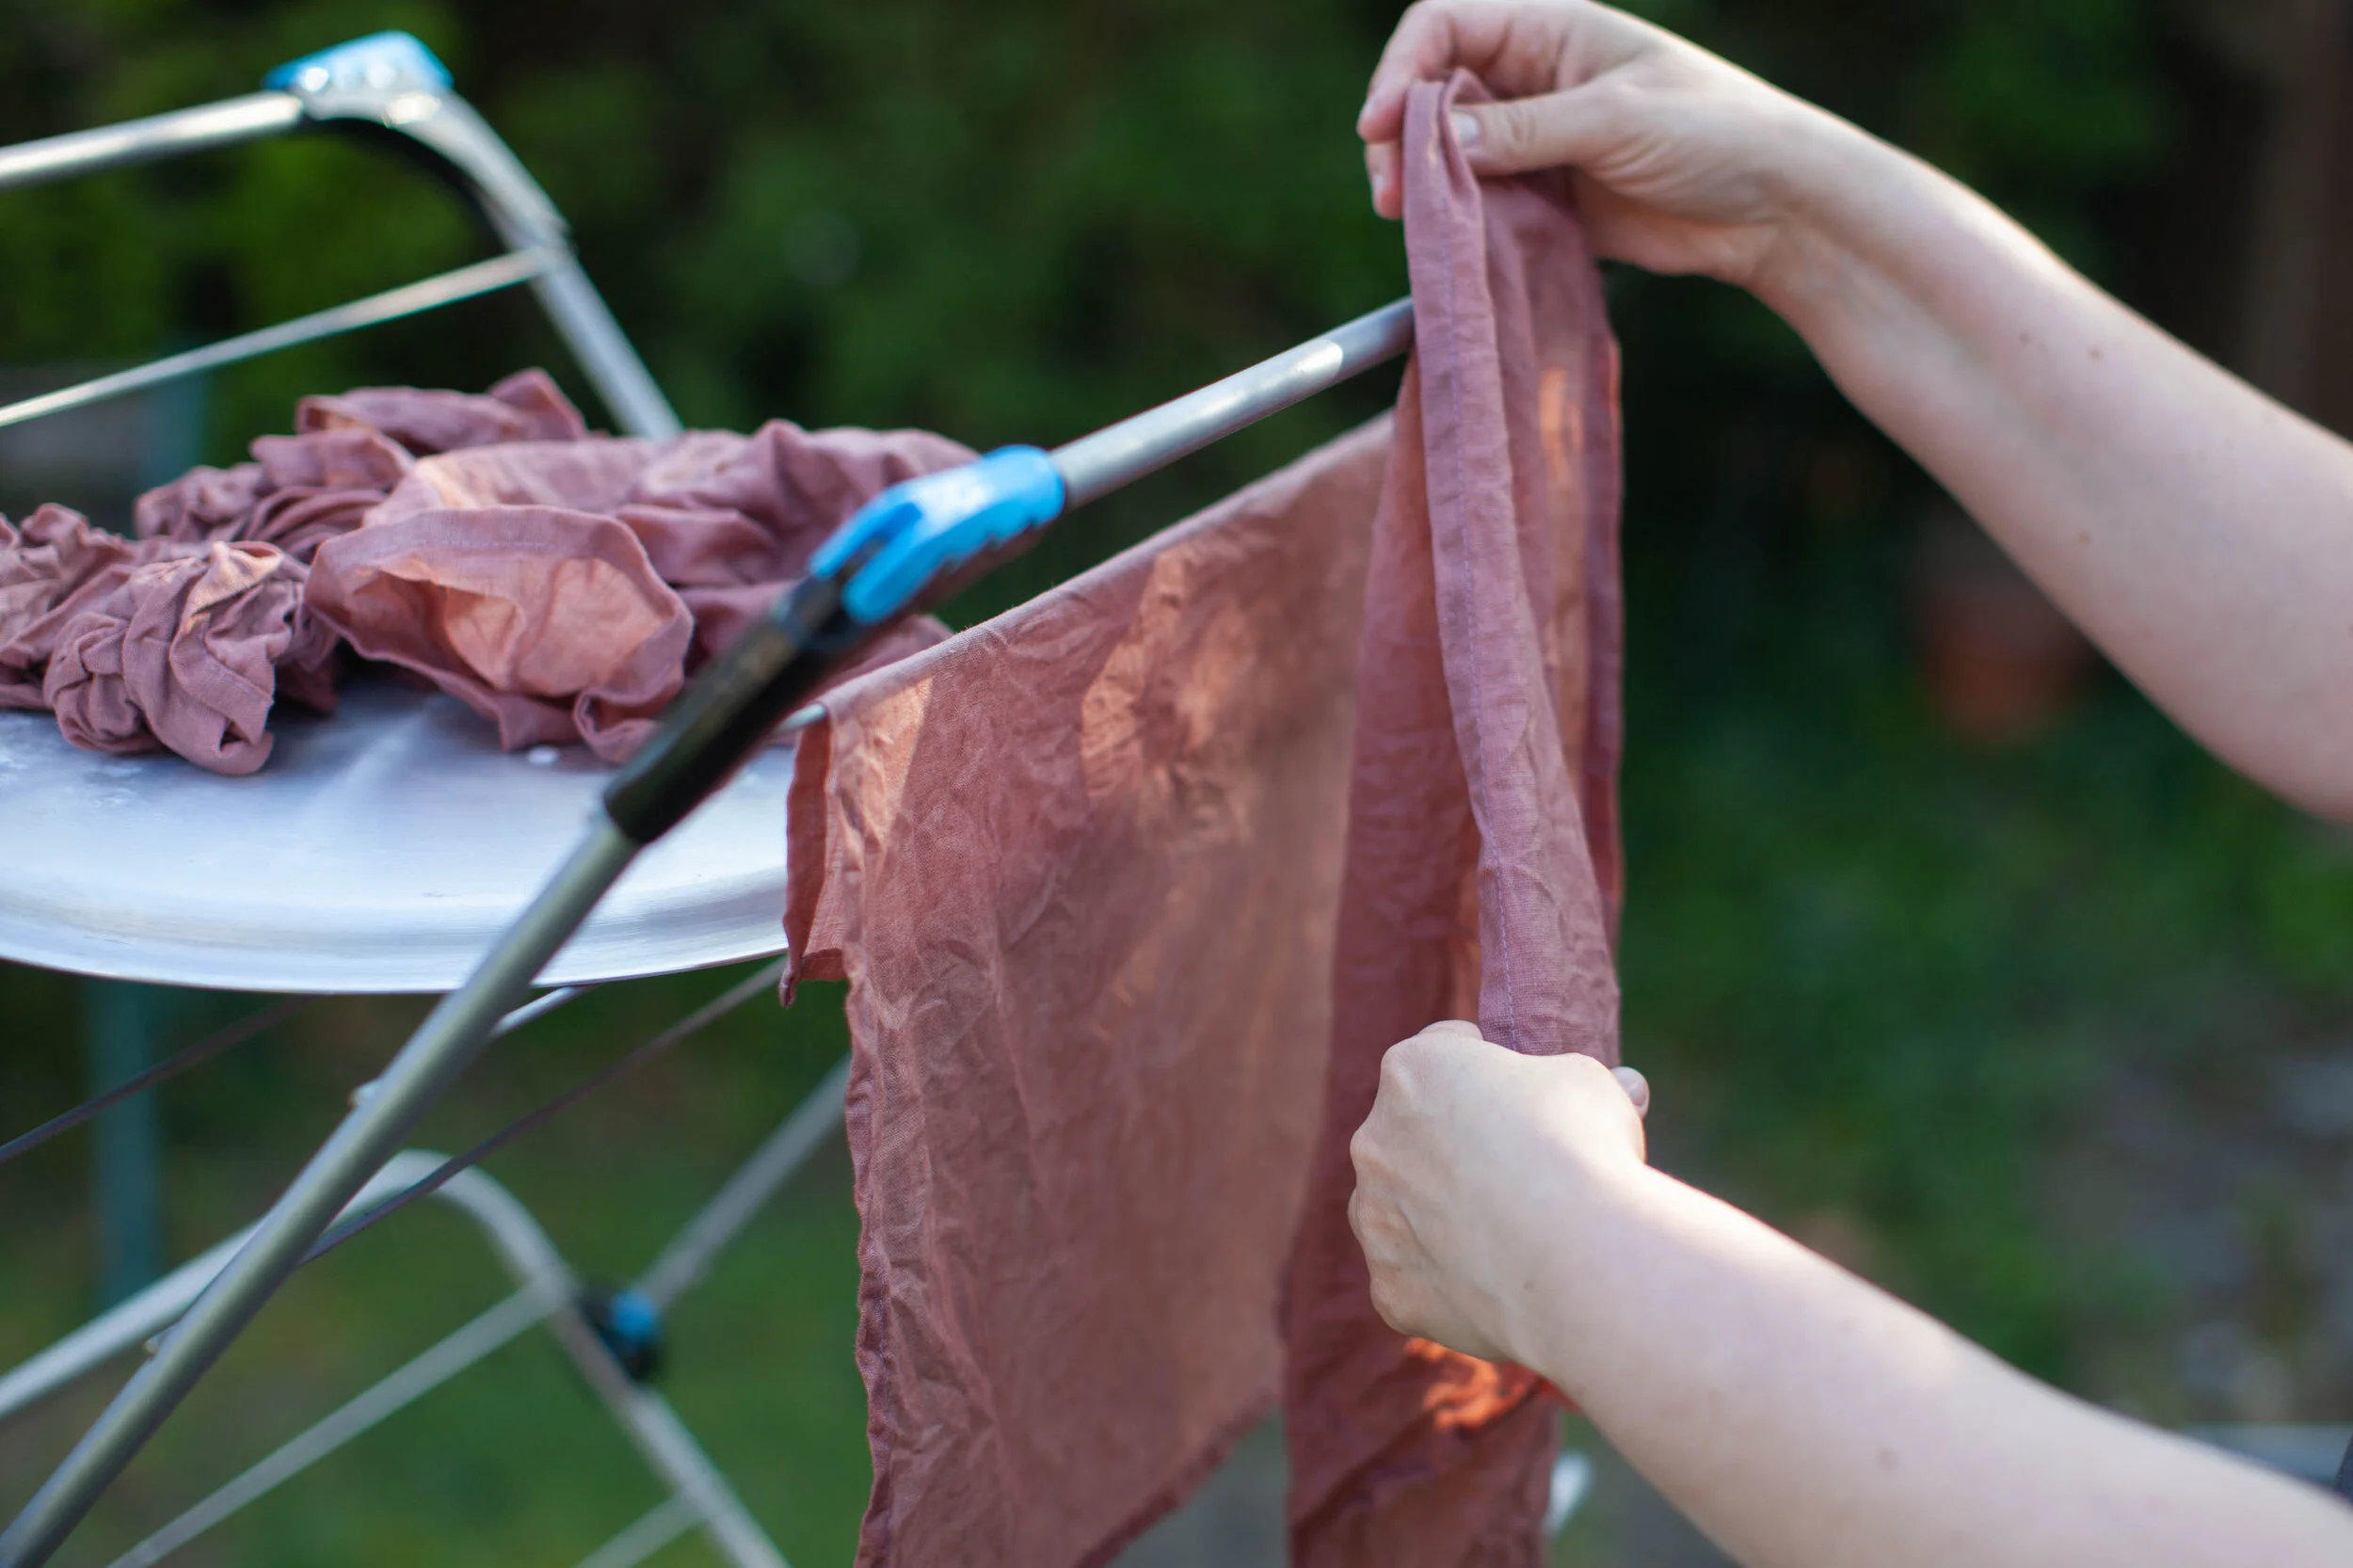
Blossoms, roots, flowers, wood bark, leaves, berries or kitchen waste.
You will learn how to:
+Select the best fabrics for dyeing
+Understand basic mordants and apply them to fix your natural dye
+Create and brew your own dye baths
+Choose and forage your material mindfully
+ Tips and ideas on making your own best colour palettes combination
+ Seasonal dyes and how to use them to the full
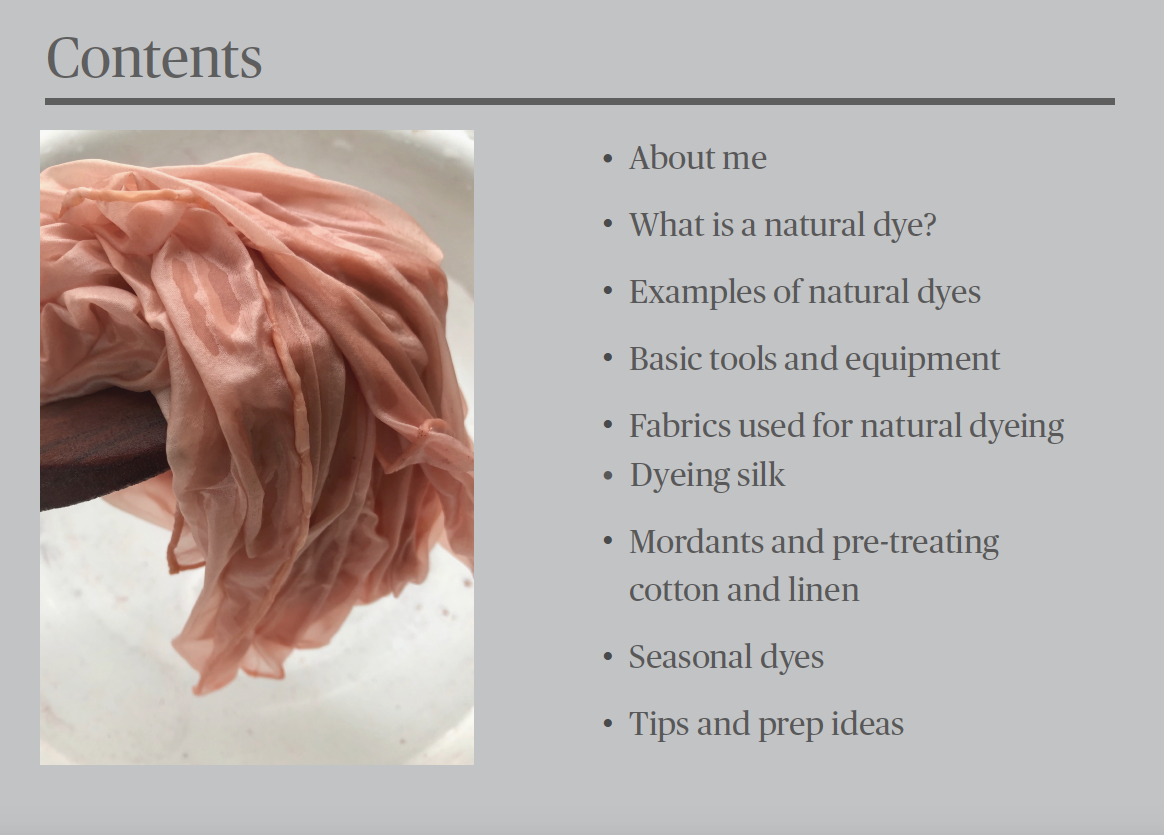
*37 pages that include my photos of the botanical dyeing process with tips and insights learned through numerous trials and experimenting these past several years.
This visual and practical ebook guide is available to download as a PDF publication after you make a purchase.
PIN IT FOR LATER:
NUNO FELT TUTORIAL: WOOL PONCHO
HOW TO MAKE A WOOL PASTEL PONCHO
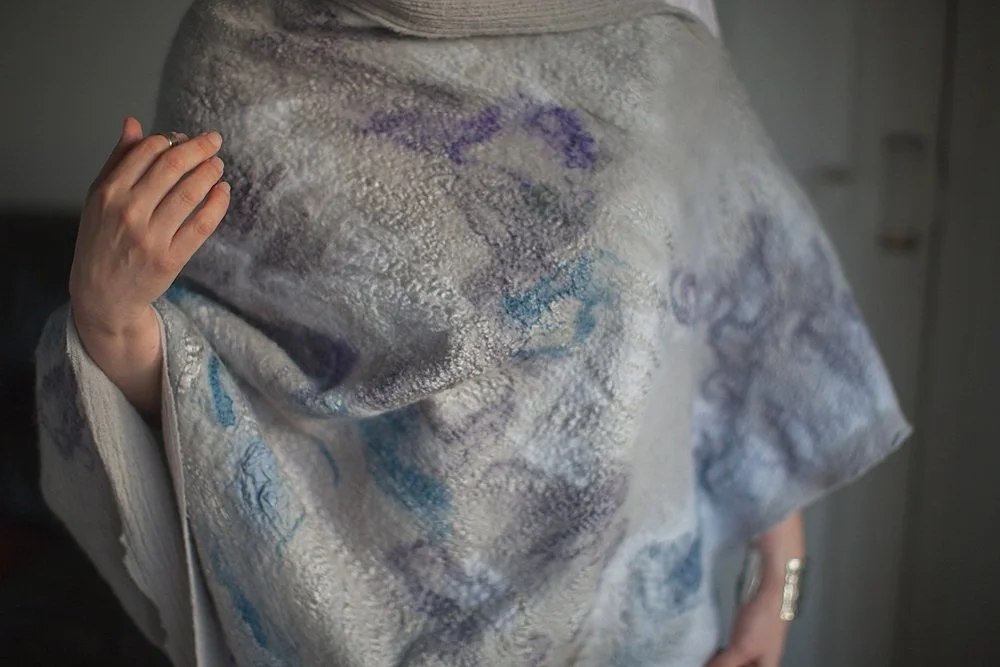
Hi I am Tanya Robinson and my journey as a fibre artist involves constant exploration of different materials and design ideas. What I love about wet felting is that even my most carefully planned projects always need to adapt when I see how materials respond and combine together. Typically I’ve used silk or cotton muslin as a base material for scarves or shawls, and so I was very interested to see how a large piece of wool gauze as a canvas would bond with merino wool tops, viscose and silk. The wool gauze used in this poncho has a lovely rustic feel and unique grid and density which makes it perfect for a cosy, sturdy and resilient piece that will be a joy to wear.
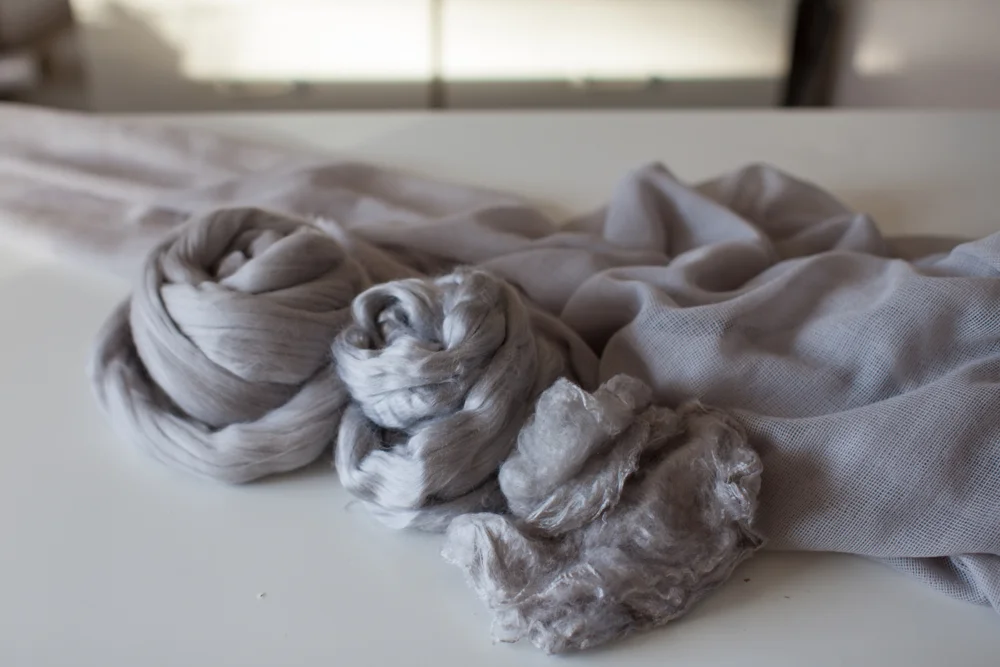
Materials by DHG Dyeing House Gallery
1st side:
140 cm wide wool gauze color Cloud- 2,25 m
1st side:
Extra fine merino wool tops color Cloud
Viscose tops color Cloud
Grade A1 mulberry silk tops color Cloud
Silk hankies color Cloud 6/8 pieces
2nd side:
Wool gauze
Extra fine merino wool tops color Cloud
16 micron merino wool tops color Pearl
Viscose tops color Cloud
Viscose tops color Fog
Viscose tops color Jeans, Violet, Natural white
Grade A1 mulberry silk tops color Cloud
Silk Fabric, cotton gauze bits left over, 3-4 small pieces
Lukewarm Water
Liquid soap
Bubble wrap to cover your whole project under and over
Electric hand-sander
Finished Poncho measurements:
Length: 93 cm
Width: 85 cm
Length diagonally: 120 cm
One Size, fits size: M/L
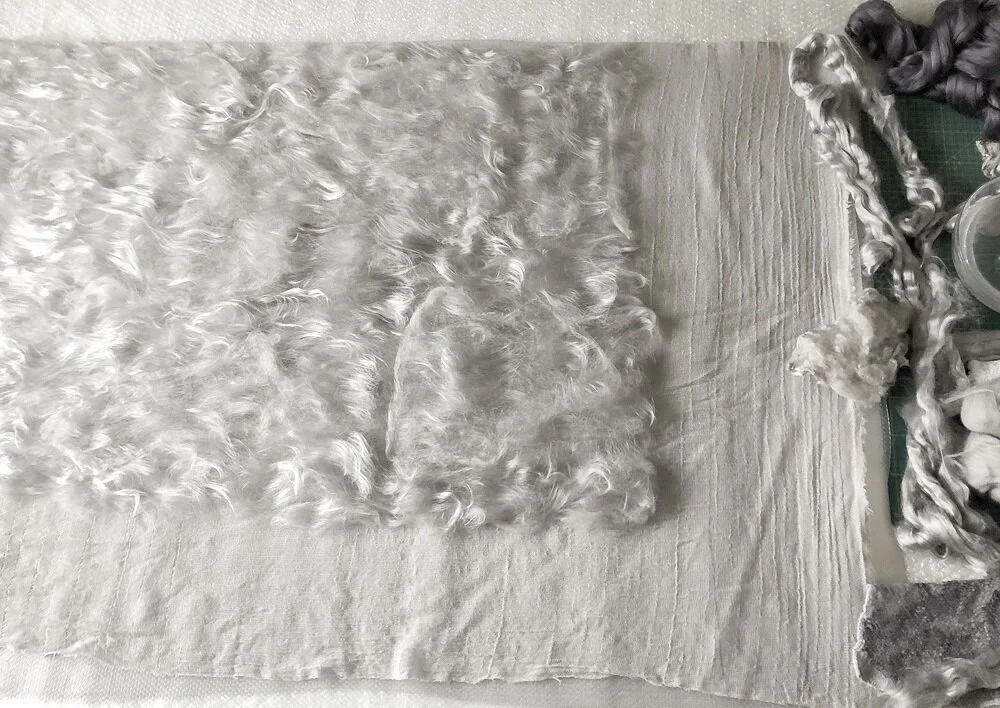
Follow the instructions step by step to make a nuno felted seasonal poncho
Spread the fabric on a large work surface to begin laying the wool on the first side. In my case it is the back side, although the poncho shown can work as a transformer and be worn both ways. I have folded the material in half, marking the possible head entrance and leaving it uncovered and placing the bubble wrap between the folded fabric to prevent felting through both sides.
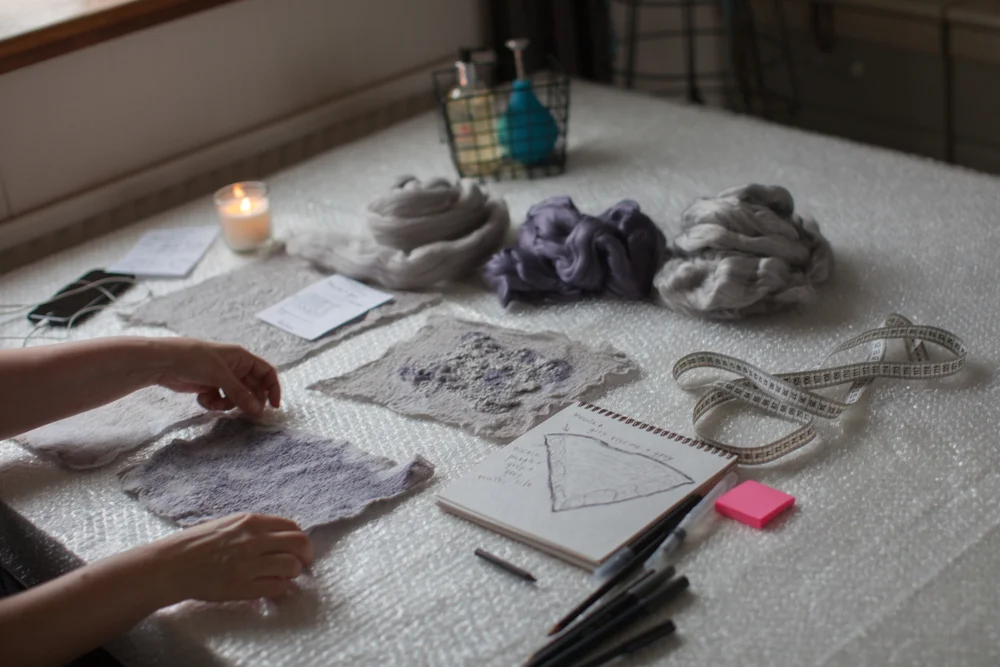
As this is my first project with wool gauze, I cut a few small squares as samples to see how it responded to felting as well as shrinkage. Based on these trials I estimate the shrinkage of the wool gauze to be between 30-35 per cent. It is quite important to know your own shrinkage percentage at the start of the project.
With this in mind, I chose to lay the grey merino wool (nuvola merino tops) horizontally for the shrinkage to primarily occur in that direction. Tease out the wool and cover the whole of the space of side 1 of the fabric, leaving at least 10-15 cm on the sides not covered. When you finish laying the wool add the grey viscose and mulberry silk in piles (pockets of fibres) leaving some spaces in between.
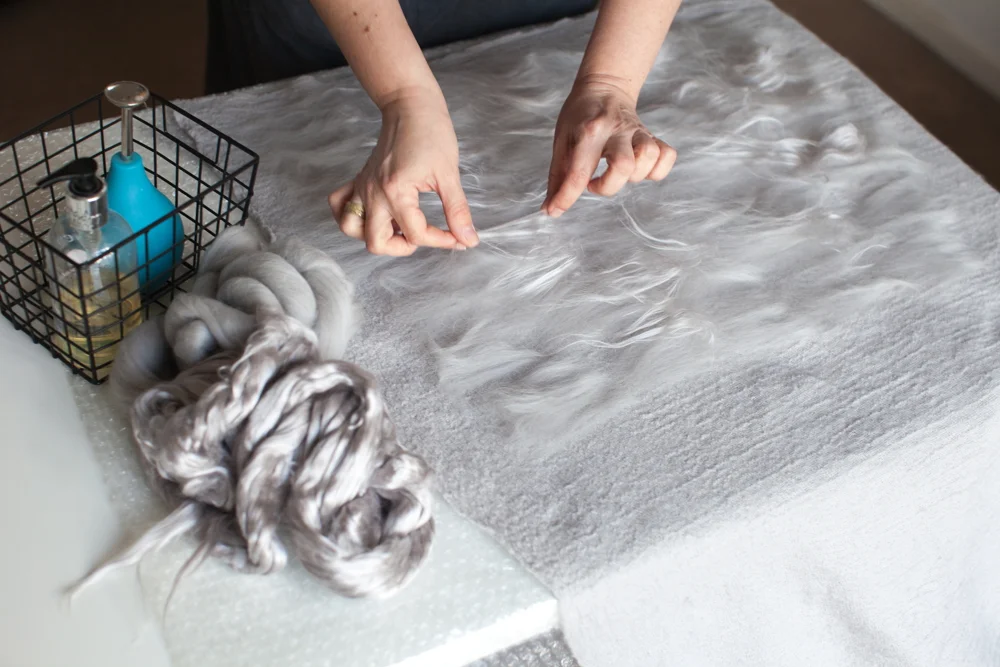
I have also added 6-8 silk hankies on top of my fibres for added texture, etc. by pulling them by the edges and spreading them thin.
Side 1 – felting the first layer of fibre
Sprinkle the project generously with lukewarm water and liquid soap evenly. Cover with bubble wrap. Pat with your towel on top of the bubble wrap for the water to go through and make sure your project is evenly wet.
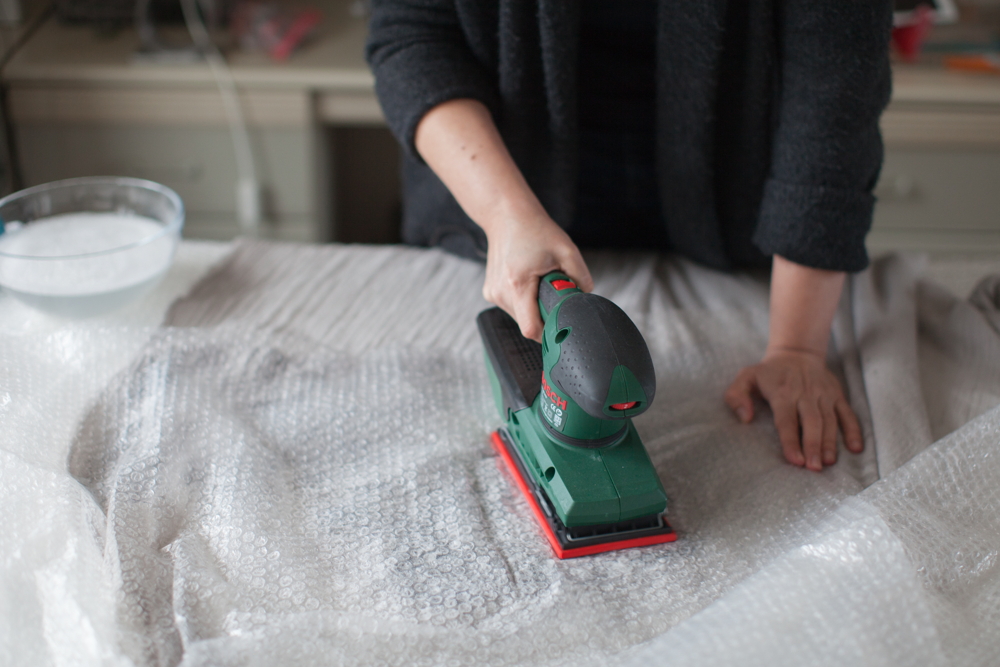
Use the sander and go over the whole of the project leaving it for 10 seconds or so in one spot. You will see the white thick foam with begin to form on top of the project. It is important the surface is not oversaturated and soggy.
Using the plastic glove (with the bubble wrap still covering the project) go over the project in rubbing circling movement creating more soapy suds but without applying excessive pressure. When the surface is soapy enough, flip the fabric to the other side, take the plastic off and rub the reverse side with a gentle circling motion without applying pressure or force. It is important to spend enough time and not to rush this stage to enable the smaller fibres to come through the surface and bond with the wool gauze fabric.
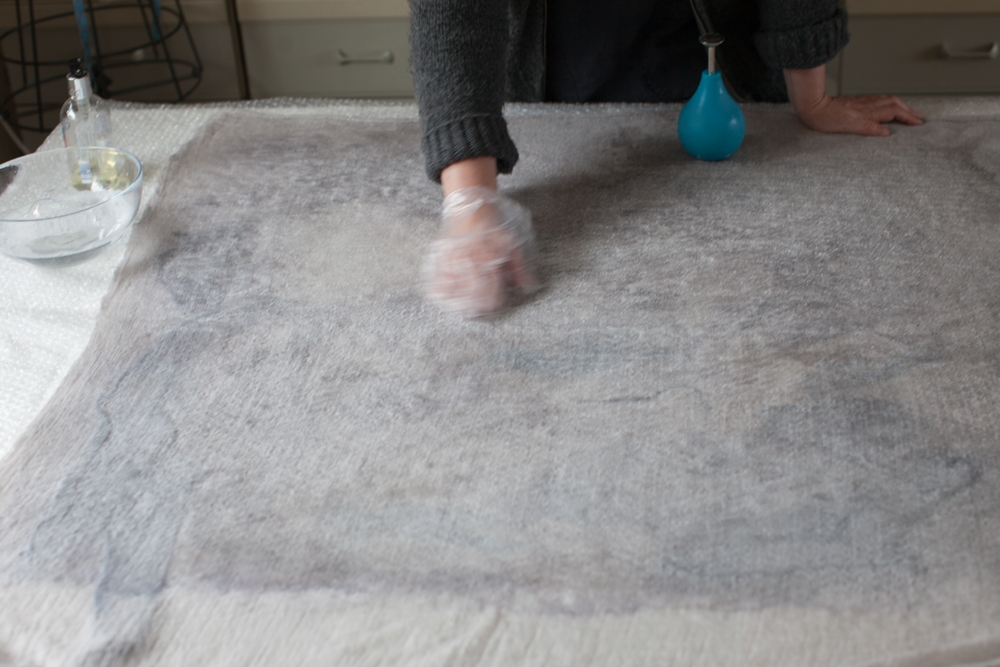
Lightly connect the opposite corners and wiggle the fabric from the opposite ends. This helps the next stage of the process to begin. Continue for 10-15 times. Rub the fabric and fibres gently against the bubble wrap of needed adding a bit of a sprinkle if the fabric looks dry and checking the feel of this stage. Gently throw all of the project up in the air as an open sheet without scrunching it or being too forceful. Repeat 20-25 times.
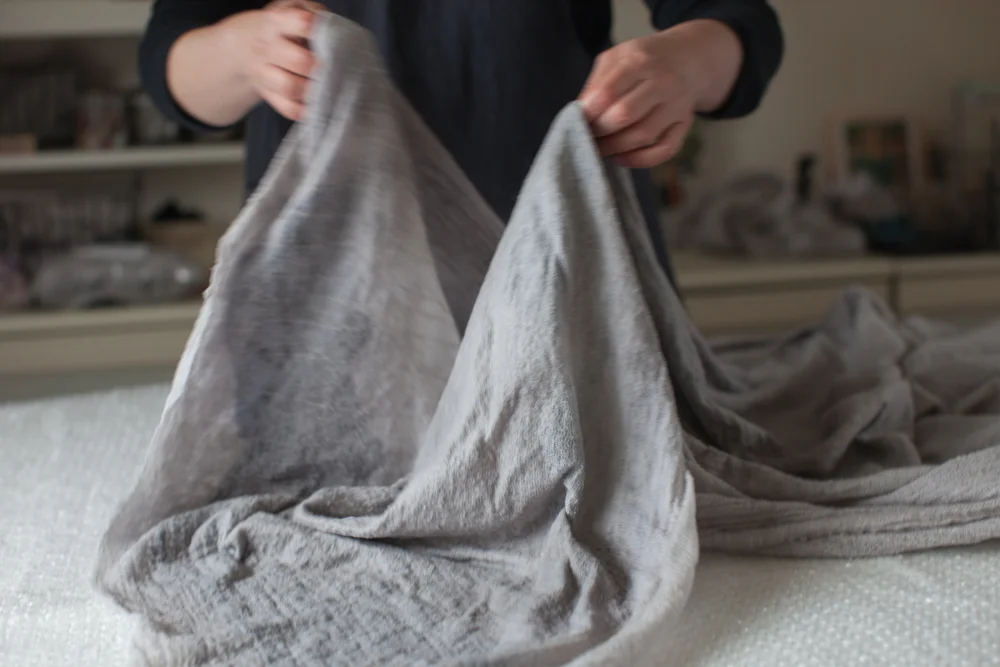
Continue with rubbing the fabric against the bubble wrap surface decor down with medium strength.
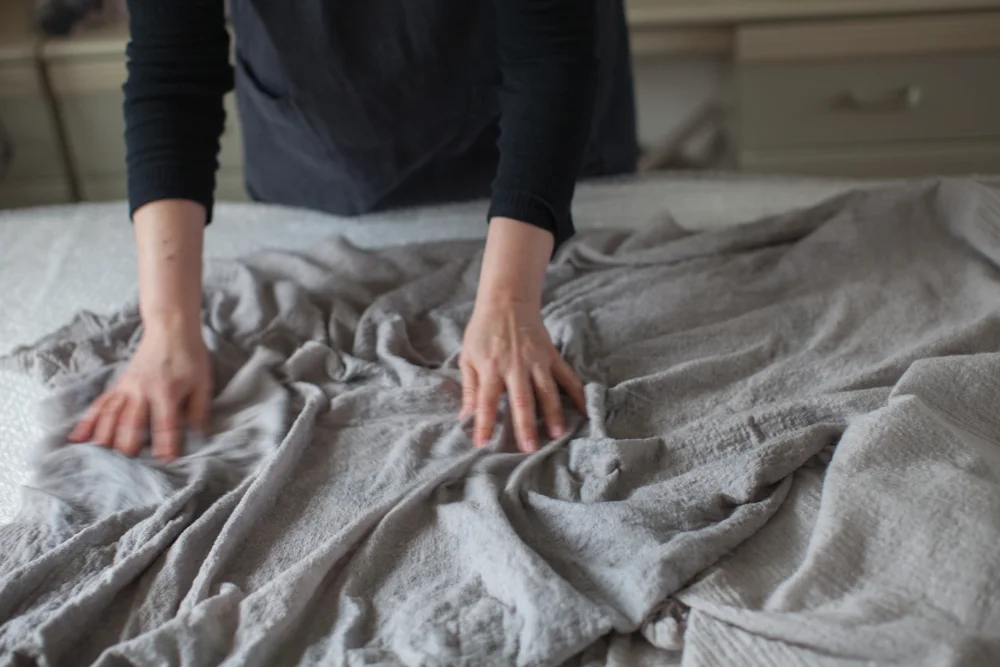

Photo of rubbing the wool gauze fabric against the bubble wrap face down. When finished with this stage and gentle throwing, rinse all the soap out in a tub using lukewarm water.
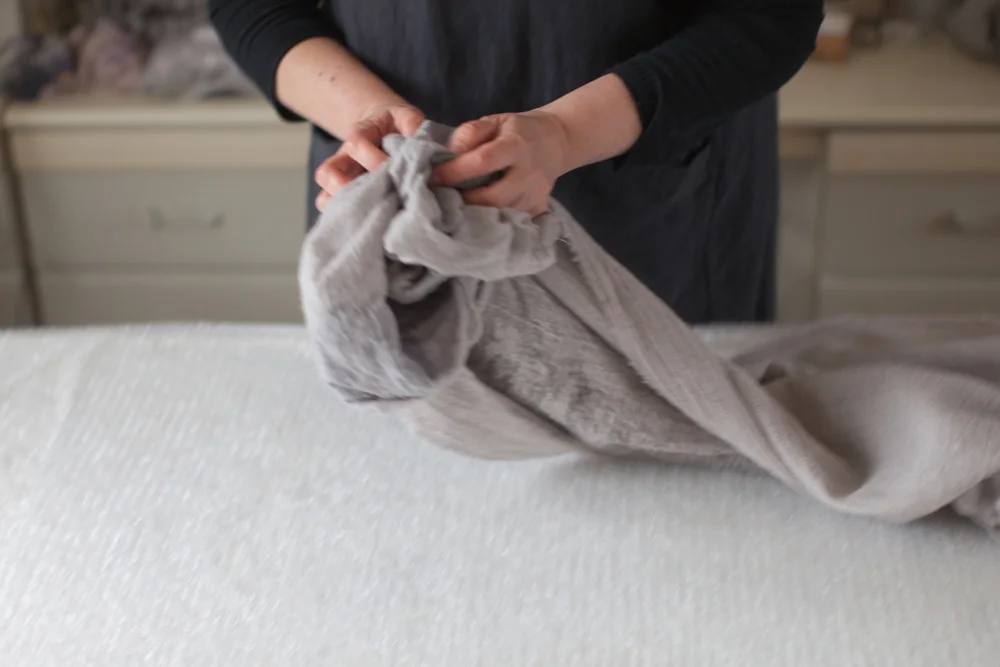
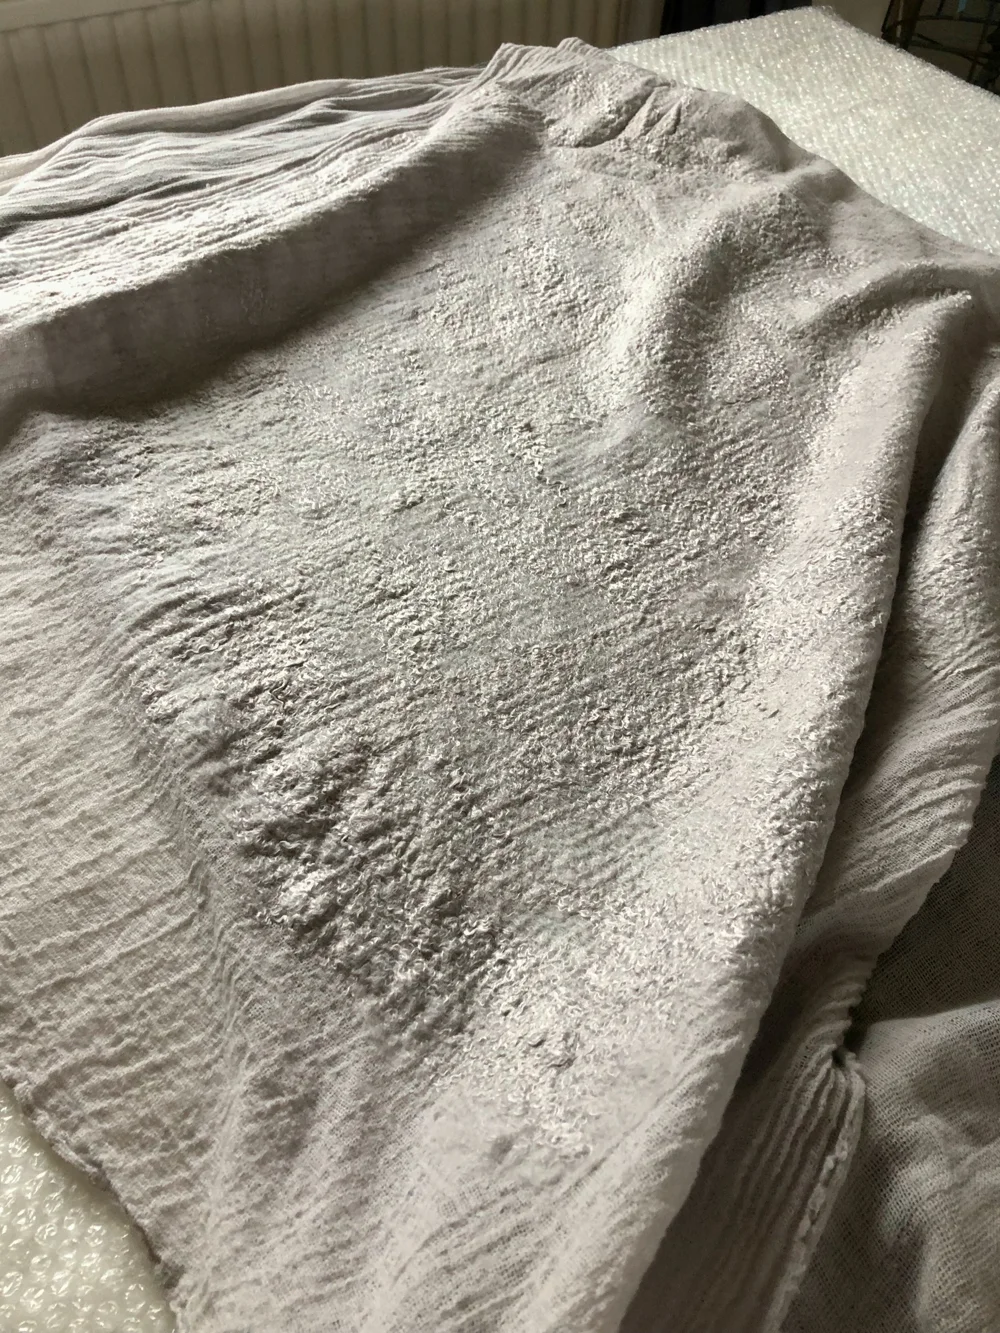
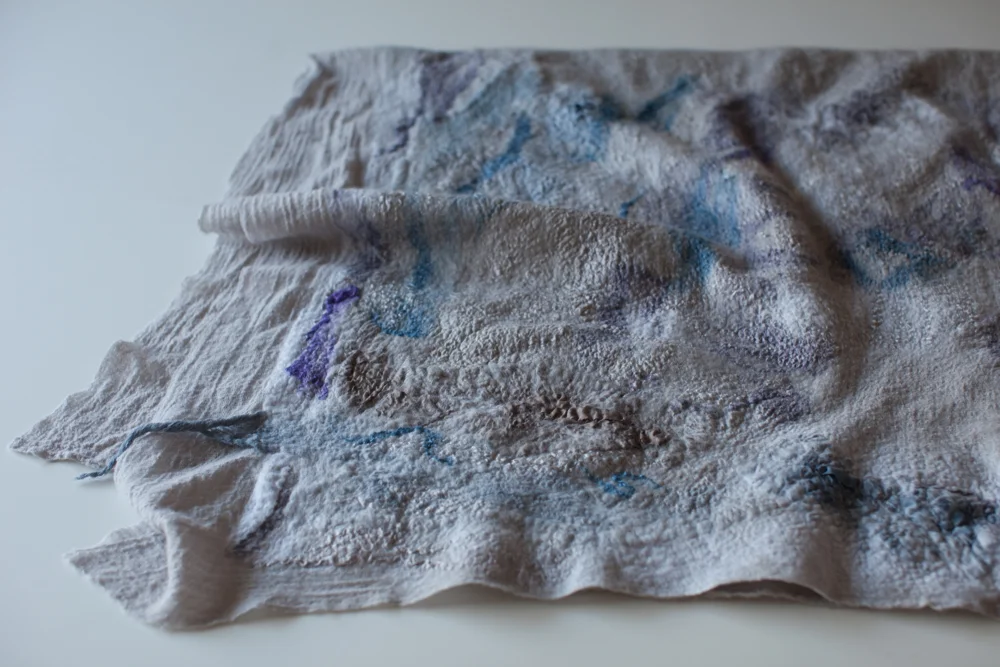
Photo of the dry side 1.
Side 2 – felting the second layer of fibre
Continue to lay the second side with merino wool tops horizontally marking the opening for the head (35-40 cm) from the top left corner. The opening width can be adjusted according to your preference.
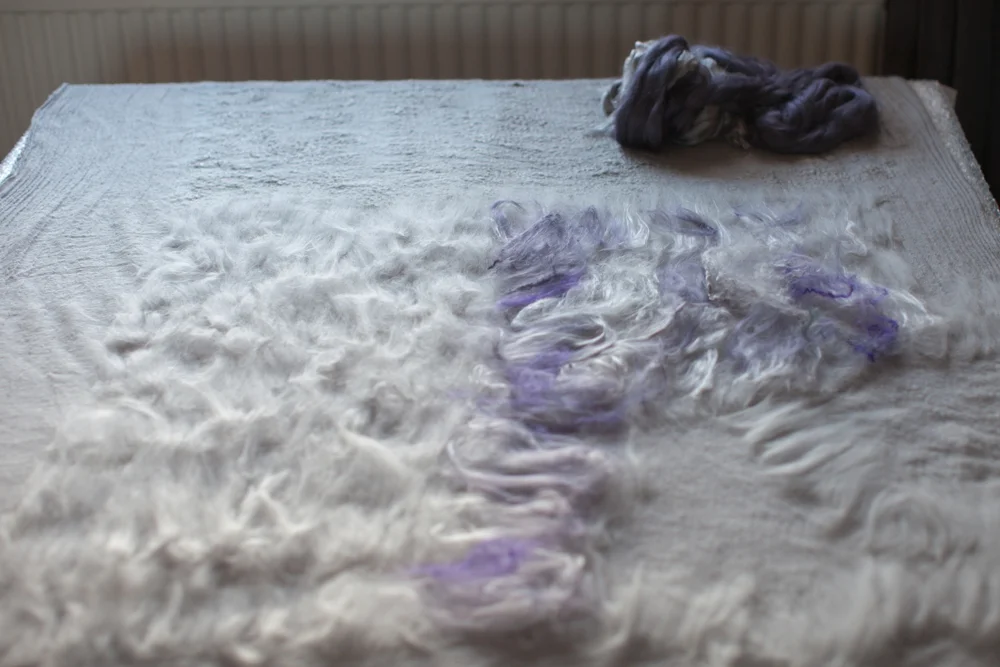
For my design I opted to use a layer of merino tops followed by grey viscose, mulberry silk and then decorating it with clouds of other colours of viscose and silk (purple and blue). For additional texture I added elements of ponge silk fabric and cotton gauze bits left over covering the edges of the fabric with a thin layer merino wool all around.
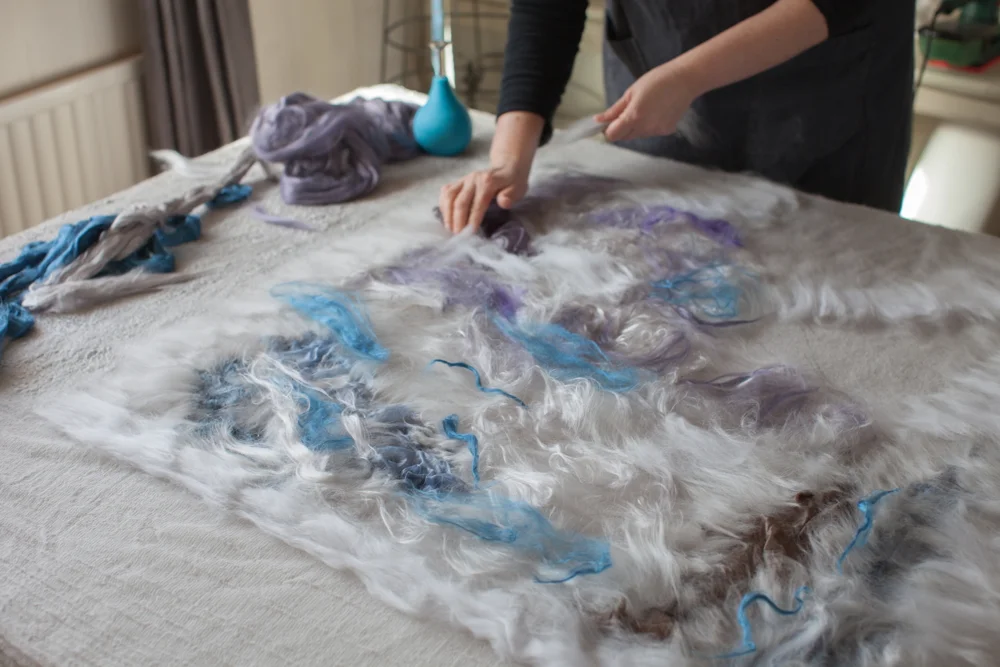
The design also utilizes negative space intentionally, so that you can see places where the open wool gauze is uncovered as shown in this photo.
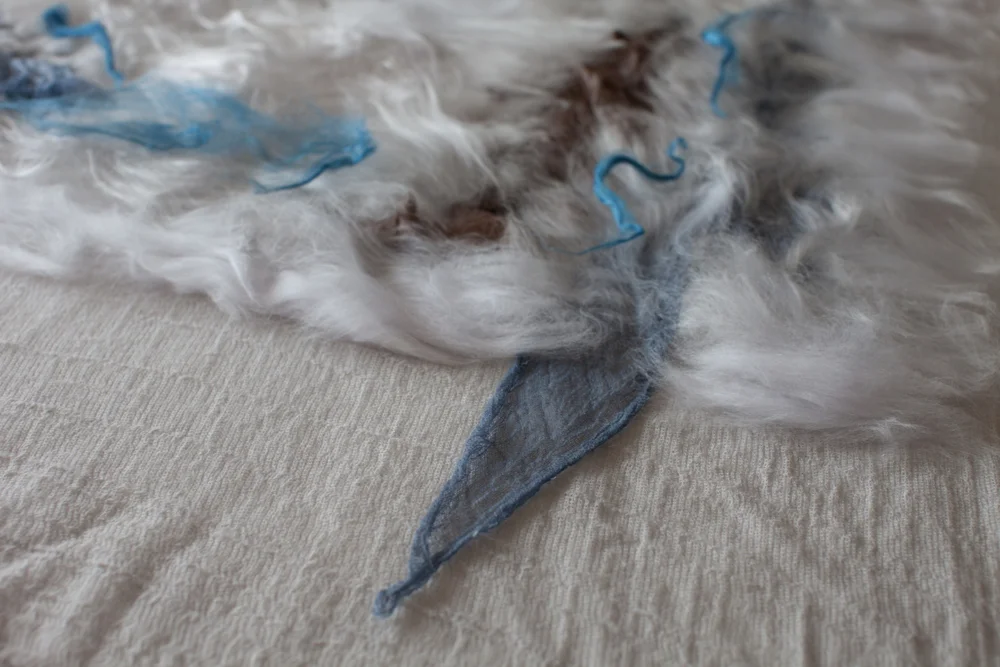
Repeat the same steps on side 2 stage 1 and 2 as in day 1 written above. Do “the pinch test” to see if the project is fully felted by pulling gently on the felted decor.
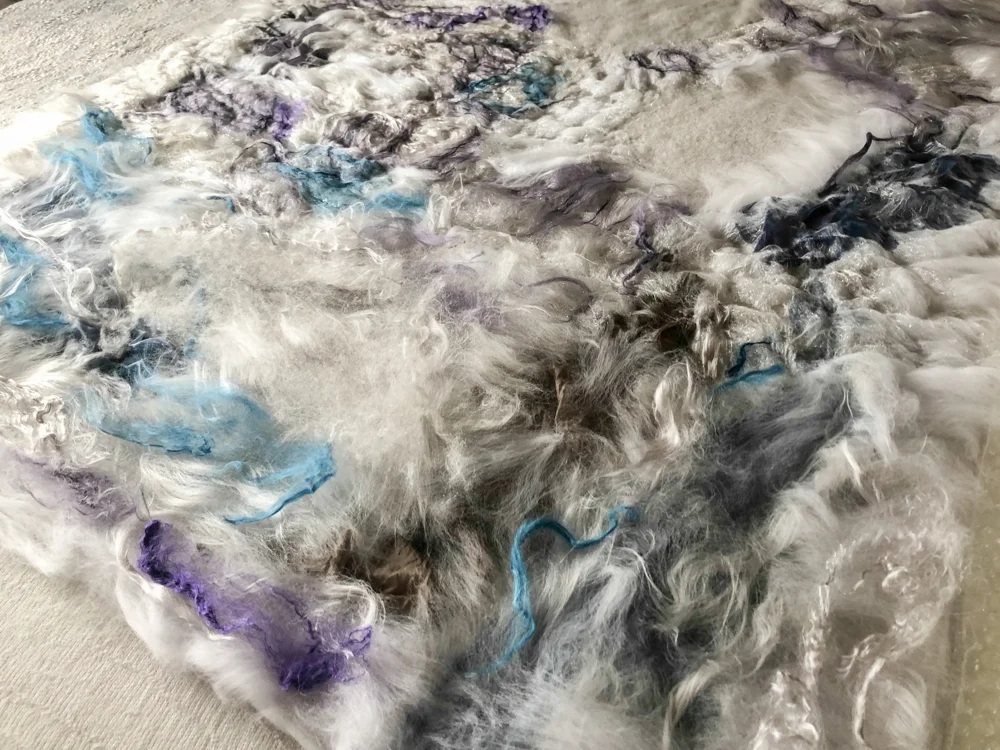
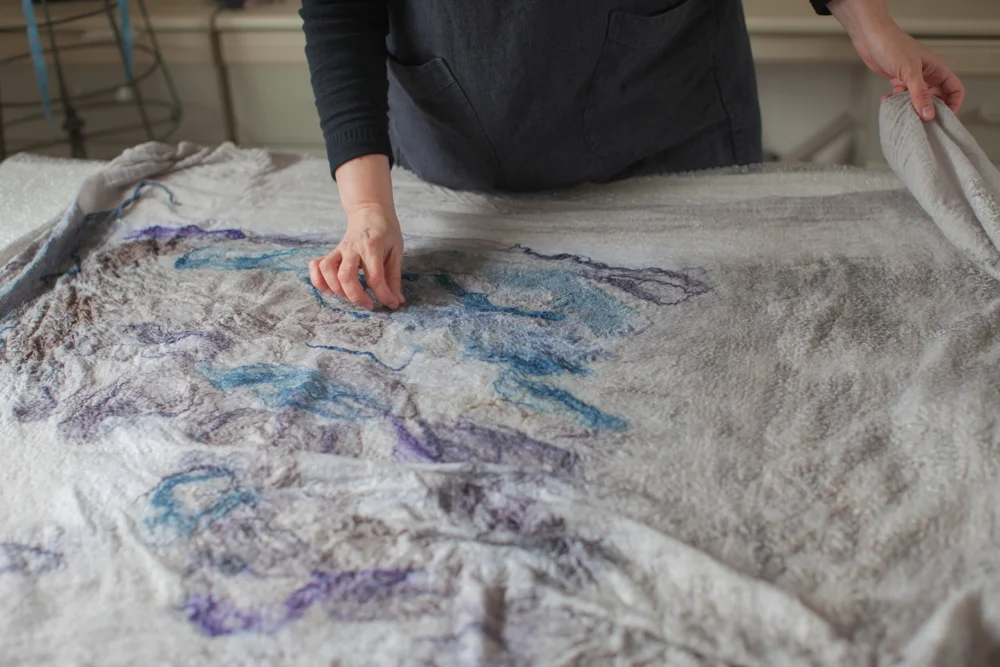
Final stage for both sides
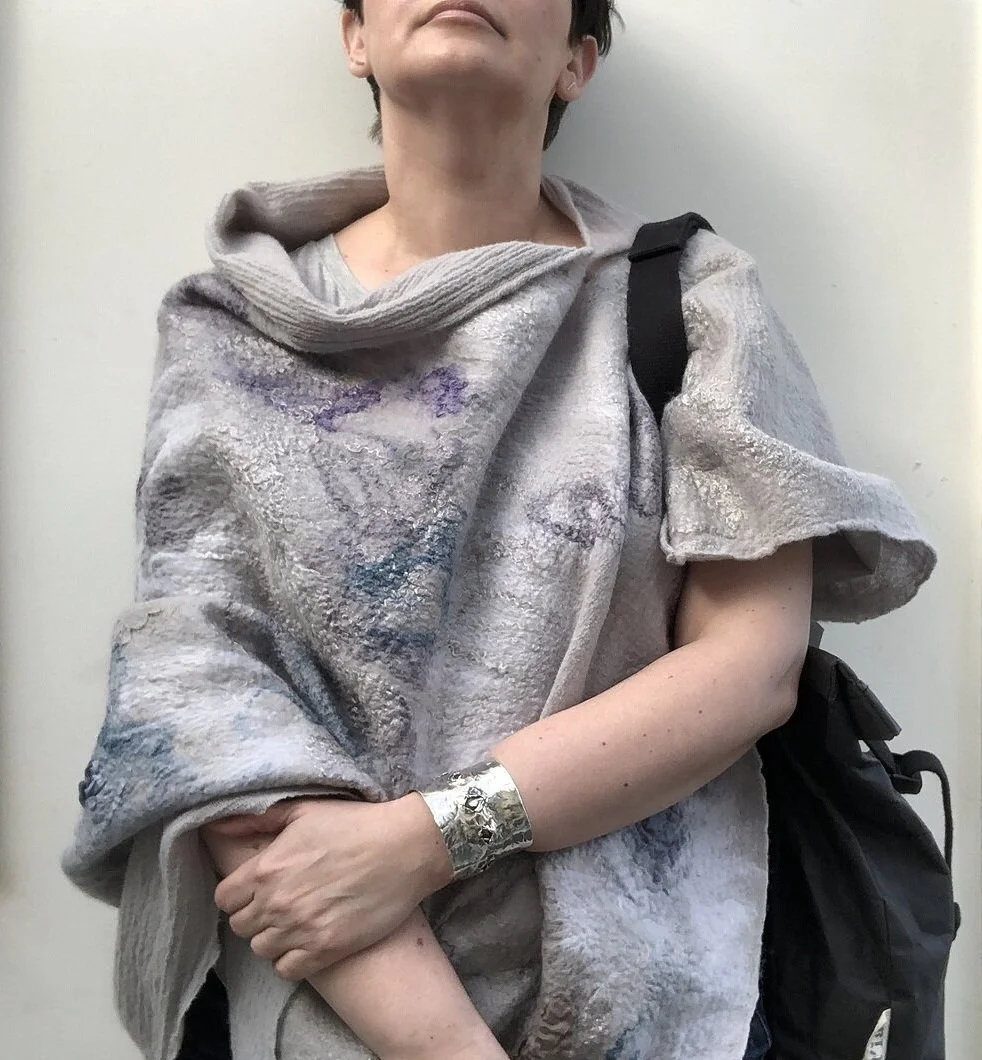
After both sides dry and are finished in terms of the wet felting process, I had a few fittings to mark the precise place for the head opening and to make final alterations for the length chosen etc. I went for quite a wide opening since the overall feel of the poncho is oversize and it looked good slightly off shoulder. The fabric edges have a very natural floaty feel and I chose to leave them unfinished. Use the sewing machine to finish the seam on one arm and wet felt over it using grey merino wool and viscose. The wool gauze bonds so easily with wool and fibres.
The outcome of this project is a medium-weight poncho that is perfect for in between seasons. The garment feels very soft and comfortable against the skin as the materials used for it are so light and luxurious – it feels comfortable even over a simple t-shirt.
Spring/ Autumn are natural times to explore new accessories and refresh our wardrobe. I hope you enjoy this tutorial and feel inspired and confident to make your own artisan poncho this season!
SIGN UP WITH YOUR EMAIL TO RECEIVE MY MONTHLY NEWS, FREE RESOURCES, TUTORIALS AND UPDATES.